AnilKumar Kandepu

You have three options to install database; Starting with Oracle Database 18c release.
1) Image-based Oracle Database Installation
2) RPM-Based Oracle Database Installation
3) Read-Only Oracle Home
1) Image-based Oracle Database Installation (new in Oracle 18c, on-premise)
Image-based Installation enables you to download zip file and extract the image software into your Oracle Home directory and run Installer script to start database installation.
Unzip the download and Re-link binaries…that’s it.
2) RPM-Based Oracle Database Installation
Here, using RPM-based Database Installation (RDI), use rpm -ivh command to install database installation, which performs pre-validations, extract packages assigns ownership, oracle inventory, users and groups, and executes all other scripts and root operations to complete database software installation.
3) Read-Only Oracle Home (new in Oracle 18c, on-premise)
In this option, you are privileged to make your Oracle Home in read-only mode. Database tools and processes writes under ORACLE_BASE path rather ORACLE_HOME directory.
This helps to do version control and patching oracle home. Oracle has include built-in tool, called “rhpctl”, that enables you to switch from the current Oracle Database home to a patched Oracle Database home.
I am using Image-based Oracle Database Installation
Download Oracle Database 18c from this link.
https://www.oracle.com/technetwork/database/enterprise-edition/downloads/index.html
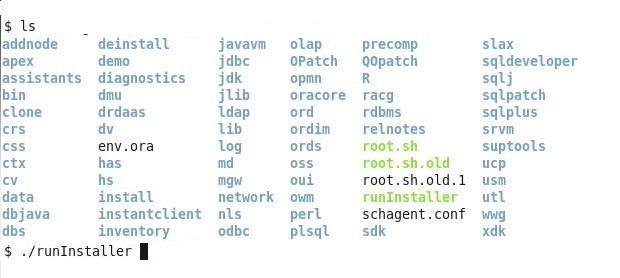
Step1: Unzip the installer.
$ unzip -d LINUX.X64_180000_db_home.zip /u01/DB18c
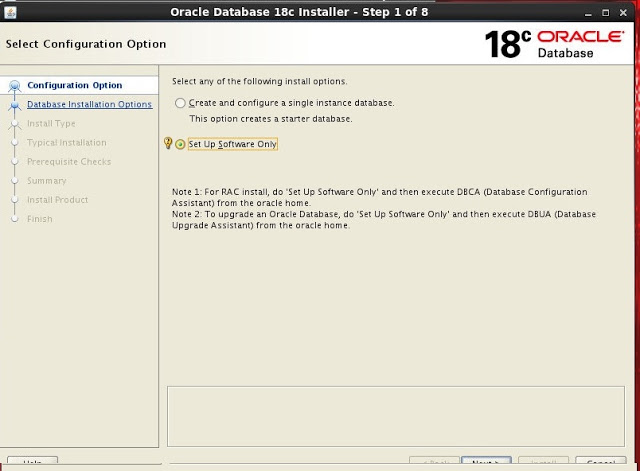
Step 2: Here we are installing only the oracle binaries . Hence, select “Set Up Software Only” and press “Next”.
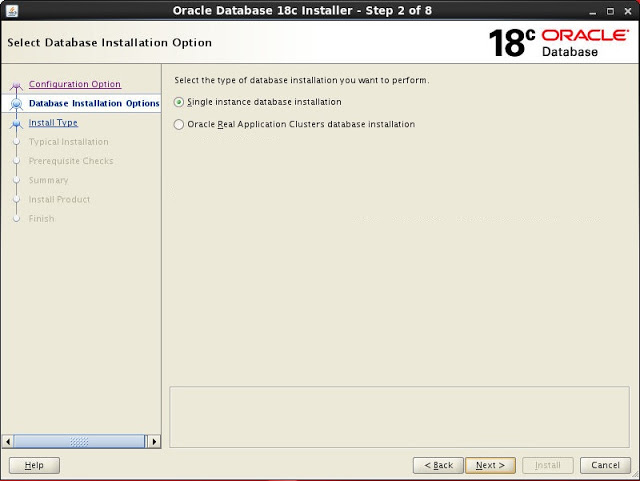
Step3:- Select “Single instance database installation” and click “Next” button
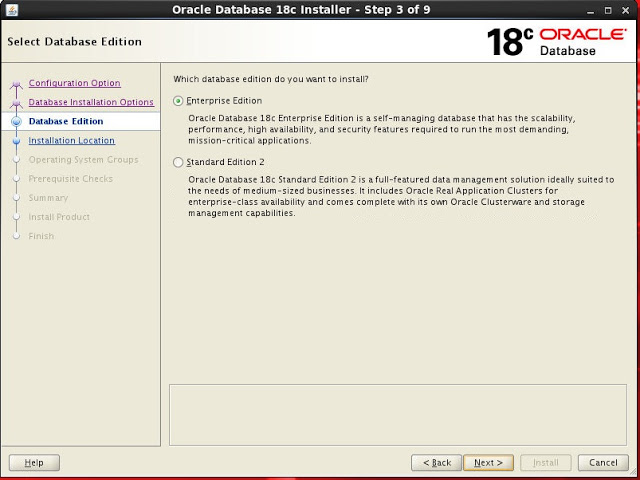
Step4:- Select “Enterprise Edition” and click “Next” button.
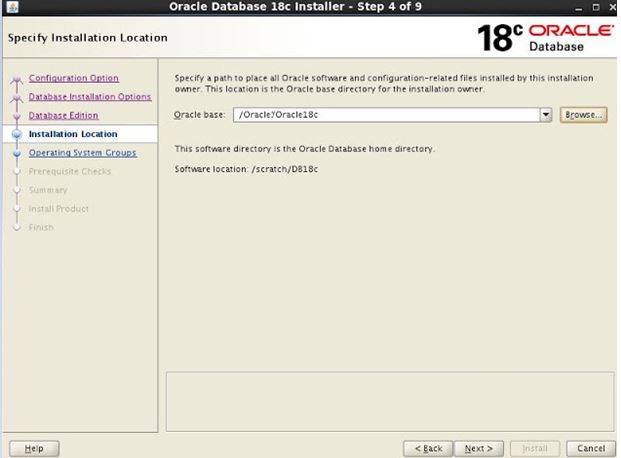
Step5:- Here you should see directory ORACLE_BASE for your binaries according to environmental settings. Click “Next” button.
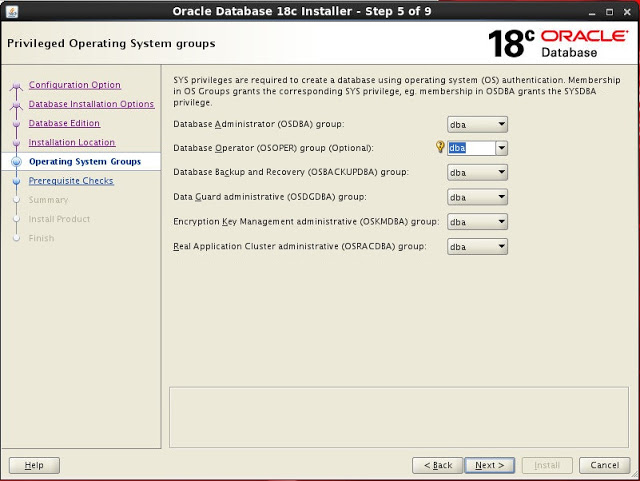
Step6:- Select the appropriate groups created during the pre-install in the below screen and press “Next”.
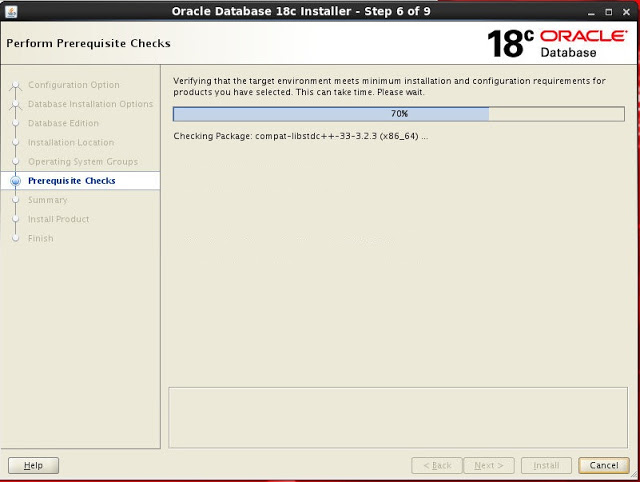
Step7:- Checks are started to verify if OS is ready to install database software.
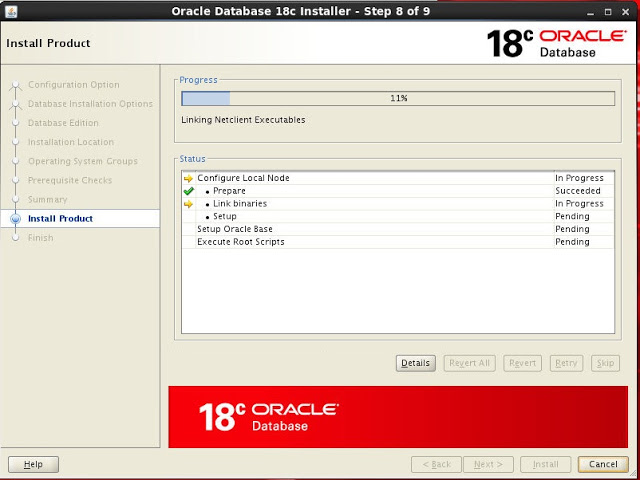
Step8:- See the progress of the oracle binaries installation below.
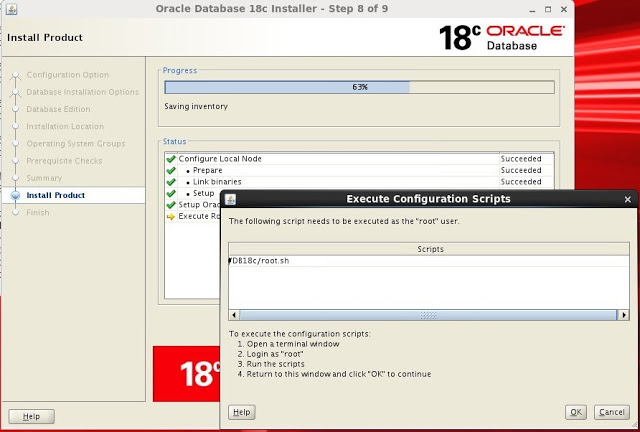
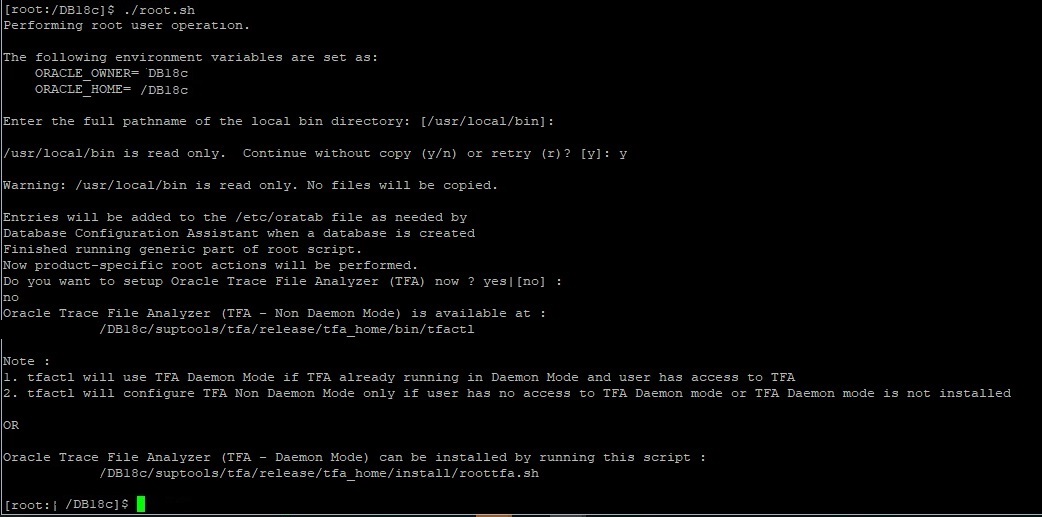
Step9:- Once the binaries are installed, when the below screen apprears run the “root.sh” from the newly installed ORACLE_HOME directory from the terminal and press ”OK” and “Close” the GUI from the next screen.
Step10:- Binaries installation completed.


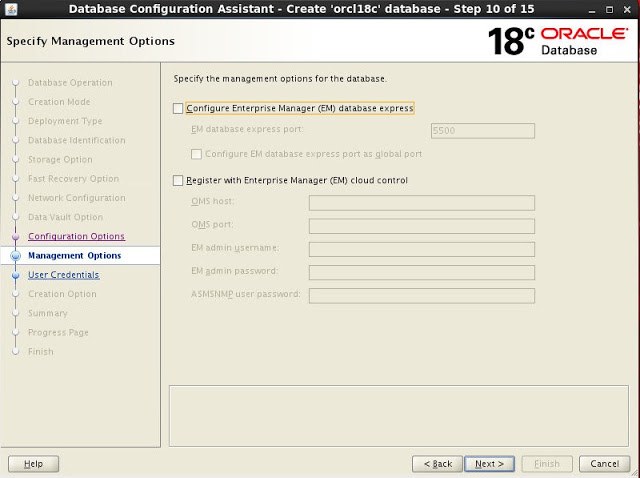
Step 10: Configure Enterprise Manager if needed, else uncheck and press “Next”.
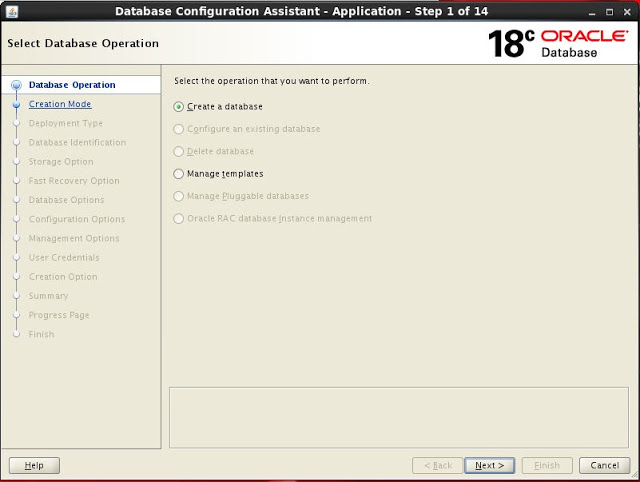
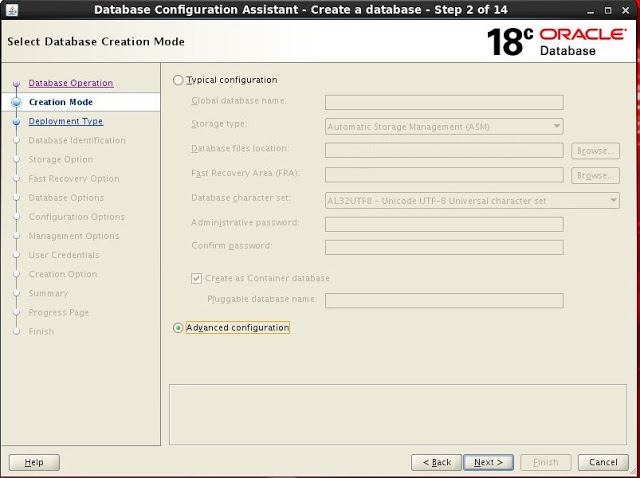
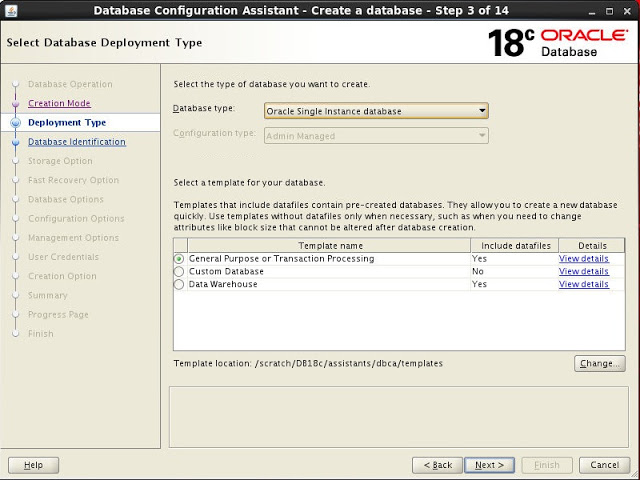
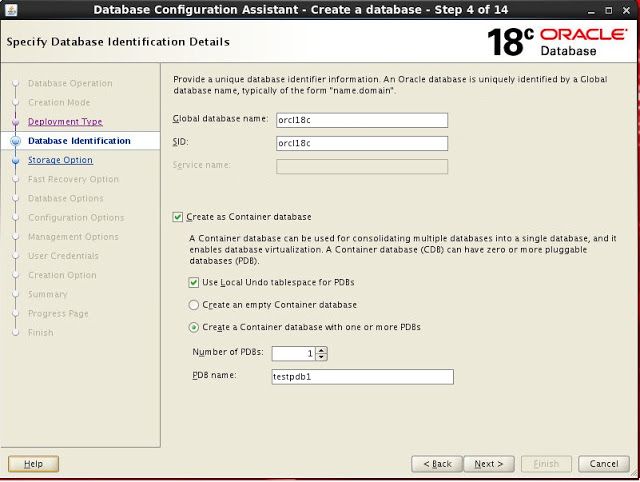
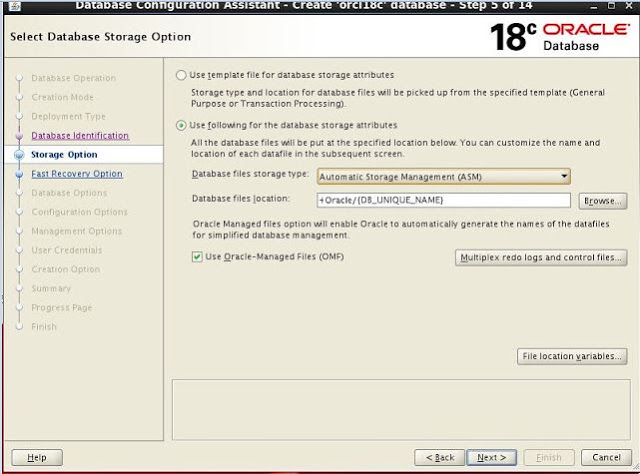
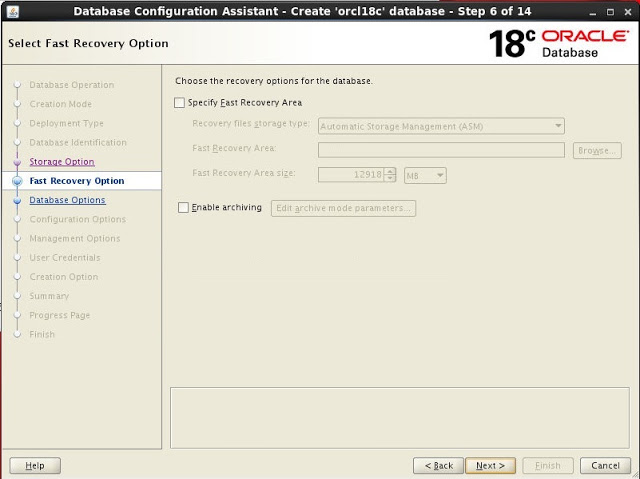
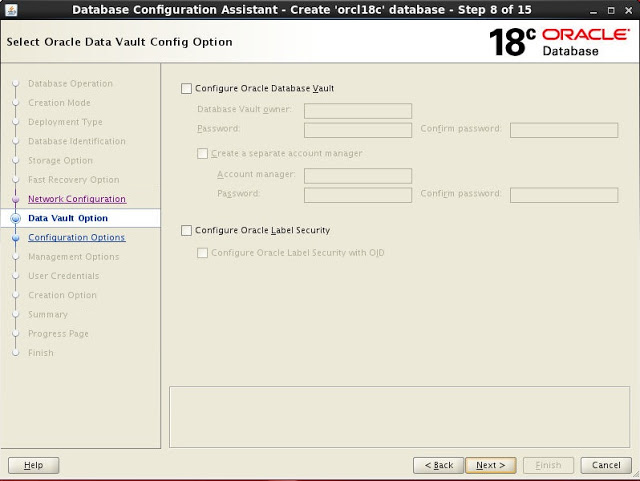
Step 12: Click on Finish to start the database creation.