This blog talks about How to Install Oracle Database 18c XE on Windows OS and Connect the database using SQL Plus and SQL Developer.
It will help the developer to explore more in Oracle if the developer has their own local database. The developer can create and test new objects by using this local database. Make sure you have a medium-end desktop/Laptop. For learning purposes, developers can install XE editions of the oracle free of cost. Oracle 18c has Multitenant architecture. It has a container database and a pluggable database section. We will be creating or working in the pluggable database.
Technologies and Tools Used
The following technology has been used
- Windows OS
- Oracle 18c XE
- SQL Developer
- SQLPLUS
Steps to follow
Step1: Download the database from the official site.
Step 2: Install Database
Extract the file and open the file setup.exe as administrator. You can follow the installation wizard.
There you can mention the installation location and the database password at the end of the installation wizard.
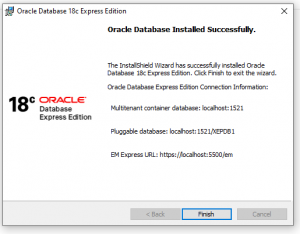
After installing the database it will show us the database details like Multitenant Container database, Pluggable database, and EM express URL. These details are very important for going forward.
Step 3: Open SQL Plus and connect Container database
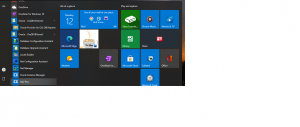
Goto Start -> Oracle – OraDB18Home1 ->SQL Plus
Let’s connect to our created container database through SQL Plus. You have to enter the username and the password to connect to the database. SYSTEM will be the default username and the password is the password we have created while installing the DB.
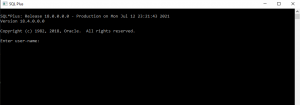
You can follow the below format
Eg:- SYSTEM/Bluebird
Here Bluebird is the database password.
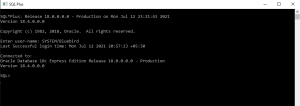
Now we have connected to the container database. Usually, we won’t do any development here.
So we have to connect to the pluggable database separately for our development.
Step 4: TNS configuration.
For connecting our pluggable database (XEPDB1), We have to configure the TNS. For that go to start – > Oracle – OraDB18Home1 – > Net configuration Assistant
Choose Local Net Service Name configuration
Then select add

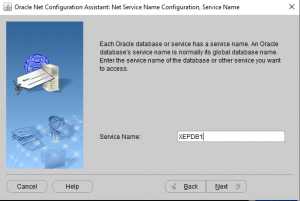
Give the service name
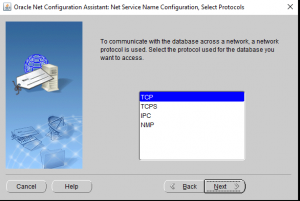
Opt TCP as the network protocol
Give hostname as localhost
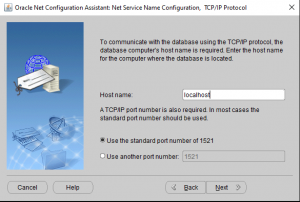
Click next if you want to test then you can test the connection otherwise you can click next.
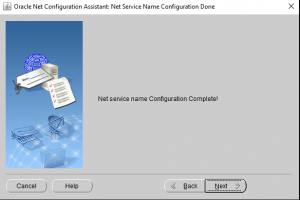
So you have configured TNS successfully now.
Step 5: Connect pluggable database
We know that XEPDB1 is our pluggable database. For connecting pluggable database use the below command
Connect SYSTEM/Bluebird@XEPDB1
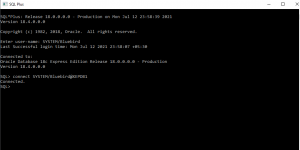
So we have connected to our pluggable database. Here we can do the development Or we can connect through SQL developer.
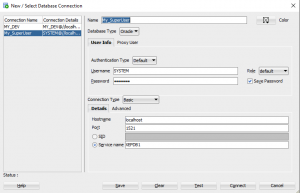
You can set up the connection in SQL developer and start doing development.
You can create a new user by using the below scripts
CREATE USER MY_DEV IDENTIFIED BY Welcome123;
/
GRANT CONNECT TO MY_DEV;
/
GRANT CREATE SESSION TO MY_DEV;
/
GRANT ALL PRIVILEGES TO MY_DEV;
