Oracle Data Integrator installation on windows
Introduction:-
Oracle Data Integrator (ODI) is a comprehensive data integration platform developed by Oracle Corporation. It enables organizations to extract, transform, and load (ETL) data from various sources into target systems, such as data warehouses, data marts, or operational data stores.
Key features of Oracle Data Integrator include:
- Data Integration:
- Data Transformation:
- Metadata Management:
- Data Quality:
- Performance Optimization:
- Integration with Oracle Ecosystem:
Overall, Oracle Data Integrator is a powerful and flexible data integration platform that simplifies the complex task of integrating data from diverse sources into target systems. It offers advanced features and capabilities to manage data integration processes efficiently, ensuring high-quality data for decision-making and analytic purposes.
- Download ODI software:-
https://www.oracle.com/in/middleware/technologies/data-integrator-downloads.html#
High Level Steps:-
- Install JDK 1.8- required for ODI
2) Install Oracle 12c Database.
3) Install ODI 12c
- ODI installation
- Repository creation
- Domain creation
- Work repository setup
- Master and work repository
Download and install JDK:-
https://www.oracle.com/in/java/technologies/javase/javase8-archive-downloads.html
![]()
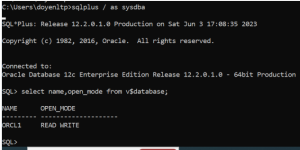
Make sure we have 12 c windows database:-
Install ODI 12c
Check JAVA version and start ODI 12 installation:-
Set java home and start the installation
set JAVA_HOME=”D:\JAVA\jdk-8u371\bin”
set path=D:\JAVA\jdk-8u371\bin;%path%
D:\ODI\NEW>java -jar D:\ODINEW\fmw_12.2.1.4.0_odi.jar


Below are the installation steps for ODI:-
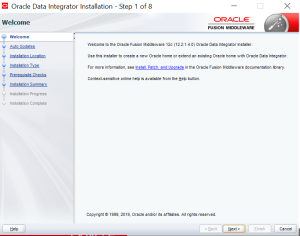
Step 1. Once ODI GUI open click next
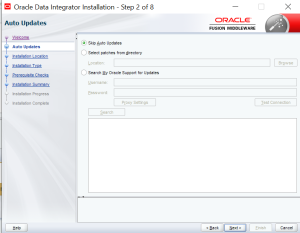
Step 2- select the skip auto updates and click next
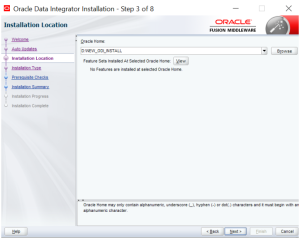
Step 3- keep the Default Oracle Home and click next:-
Step 4- Select enterprise installation and click next:-
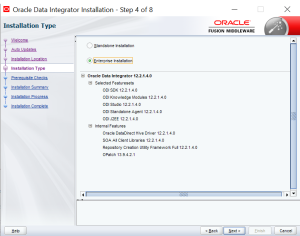
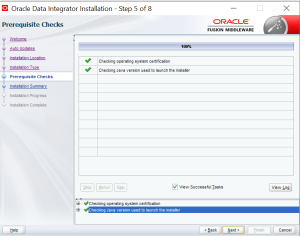
Step 5. Un check the support notification and click next:-
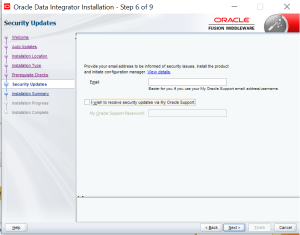
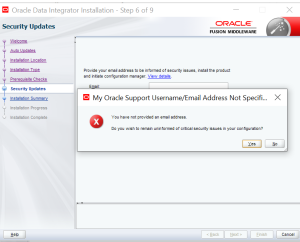
Step 6. verify installation summary and click install
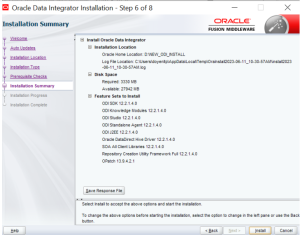
Step 7: make sure all checks are passed for Installation
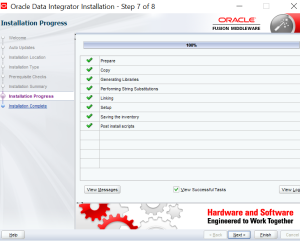
ODI installation completed successfully.
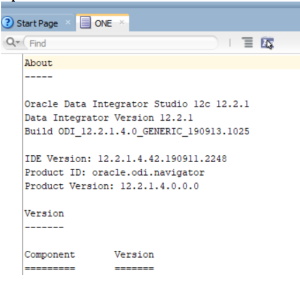
Open ODI studio and check the version:-
Repository creation:-
Oracle Data Integrator stores information in a repository that is stored in a database schema. The Repository Creation Utility (RCU) is able to create the schema and the repository in the database. RCU supports Oracle, Microsoft SQL Server and IBM DB2 databases and supports the installation of a Master Repository and Work Repositories into a single schema.
If you have installed database already on your system, you can simply skip this section.
Before we starting the installation of RCU, we need to choose that which database we are going to use in our application. Here I am giving how to run RCU in Oracle database on our local machine.
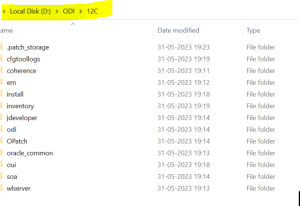
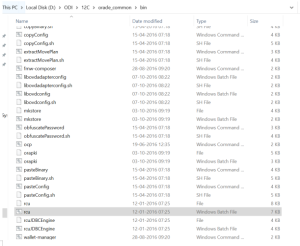
Go to that ODI installation directory oracle_common/bin location
Run the RCU executable file as run as admin mode
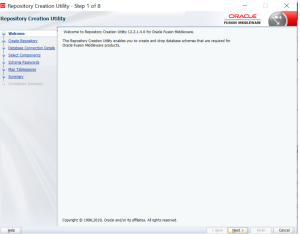
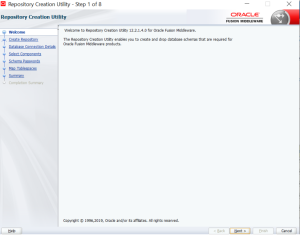
Step 1:Once GUI opened click next
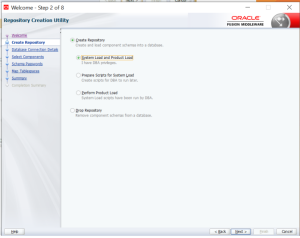
Step 2:- Select the create repository:-
Step 3:- Provide required details like DB type HOST name port service name
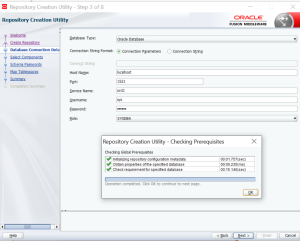
Step 4:- Provide new prefix name as ODI and select ODI
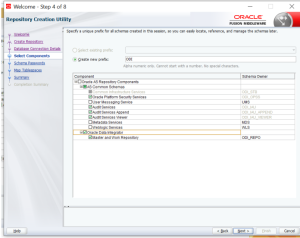
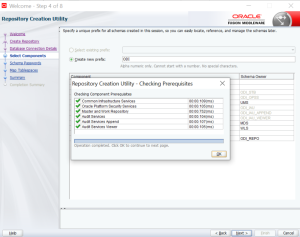
Step 5:-Provide the password
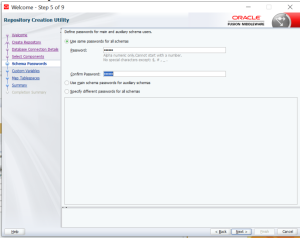
Step 6:- Supervisor password and confirm password and select development D and work Repo name.
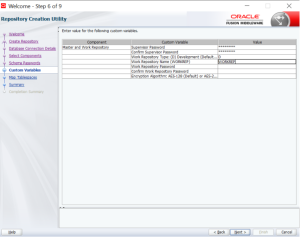
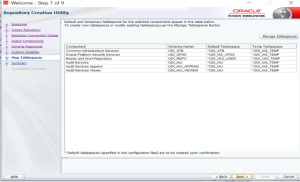
Step 7:- Tablespaces created automatically.
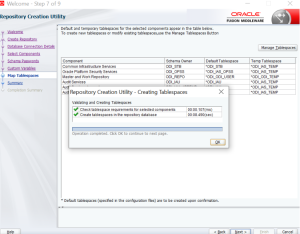
Step 8:- Summary for repo creation
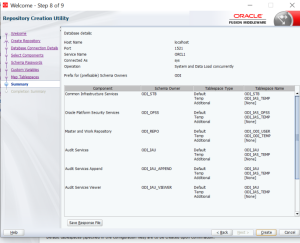
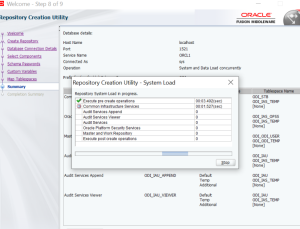
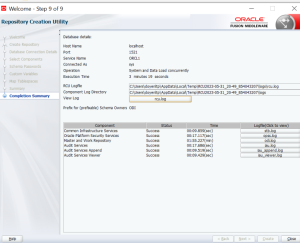
Step 9:- Work repository created successfully.
Creating Web logic Server Domain for ODI Standalone Agent.
Step 1:- Run Config windows batch file with Administrator user
Go to this location D:\ODI12C\oracle_common\common\bin
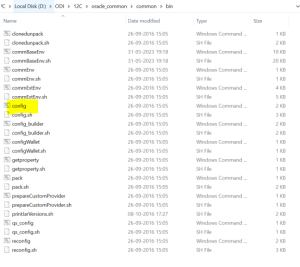
Step 2:- Select create Domain option
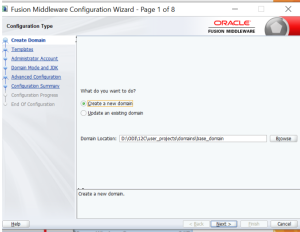
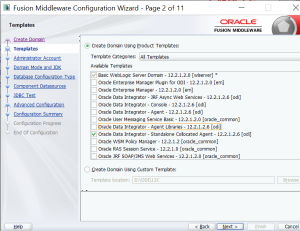
Step 3:- Select the ODI standalone collected agent
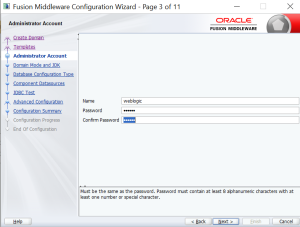
Step 4:- Provide the web logic password
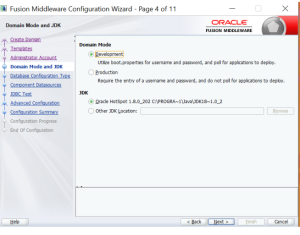
Step 5:- Select the type as development
Step 6:- Select the config using RCU data and provide the correct database connection
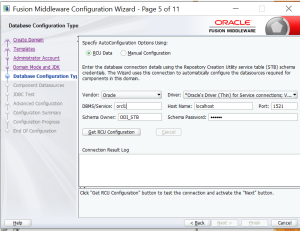
Connection has been completed
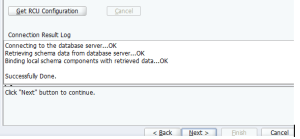
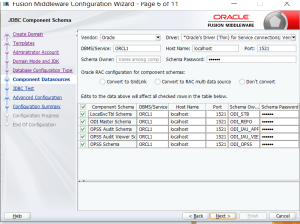
Step 7:- Check ODI related schema and click next
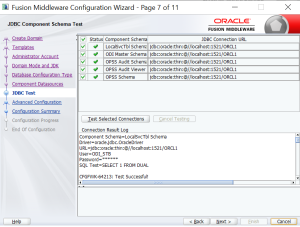
Step 8:- Select admin server and system components
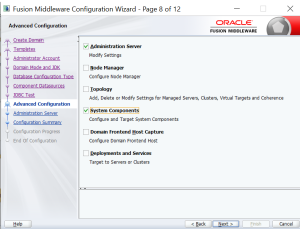
Step 9:- Admin server configuration:-
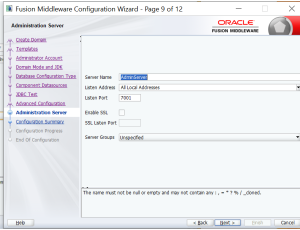
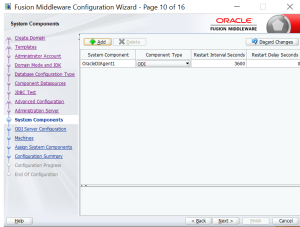
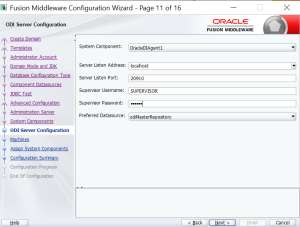
Step 10:- Provide the supervisor password.
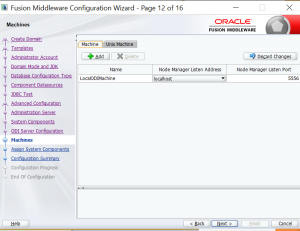
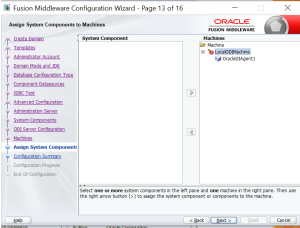
Step 11:- Assign system components and click next.
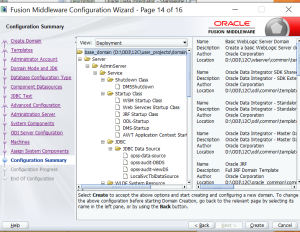
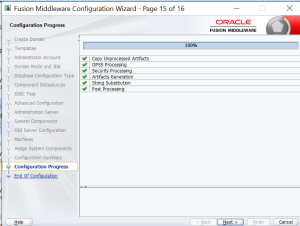
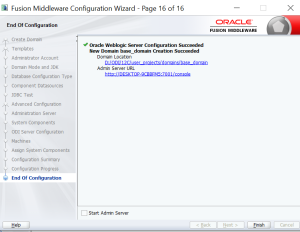
Step 12:- Domain creation created successfully.
ODI Work repository setup
Step 1:- Run ODI application in your machine
Step 2:- Create a database user
CREATE USER ODI IDENTIFIED BY <password>;
GRANT CONNECT, RESOURCE TO ODI;
GRANT CREATE SESSION TO ODI;
GRANT DBA TO ODI;
GRANT ALL PRIVILEGES TO ODI
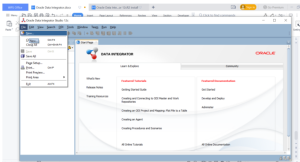
Step 3:- File->new master repository
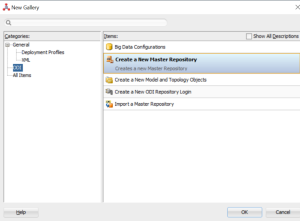
Step 4:- Provide the correct URL for connecting database and user for created one.
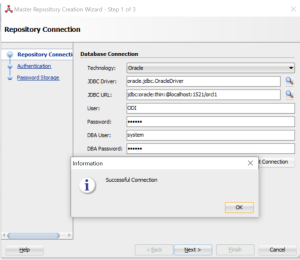
Step 5:- Provide the supervisor password
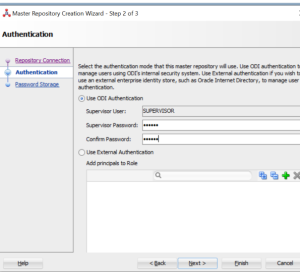
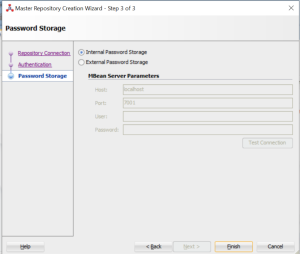
Step 6:- Master repository created successfully.
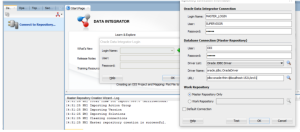
Step 7:- Verify the master repository connection.
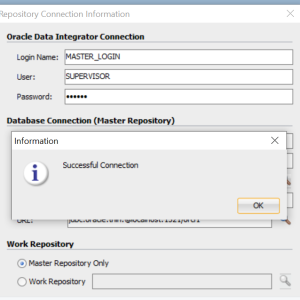
Create new work repository:-
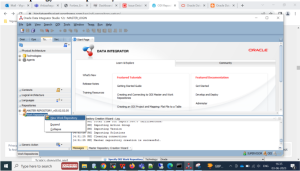
Step 1:- Click topology work repository new ->
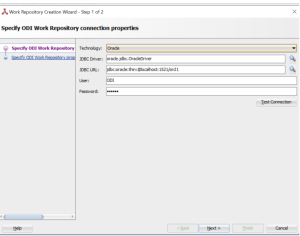
Step 2:- Provide the correct connection details:-
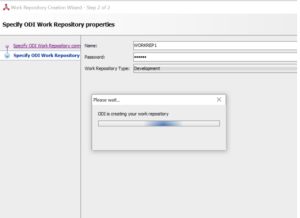
Step 3:- Give that name password and type:-
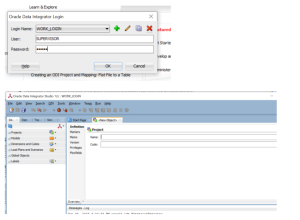
Step 4:- Once created logout and login again as work repository:-
Conclusion:-
Installing Oracle Data Integrator on Windows, we have empowered our organization with a versatile and robust data integration platform that will help you efficiently manage, integrate, and deliver high-quality data across our enterprise. This will enable better decision-making, streamlined processes, and improved overall data management for your organization.
