Here I am going to explain about how to create a Instance in cloud,
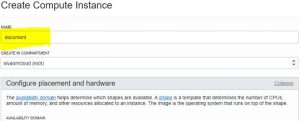
Step 1:
Provide the instance name as your suitable:
Step 2 :
Click the change Image and select the suitable version image
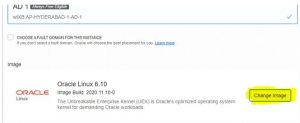
Step 3 :
As per the requirement, we can choose the Operating system, I have selected Linux 6.10

Step 4 :
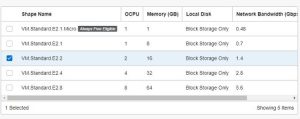
Need to select the shape. According to our Free tried we are able to use 6 CPUs.
Click the change shape.

Step 5 :
I have selected 2 CPU and 16 GB RAM
Step 6:
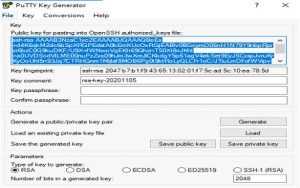
Go the Puttygen, and select Generate the key

Step 7:
Once the key is generated, copy the key & put it into the notepad to make it is as one-line and paste on cloud public key
Step 8 :
Provide Boot volume, by clicking – SPECIFY A CUSTOM BOOT VOLUME SIZE, then click Create. Your instance will create successfully.

Step 9 :
The instance created successfully.

Step 10:
Create Block Volume
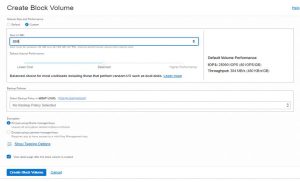
Main menu—> block storage–>àblock volume-> create block volume give a name to the volume
Select compartment
Select AD
Select custom to assign block volume size
Create block volume

Step 11:
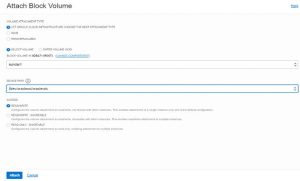
Attach Block Volume to the INSTANCE
Compute-> instance ->instance details
Resource ->attach boot volume
Select type
Give Volume name
Choose device type
Step 12:
Copy the public Ip address

Step 13:
Go to putty copy the public and update in the putty
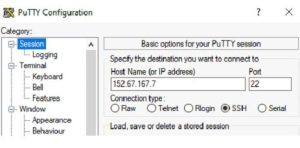
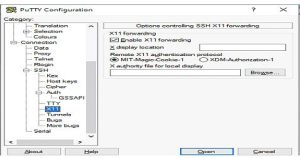
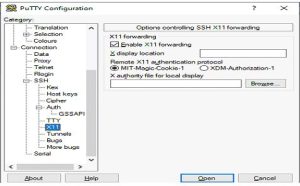
Go to the SSH->X11->Enable X11 forwarding
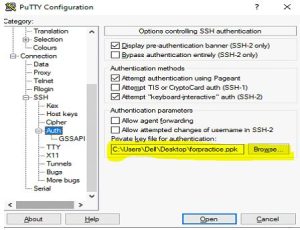
Then attach the private key,
Step 14:
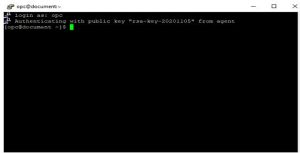
Go to the putty->give OPC
Step 15:
Then go to Instance->click the instance->go to attach block volume -> click ISCSI commans

Step 16:
Copy and paste below command in putty.

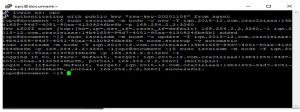
Step 17:
Creating Partition
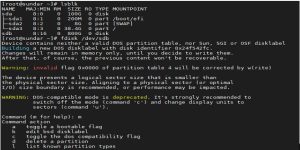
Step 18:
Create Filesystem from DISK
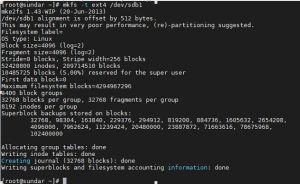
Step 19:
Mounting u01 location

NOTE:
Whenever the server is rebooted boot volume is detached from instance
To overcome this issue we have to permanently add the boot volume to that specific instance
To add boot volume
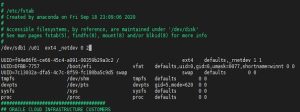
vi /etc/fstab
