Creating and Applying Receipts Through Lockbox Using FBDI
Step 1 – Create a Lockbox
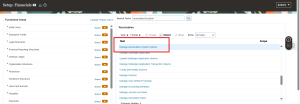
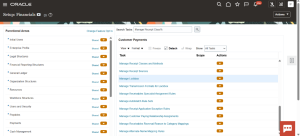
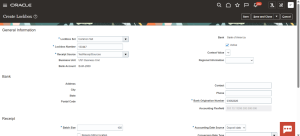
Navigate to Settings and Actions > Setup and Maintenance > Manage Lockbox, and define a new lockbox record.
Step 2 – Confirm the Lockbox
The lockbox created in the previous step is now displayed on the Manage Lockboxes page.
Step 3 – Download the FBDI Template
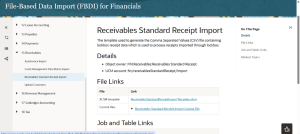
Go to docs.oracle.com and search for the Financial Receivables Standard Report Import, then download the ReceivablesStandatedReceiptImportTemplate.xlsm XLSM template.
Step 4 – Populate the Template
The template contains 9 worksheets in total. Complete all the mandatory fields on each worksheet, then click Generate CSV File to produce the ZIP file that will be uploaded.
Step 5 – Open Scheduled Processes
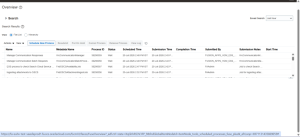
Navigate to Tools > Scheduled Processes > Schedule New Process.
Step 6 – Load Interface File for Import
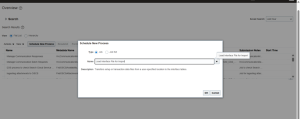
Search for and select Load Interface File for Import, then click OK.
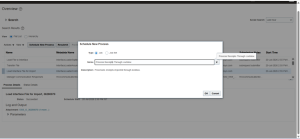
Step 7 – Select the Import Process
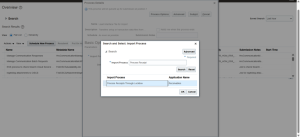
Search for and select Process Receipts Through Lockbox as the import process, then click OK.
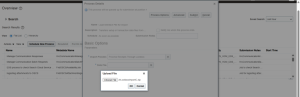
Step 8 – Upload the ZIP File
Select the ZIP file generated from the template, click OK, and submit the process.
Step 9 – Run the Main Process
Once the interface process finishes successfully, run the main process, Process Receipts Through Lockbox.
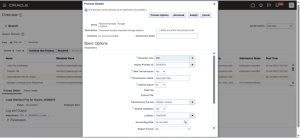
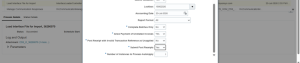
Step 10 – Submit with Parameters
Select the required parameters and click Submit. The receipt is then created successfully.
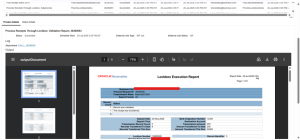
Step 11 – Once Job was succeeded click on Process Receipts Through Lockbox: Validation Report
click on Attachment.
Step 12 – Verify the Applied Receipt
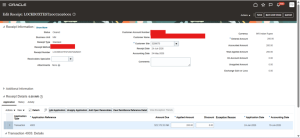
Navigate to Receivables > Accounts Receivables > Manage Receipts. The receipt has been created successfully and applied to the corresponding transaction.