1. Overview
This document talks about how to create a data source for java project using Oracle Web logic server.
2. Technologies and Tools Used
The following technologies have been used for creating a data source using Oracle Web logic server.
- Oracle web logic Server Administration Console 12c
3. Use Case
Assume that there is a requirement to connect a database for the project using data source concept from Oracle Web logic Server.
4. Architecture
Following steps explains in detail,
- Need to login the oracle web logic sever based on user credentials (Make sure you have entered correct username and password).
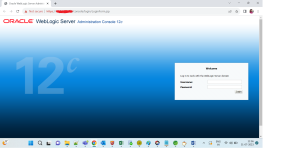
Note: when we are going to login the oracle web logic server its can be a local server or third party client server. Currently I am using third party client server for login the web logic server.
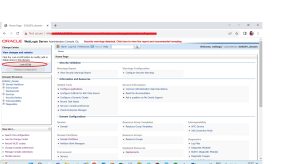
Step 2: Once successfully login click on Lock and edit button which is available in the left corner of the page as below
Step 3: Once click on Lock and edit button click on service option which is available in the left corner side from domain structure table.
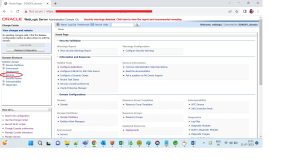
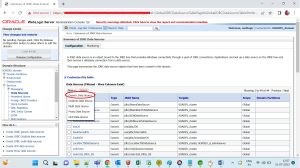
Step 4: Once click on Service option please click on data source option which is available in the inside of the service option
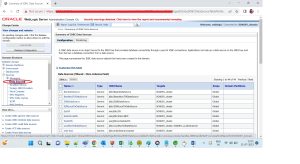
Step 5: After clicking data source option the page will be reloaded and please click on new button from configuration tab.
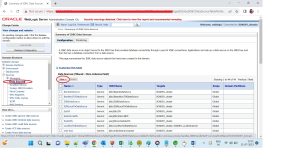
Step 6: After clicking on new button please click on Generic Data Source option.
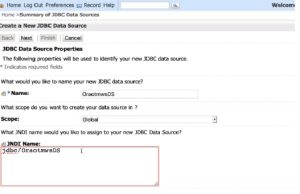
Step 7: After clicking Generic data source option the page will goes to below page. Once inside the screen “JDBC Data Source Properties” capture the following data, then select the button “Next”:
- Name: OraotmmswsDS -> (Her you can give the name of the data source based on the project name)
- Jndi name: jdbc/OraotmwsDS
Step 8: Once click on next button please Select the driver: *Oracle’s Driver (Thin XA) for instance connections; Versions: Any, then select the button “Next”:
![]()
Step 9: Again click on next button
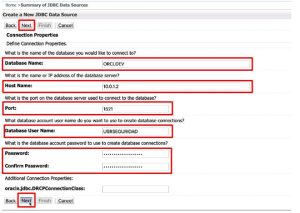
Step 10: After clicking on next button capture the connection properties with the database, then select the button “Next”:
- Database Name: ORCLDEV
- Host Name: **********
- Port: 1521
- Database User Name: ********
- Password: *********
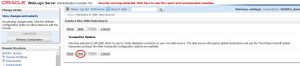
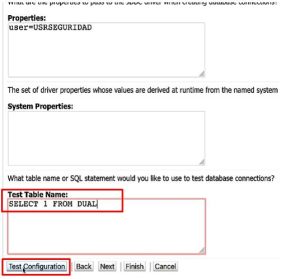
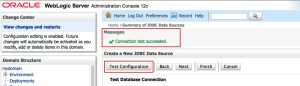
After clicking next button capture the query: SELECT 1 FROM DUAL in “Test Table Name” and test the connection of the Data Source created to the database by selecting the button “Test Configuration”:
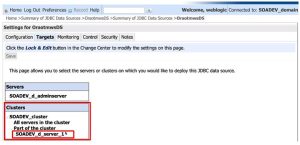
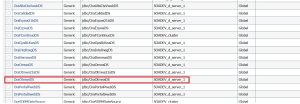
Step 11: Once the connection is correct, select and enable the server on which the Data Source will be available. In the list labeled with the legend “Clusters”, the name of the managed server is selected. As an example, below in the image, SOADEV_d_server_1 was selected. However, this name depends on the server and environment in which the Data Source will be generated. To finish the generation of the Data Source, select the button “finished”:
After Successful Data Source creation
5. CONCLUSION
Overall, creating a data source in Oracle WebLogic Server can offer many advantages for improving the performance, management, scalability, availability, and security of your applications.