Overview
This document explains how to display multiple columns in Oracle Apex pop up LOV. The following steps are to be followed to display multiple columns in the LOV.
Technologies and Tools Used
The following technology has been used to achieve this in oracle apex.
- Oracle Apex
Use Case
We can display multiple columns in Oracle Apex pop up LOV. Multiple columns can be displayed in Not only Pop up LOV but also interactive grid.
Create List of Values
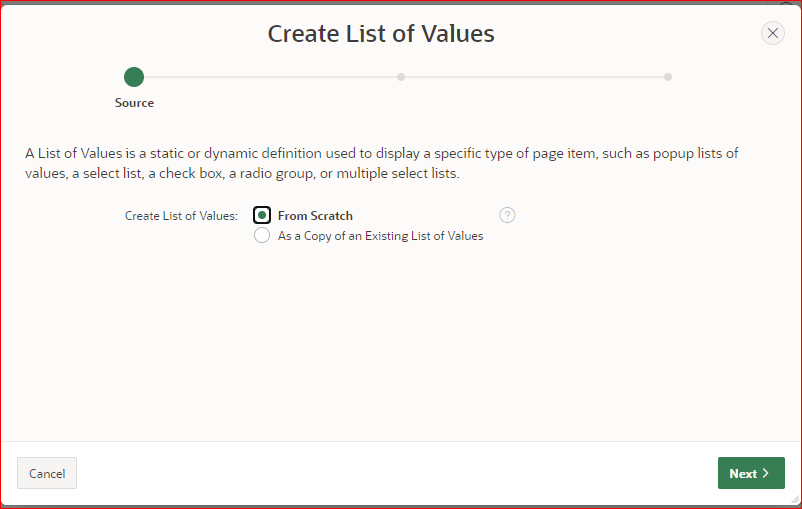
In Oracle Apex, click on the Shared Components > List of Values and then click the Create button. The following window will appear.
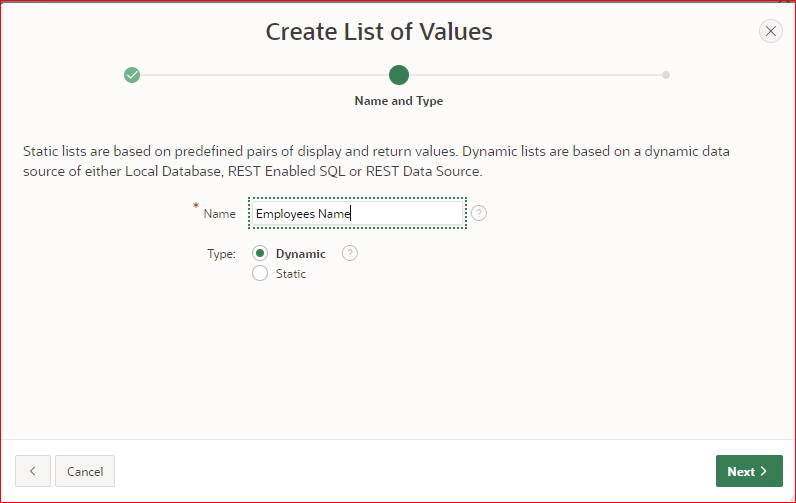
Simply click on the Next button and the below screen will appear. Specify the LOV name here, Then click on the Next button.
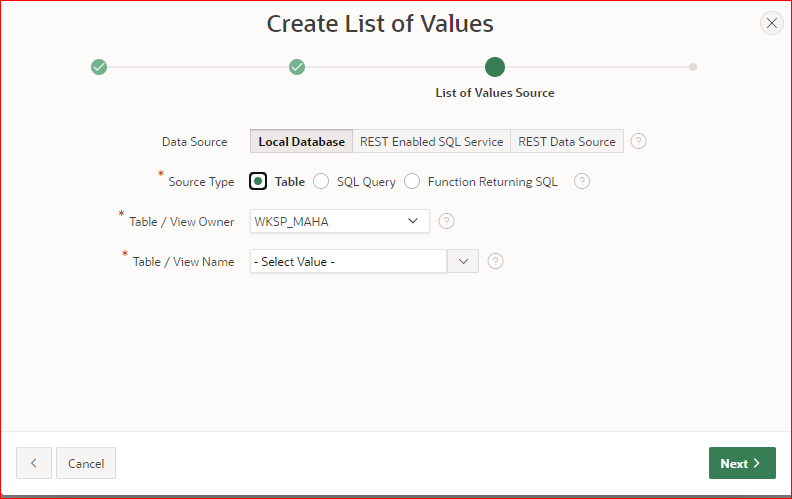
Select the table or specify the SQL query. But remember, your SQL query should have a maximum of 2 columns, one is for display and one is to return.
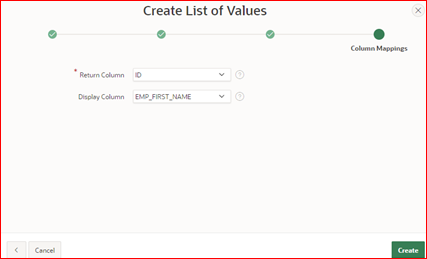
In the following screen, define the return column and display column and then click on the Create button.
Now we have created the Popup LOV in Oracle Apex, but we need to display multiple column in LOV. to convert it to multi-column LOV, you need to edit this LOV.
To edit the LOV Employee Name, we just created, click on the Shared Components > List of Values and then click on the Employee Name LOV. Then scroll down the window and in the Source section,
click on the button next to Additional Display Columns as shown in the below image
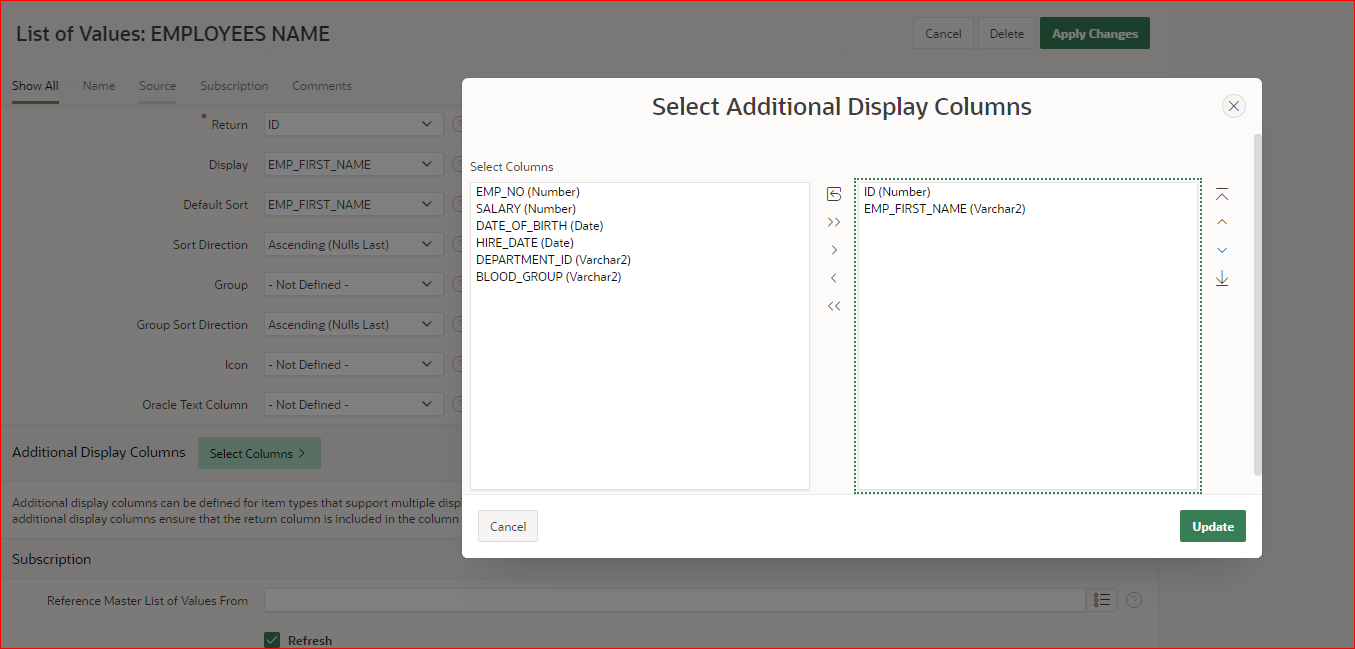
Here you can select multiple columns to display and then click on the Update button. After that click on the Apply Changes button.
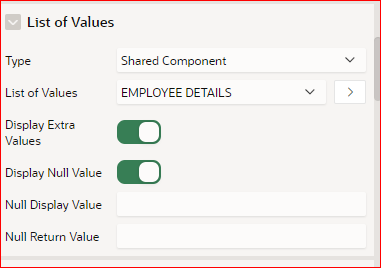
Now we have to assign this Popup LOV to an itema in the page.Please set the following properties shown in the image below.
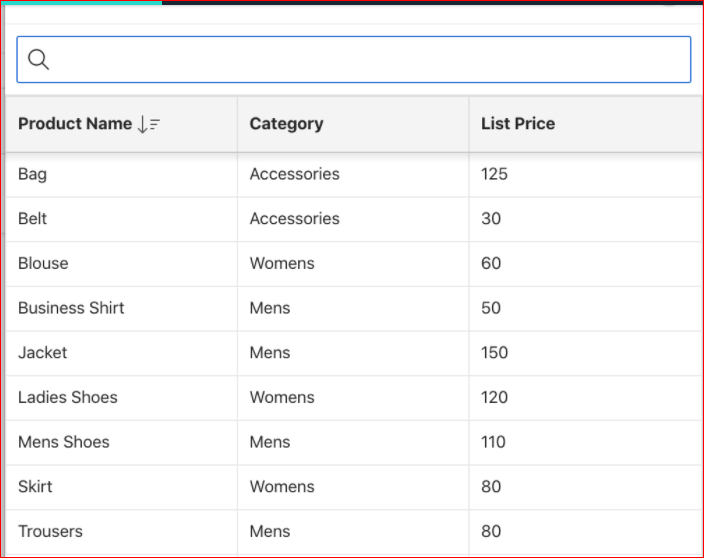
Save and run the page. You wll get the below output as shown as image.