Introduction:
Microsoft Teams has become a central hub for collaboration in many organizations, allowing teams to communicate, share files, and manage projects seamlessly. However, emails remain an essential part of professional communication. Bridging the gap between emails and Teams can streamline your workflow, ensuring that important email messages are shared with the right people in your organization. In this blog, we’ll walk you through the steps to post email messages on Microsoft Teams, helping you keep your team informed and collaborative.
Why Post Email Messages on Teams:
Before we begin, let’s understand the reason for posting the email messages on Teams.
- Centralized Communication: Posting email messages on Teams ensures that everyone in the team can access the information in one place.
- Enhanced Collaboration: Sharing email content in Teams enables team members to discuss and collaborate on the information more effectively, rather than just forwarding emails back and forth.
- Better Organization: Teams allows you to categorize and archive conversations by channels, making it easier to find and reference important emails later.
How do we Set Up:
1, Power Automate: Which is a free subscription for Microsoft 365, you can open it from Microsoft365.com apps portal
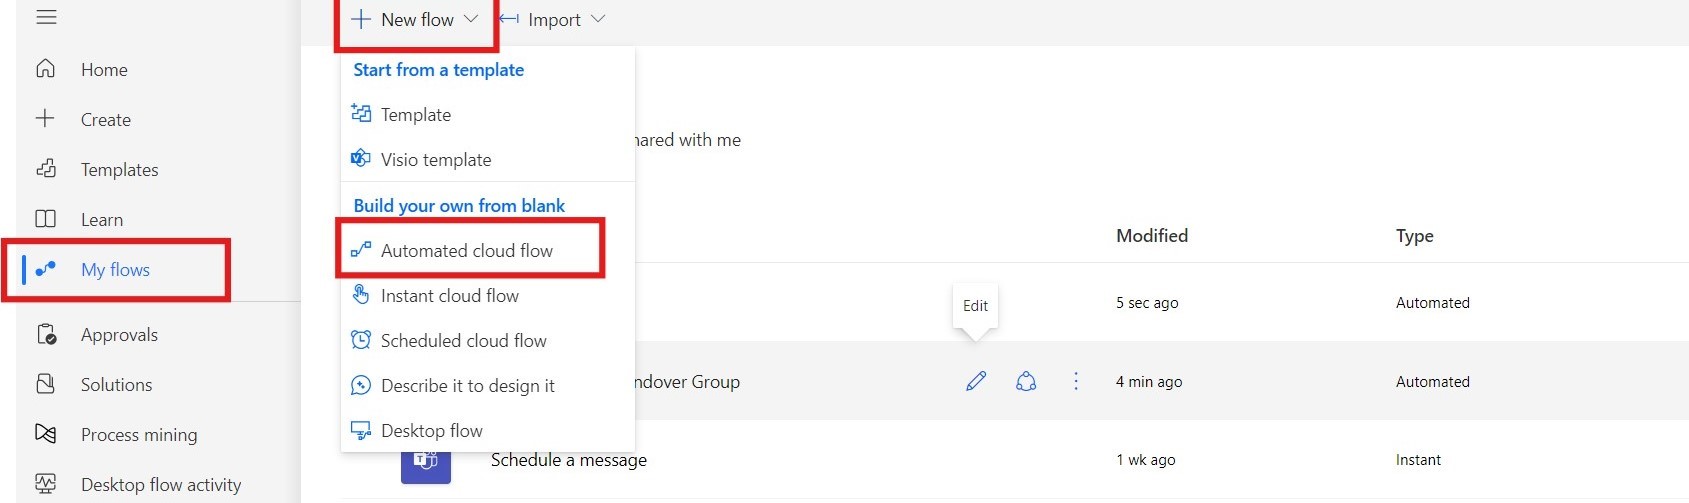
2, Create a new flow: Click the “My flows” from the left side pane and click “+ New flow” in the top and then select “Automated Cloud flow”.
Refer the below screenshot:
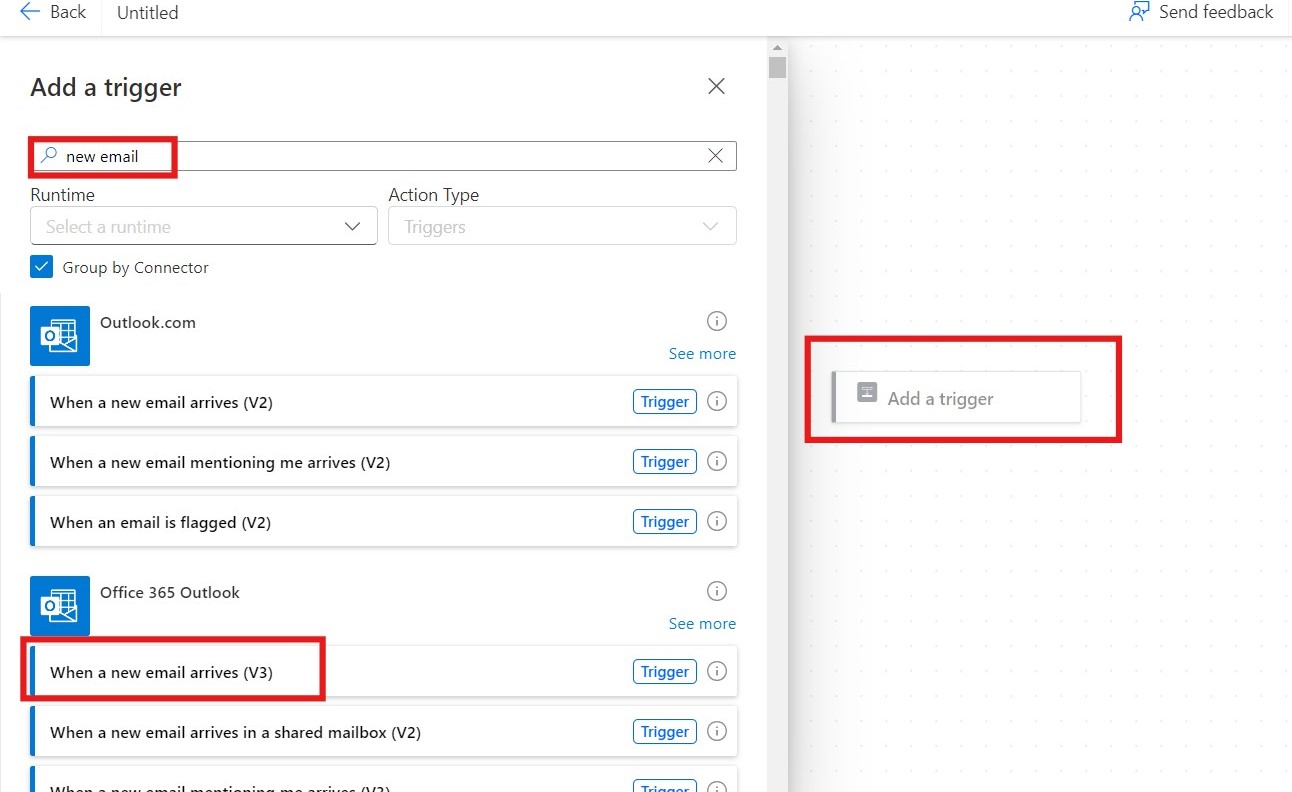
3, Create a custom flow: we can create a custom flow by skip the “Build your own from blank” on appeared screen, in which Click “Add a Trigger” to select the listed triggers and then choose the “When a new email arrives (V3)” trigger from the list.
Refer a screenshot below.
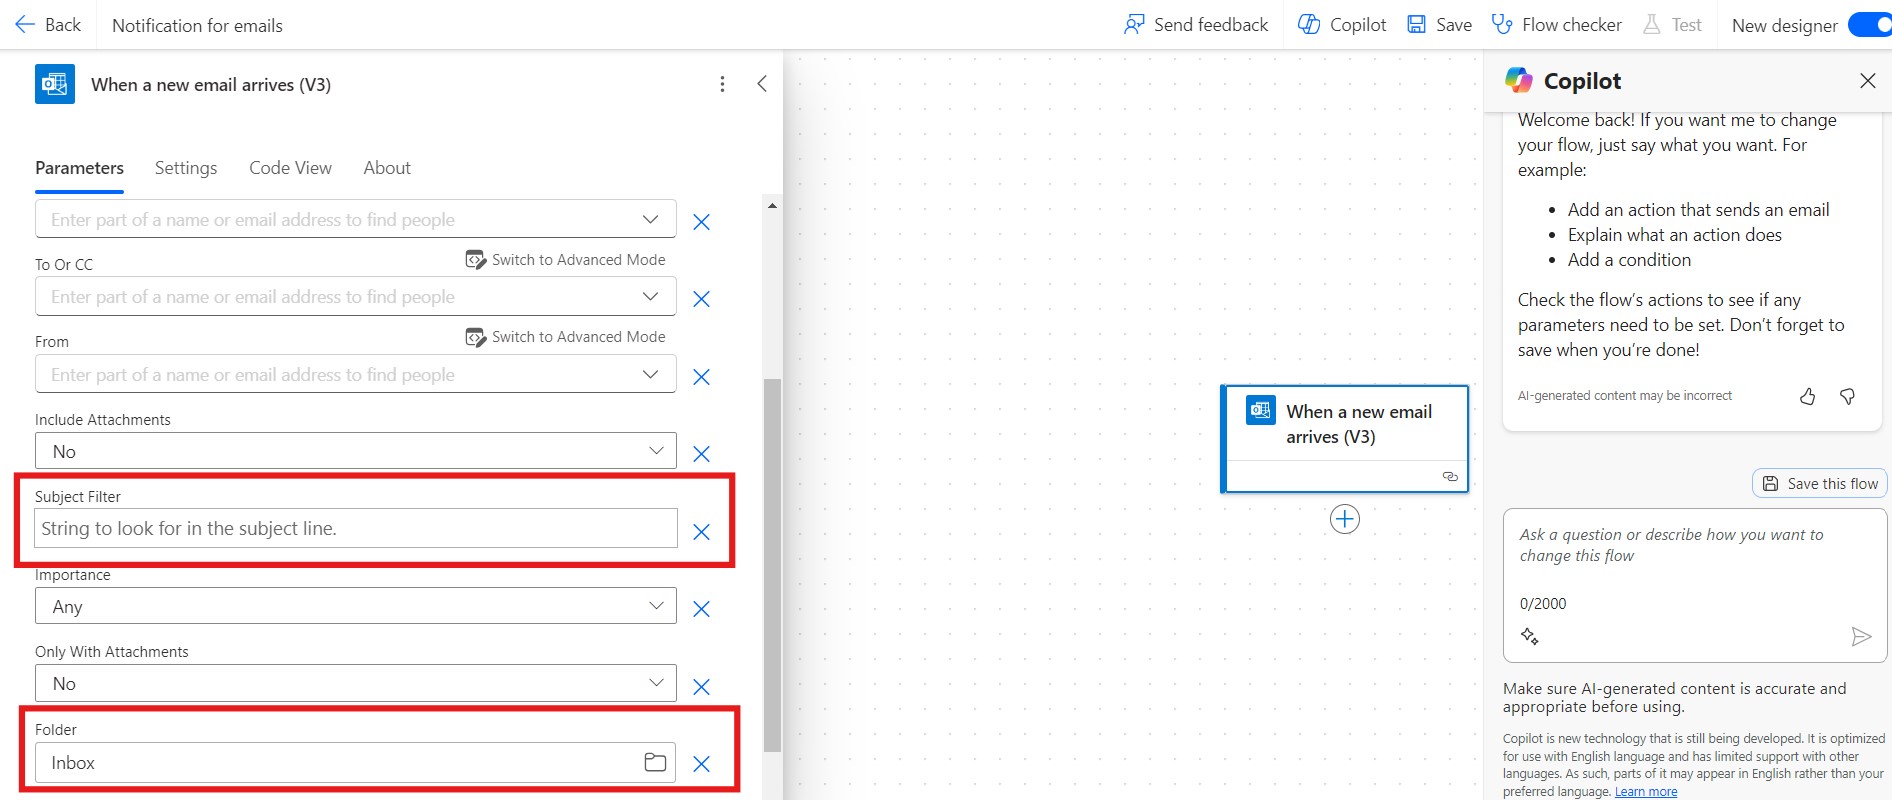
4, Choose the filters: In this screen we can use the Subject filter to filter the particular subjected or subject included emails to be posted on teams when received and we can use Folder to choose the other folders instead of default folder.
Refer a screenshot below.
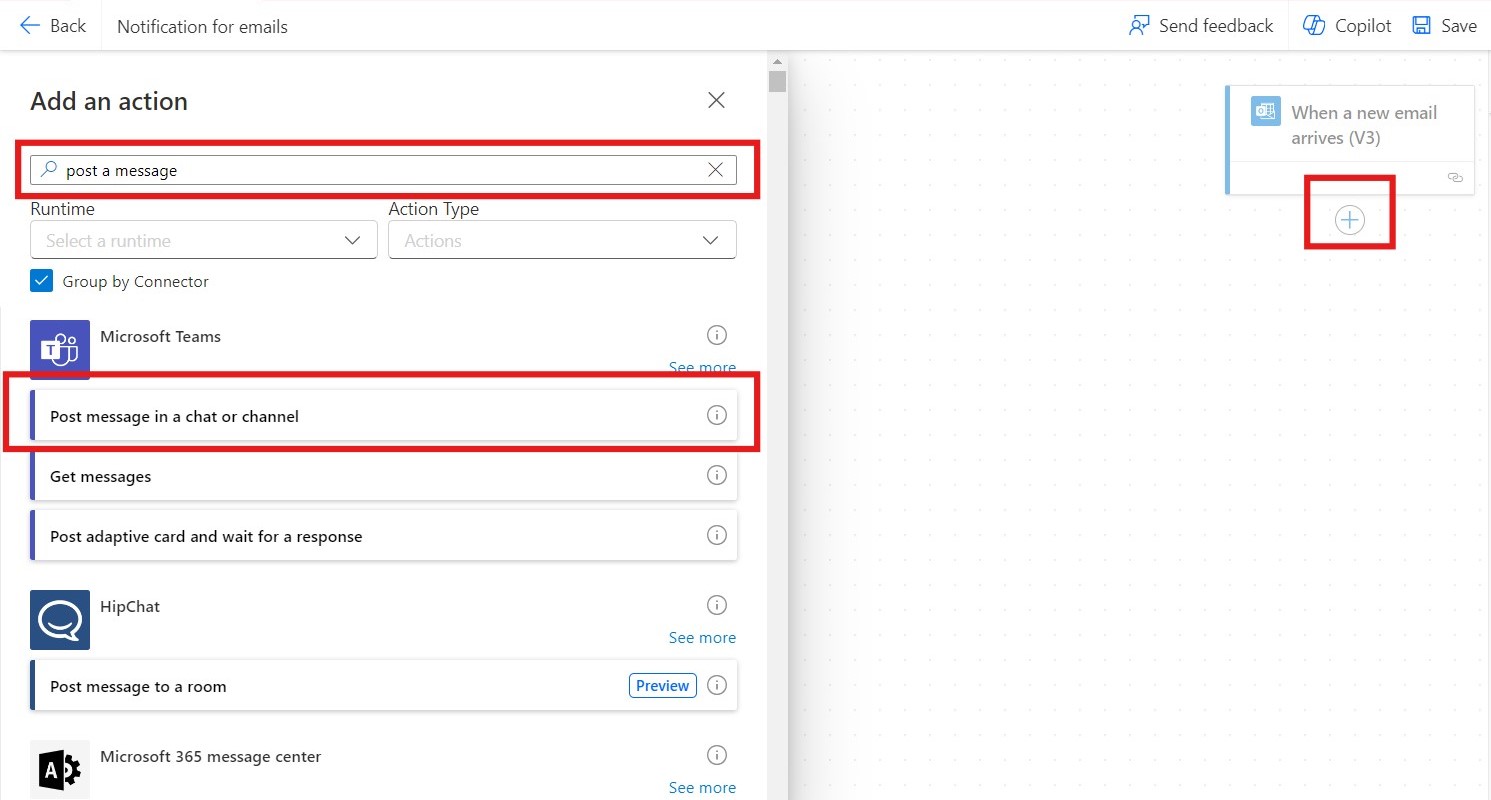
5, Add action: Now we need to add the action for the trigger by using “+” icon under the trigger and then we need to search “Post message in a chat or channel” and then select from the list.
Refer a screenshot below.
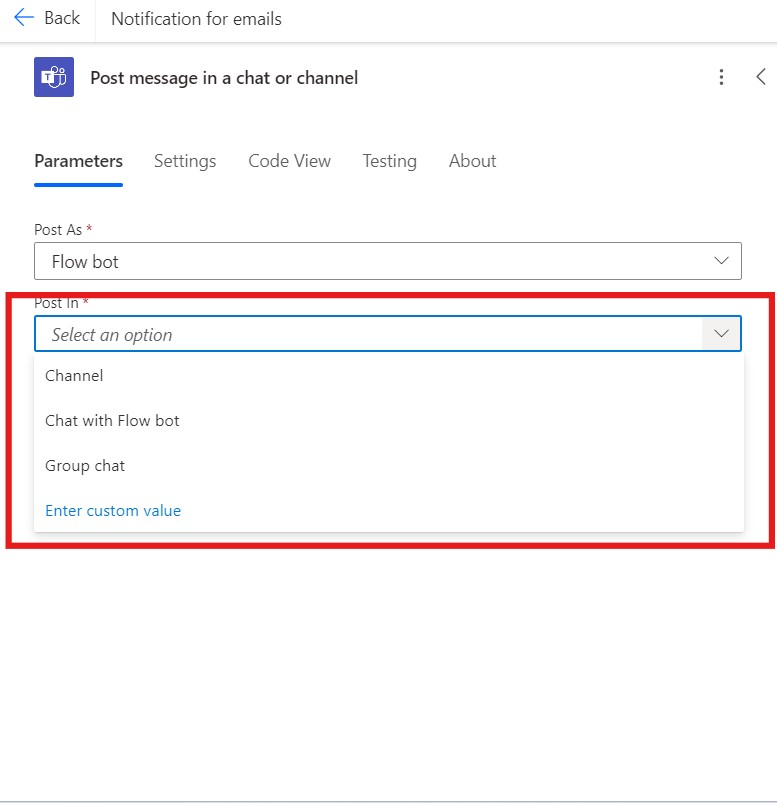
6, Choose where you want to post message in Teams: In this screen we have to choose where we need to post message on teams, there are three options will be listed.
Refer the below screenshot.
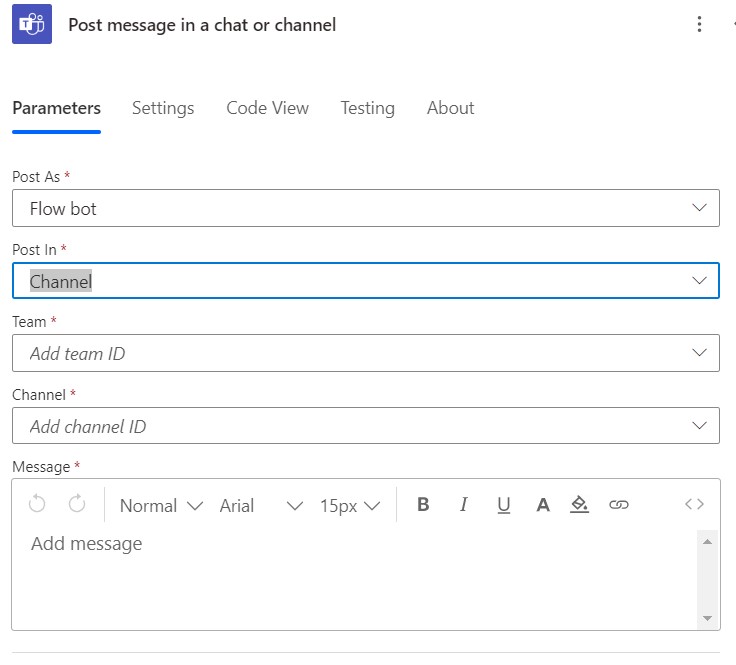
Refer the below screenshot for “Channel”.
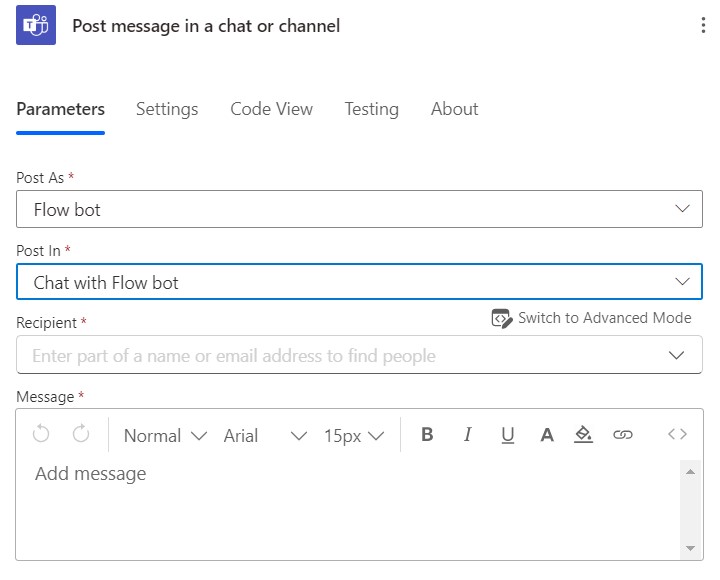
Refer the below screenshot for “Chat with Flow Bot”.
Refer the screenshot for “Group Chat”.

7, Mention the ID details: if you want to post a message to a person then mention his email id on “Recipient ID” by choosing the “chat with flow bot” and add the details (From, Subject, Timestamp and Body) of mail on message section.
Refer the below screenshot.
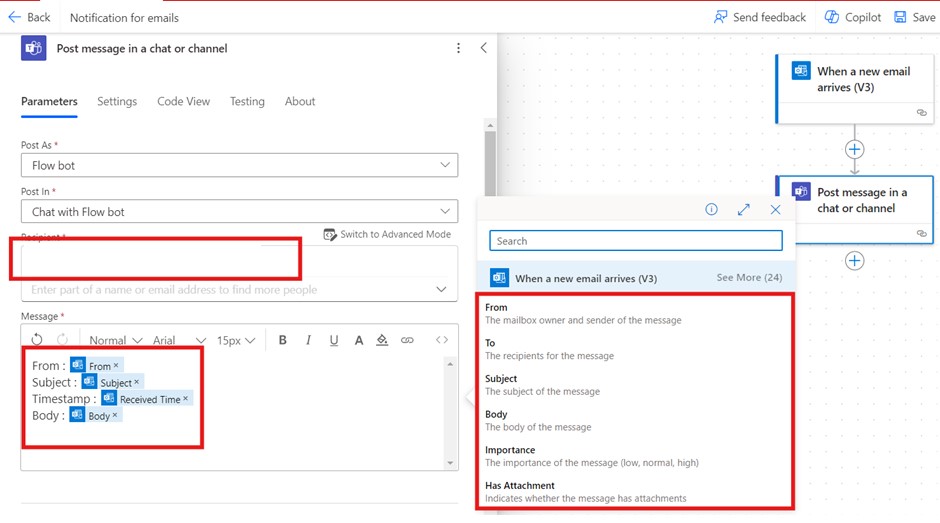
We can choose the Group name and Channel from drop down of recipient, remaining steps are the same for message details.
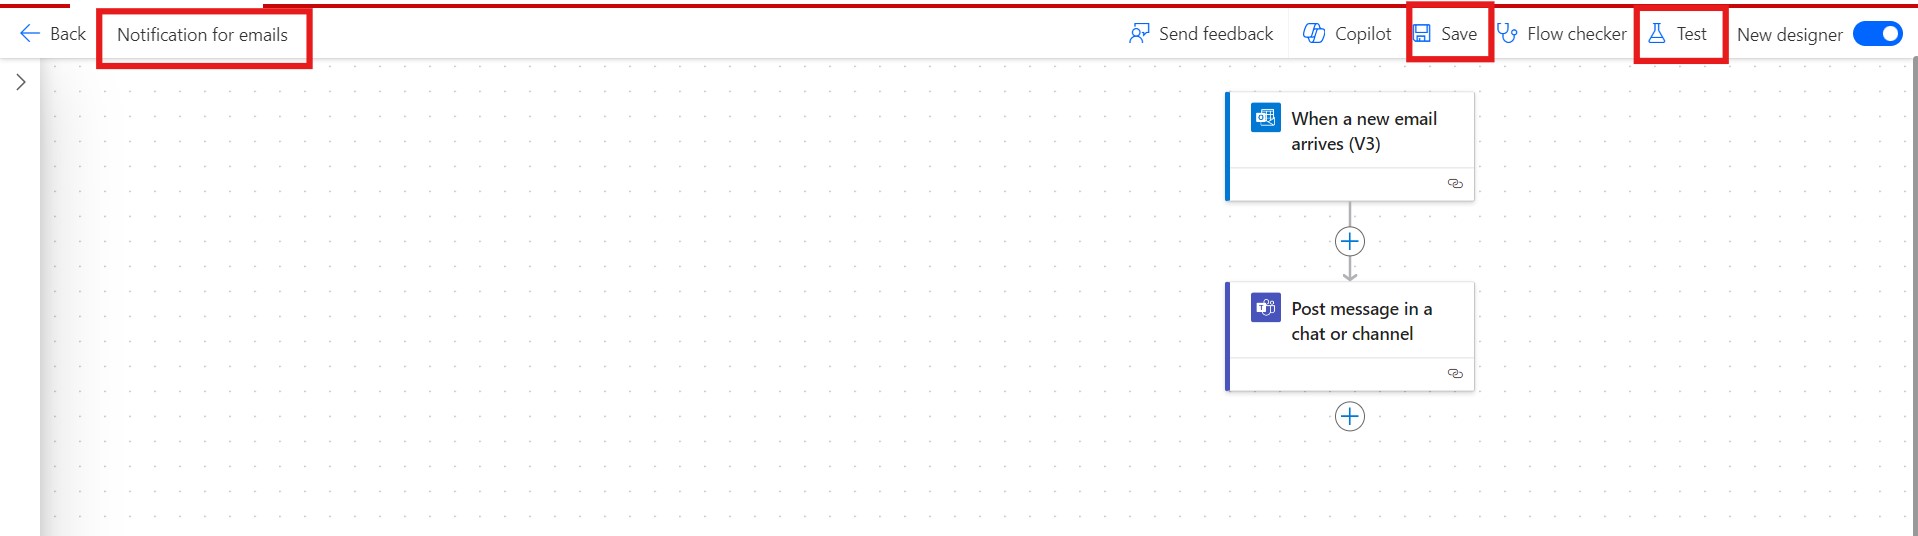
8, Rename the flow and then Save it and Test it by manual Test in top bar.
Refer the below screenshot.
Conclusion:
Posting email messages on Microsoft Teams is a powerful way to streamline communication and enhance collaboration within the organization. With this step-by-step guide, you can easily integrate email messages into your Teams workflow, making your collaboration efforts more efficient and organized.