INTRODUCTION
PostgreSQL is a powerful, open-source relational database management system (RDBMS) known for its advanced features, extensibility, and strong standards compliance. It supports both SQL for relational queries and JSON for non-relational data, making it versatile for a wide range of applications. Developed by a global community of contributors, PostgreSQL is highly reliable, with features such as ACID compliance, multi-version concurrency control (MVCC), and support for advanced data types. Its flexibility and scalability make it an ideal choice for small to enterprise-level applications.
Step 1
Browse the PostgreSQL website using the link below to download the software.
https://www.postgresql.org/download/
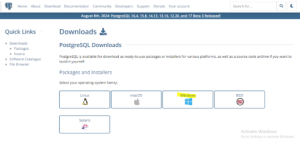
Step 2
Click the Windows suite to install on Windows.
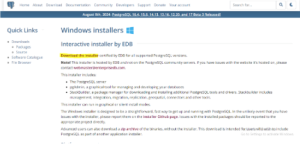
Step 3
Click the download installer option to download the PostgreSQL software.
Step 4
JFYI, the software file is downloading.

Step 5
Once the software has downloaded, you need to run it as an administrator.

Step 6
Here, we need to specify the installation directory for the software.

Step 7
Once the software has been installed, we need to select the options we require.

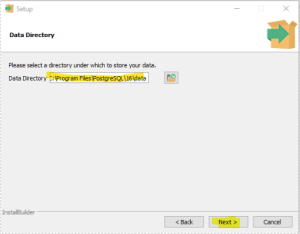
Step 8
Here, we need to select the location for data storage.
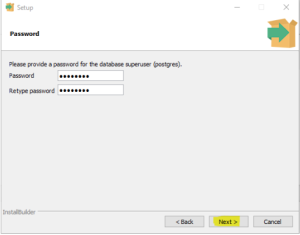
Step 9
Here, we need to create a password for the database user.
Step 10
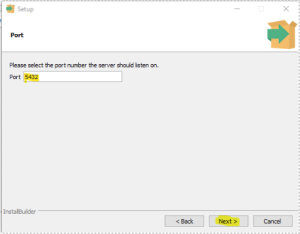
Set up the port. Note: 5432 is the default port for the PostgreSQL database.
Step 11
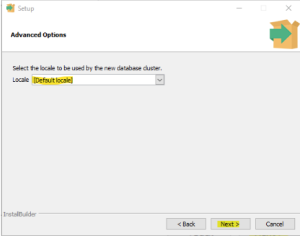
Here we need to use the default locale for the database cluster.
Step 12
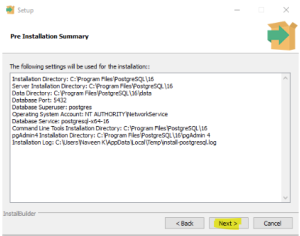
Click ‘Next’ to proceed further.
Step 13
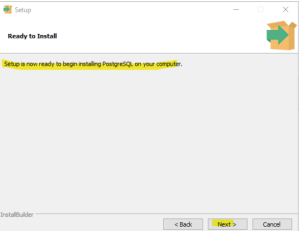
The installation is ready to begin installing PostgreSQL.
Step 14
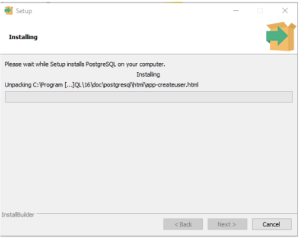
The installation process is ongoing.
Step 15
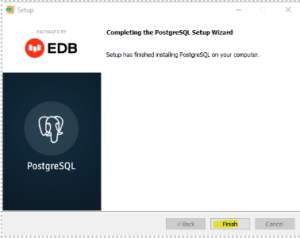
The installation has been completed.
Step 16
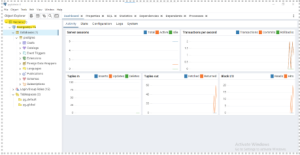
On the server, the PostgreSQL default database is available as shown in the snapshot below.
Step 17
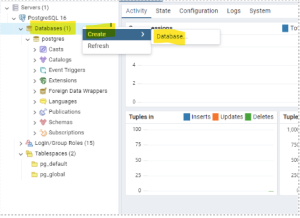
Right-click the ‘Database’ option and select ‘Create Database’ to create a new database.
Step 18
Enter the database name in the field below.
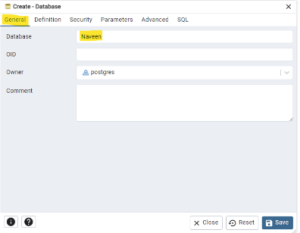
Step 19
Here, we need to assign the privileges as required and finally the database is created.
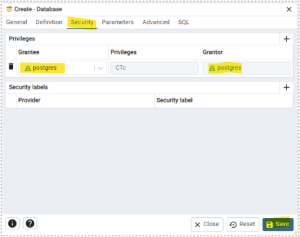
Step 20
JFYI, the database was created.

