Posted by Gangainathan Muthuraman
Introduction:
This Document demonstrates how to do SSL Configuration on R12.
Prerequisite:
OS level Required rpm’s:
- xmlsec1-openssl-1.2.6-3
- openssl-0.9.7a-43.18.el4
- openssl-devel-0.9.7a-43.18.el4
- openssl-devel-0.9.7a-43.18.el4
- xmlsec1-openssl-1.2.6-3
- openssl096b-0.9.6b-22.46.el4_8.1
- openssl-perl-0.9.7a-43.18.el4
- openssl-0.9.7a-43.18.el4
- openssl096b-0.9.6b-22.46.el4_8.1
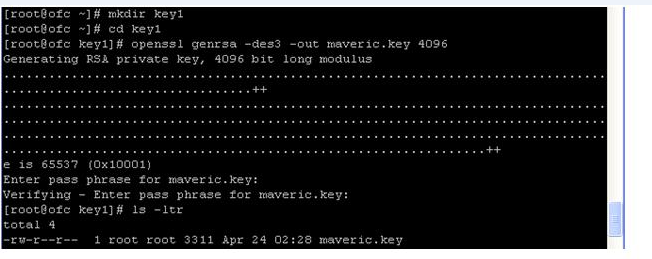
1. Generate Certificate:
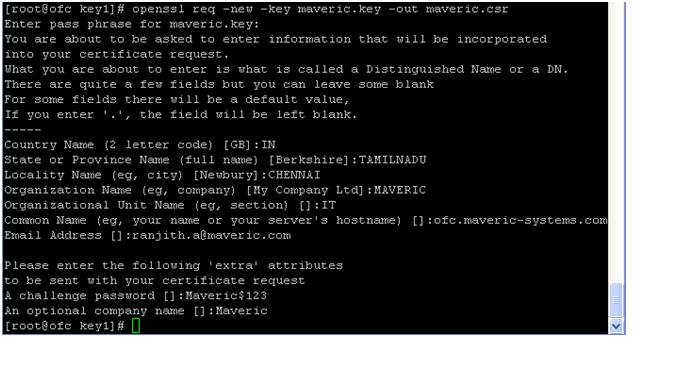

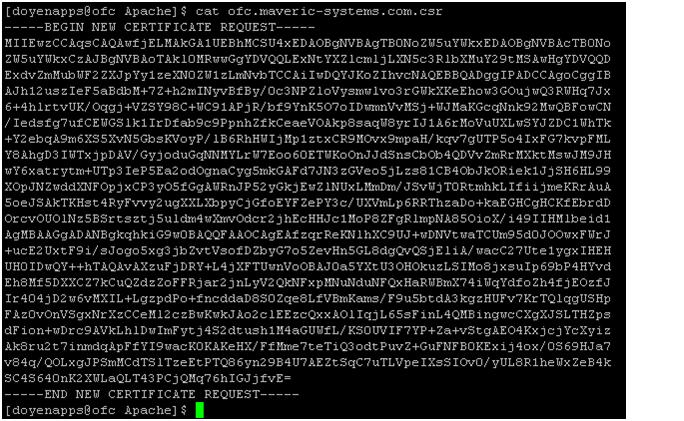
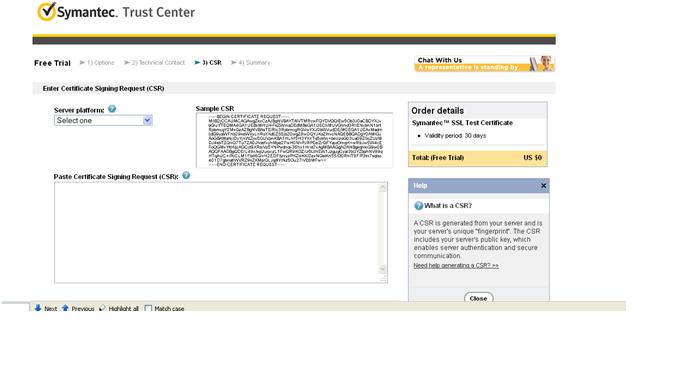
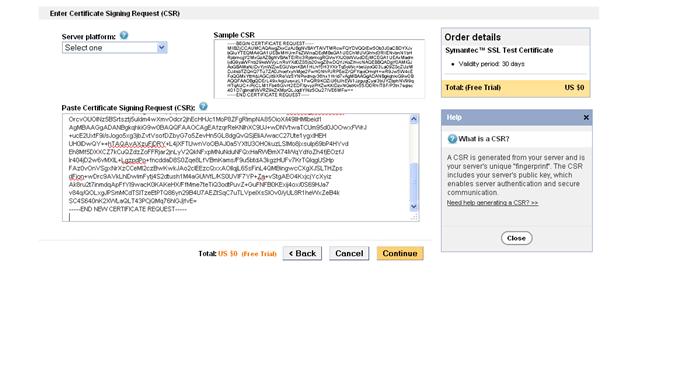
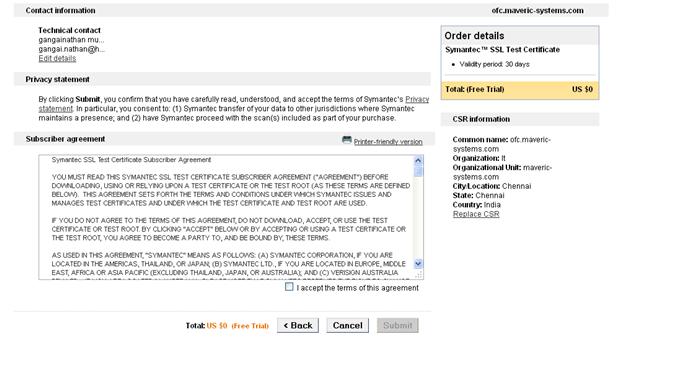
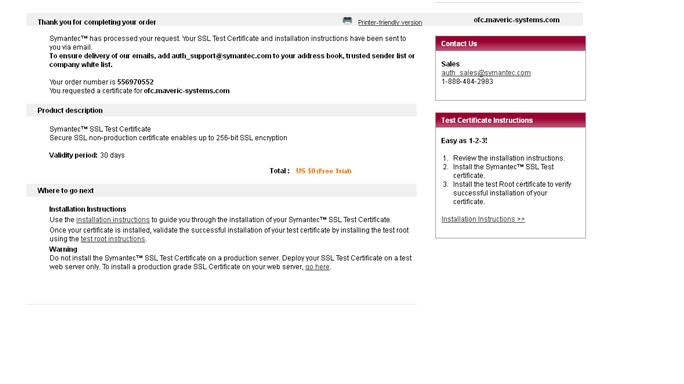
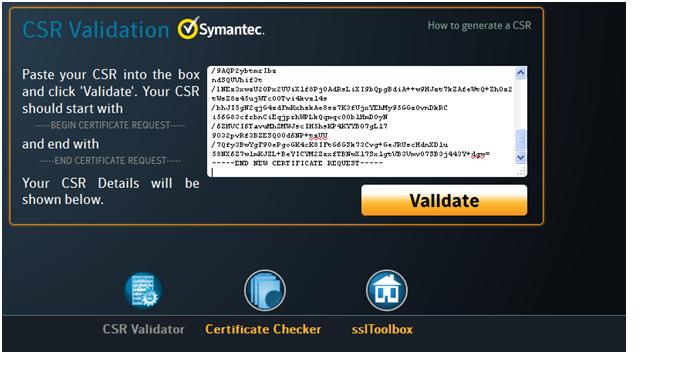
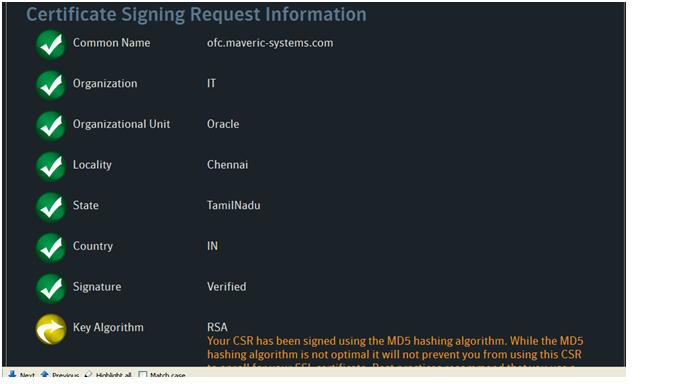
To Validate the Certificate login to “versign” site and click onto test login and select server platform as Apache copy and paste the above key “ofc.maveric-systems.com.csr” and click continue it will shows the valid certify or not. Note this steps to check the generate key is correct or not.
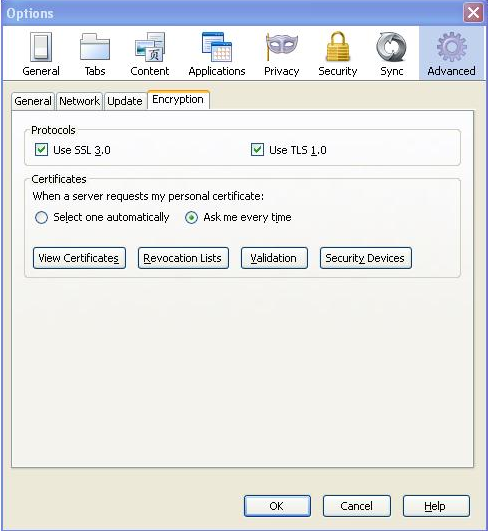
- Click and open the Firefox.
- Select Tools –> options–>Advanced–>Encryption
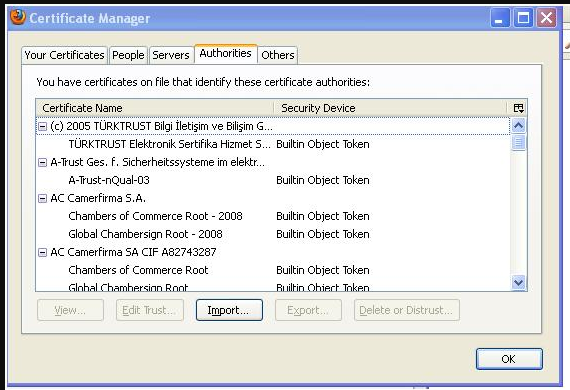
- Click on view certificates–> Authorities.
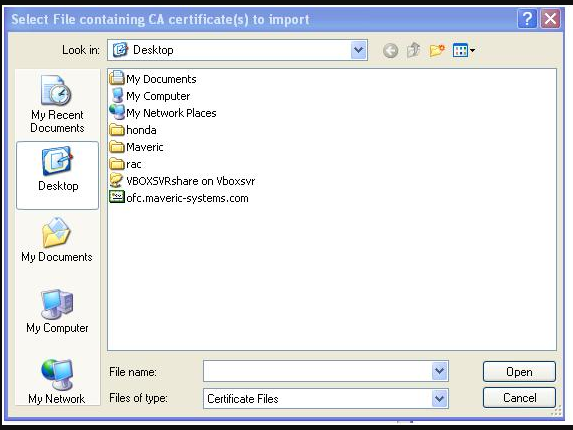
- Click on Import option and select the key form the location
- Select the key “ofc.maveric-systems.com.csr” key and click ok to import.
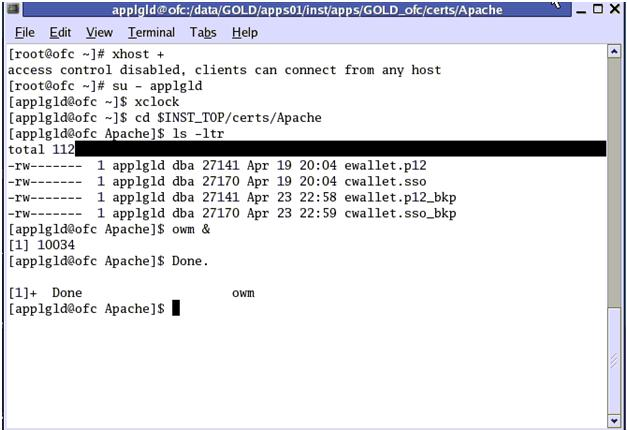
3. CREATING WALLET
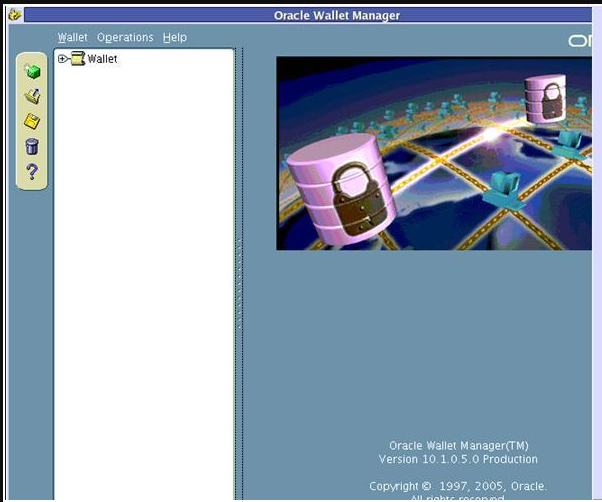
Go to wallet directory and enter the “owm&” command . It will open the Wallet Window.
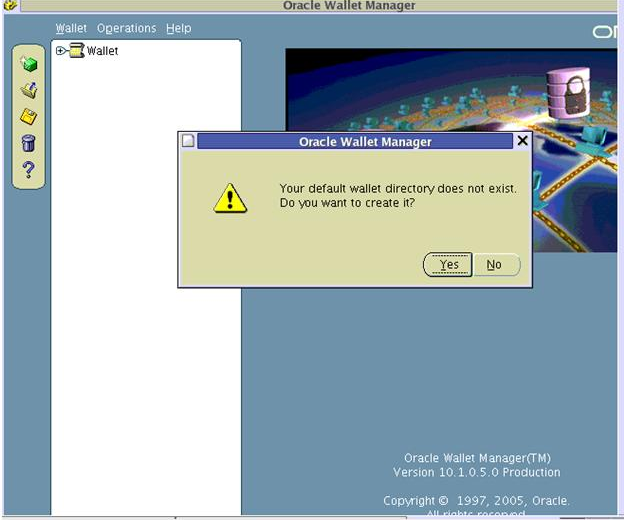
Click “NO” option because we already generated the authentication key.
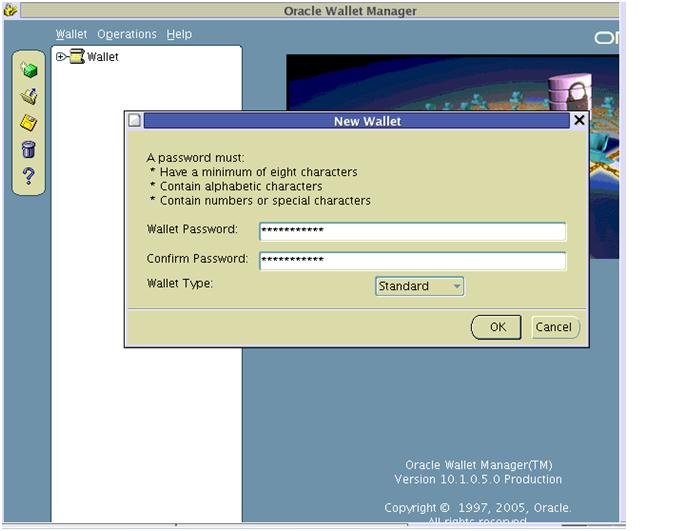
Enter the Password
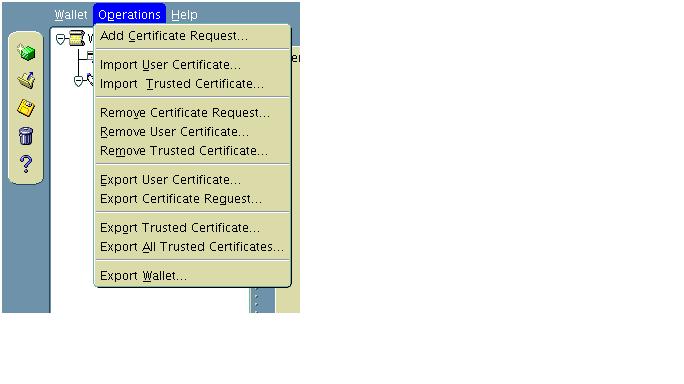
- Click on the Operations –>Export User Certificate.
- Now the browser window will appear select the Certificate “ofc.maveric-systems.com.csr” and press ok button it will Export the key.
- In our scenario after Export we have to import the key for wallet directory because we manually generate the certificate it is placed in /root ie., root home directory.
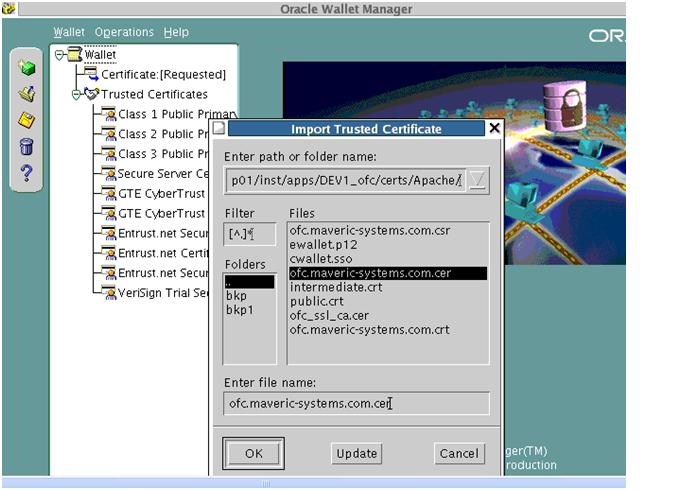
- Click on the Operations –>Import User Certificate.
- Now the browser window will appear select the Certificate “ofc.maveric-systems.com.csr” and press ok button it will Import the key.
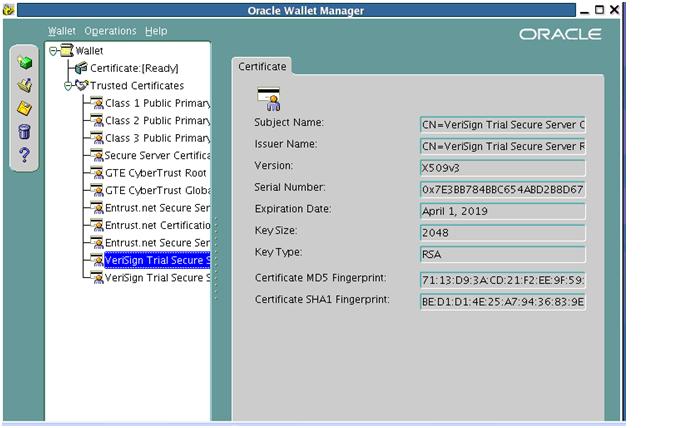
- Now click on Wallet select save option to save the wallet.
- Then select the Auto login.
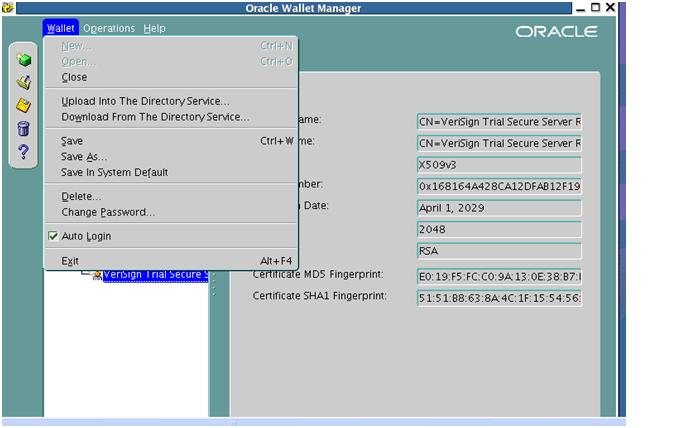
Now Press the Exit Button for “Exit” the Wallet.
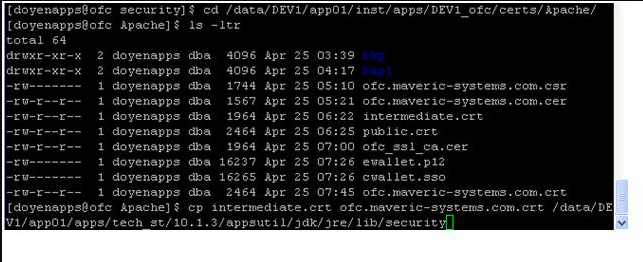
Import the CA Certificate you’ll also need to add the contents of ofc.maveric-systems.com.crt file to b64InternetCertificate.txt file located in“$ORACLE_HOME/sysman/configsysman/config/b64InternetCertificate.txt”.
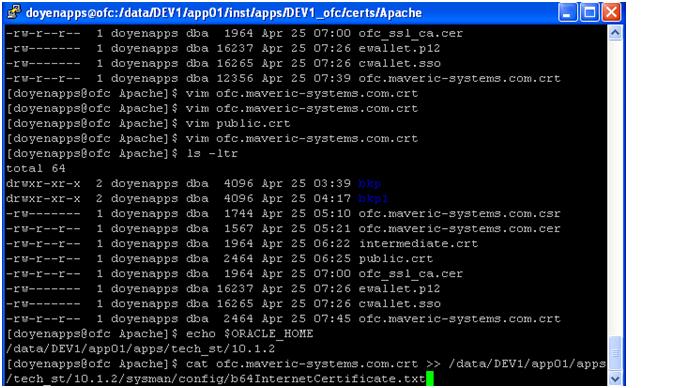
We also provided an Intermediate Certificate (intermediate.crt) then we will also need to add that to the b64InternetCertificate.txt
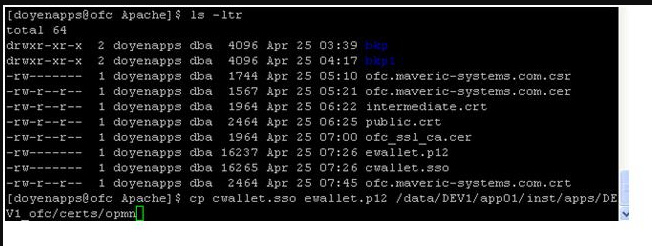
4. Modify the OPMN wallet
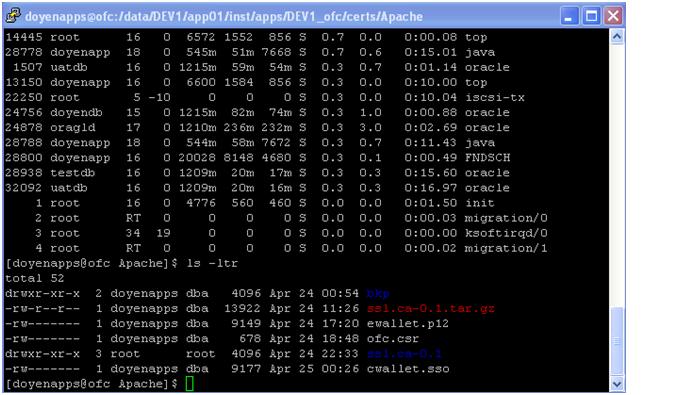
The E-Business Suite Rapid Install process creates a default “demo” opmn wallet in the $INST_TOP/certs/opmn directory that can be used in test instances for basic SSL testing. Now that the Apache wallet has been created we will need to to use these same certificates for opmn. Use the following steps to backup and copy the wallets.
- Navigate to the $INST_TOP/certs/opmn directory.
- Create a new directory named BAK
- Move the ewallet.p12 and cwallet.sso files to the BAK directory just created.
- Copy the ewallet.p12 and cwallet.sso files from the $INST_TOP/certs/Apache directory to the $INST_TOP/certs/opmn directory.
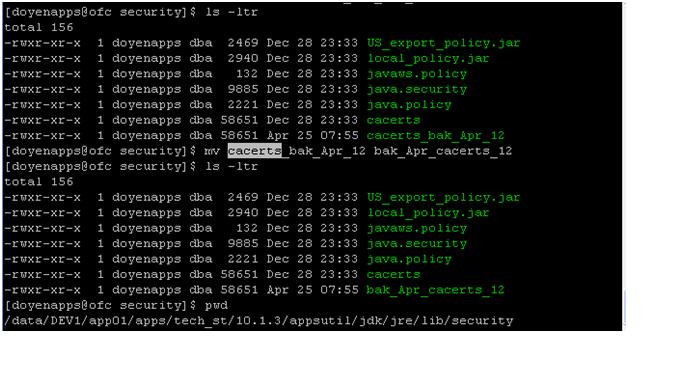
5. Update the JDK Cacerts File
Oracle Web Services requires the Certificate of the Certifying Authority server certificate (ofc.maveric-systems.com.crt from the previous step) to be present in the JDK cacerts file. In addition, some features of XML Publisher and BI Publisher require the server certficate (ofc.maveric-systems.com.crt from previous step) to be present, Follow these steps to be sure these requirements are met.
- Navigate to the $OA_JRE_TOP/lib/security directory
- Backup the existing cacerts file.
- Copy the ofc.maveric-systems.com.crt and Intermediate.crt files to this directory and issue the following command to insure thatcacerts has write permissions.
- $ chmodu+wofc.maveric-systems.com.crt.
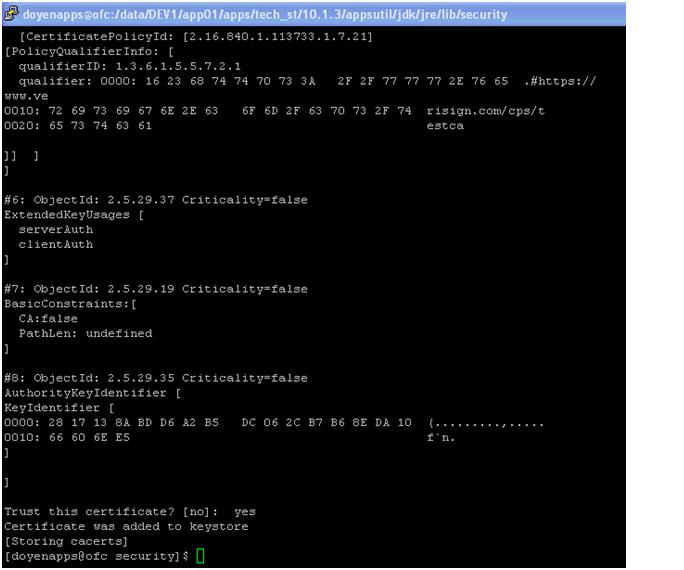
Add your Apache intermediate.crt and ofc.maveric-systems.com.crt to cacerts by the following commands.
$ keytool -import -alias ApacheRootCA -file intermediate.crt -trustcacerts -v -keystorecacerts
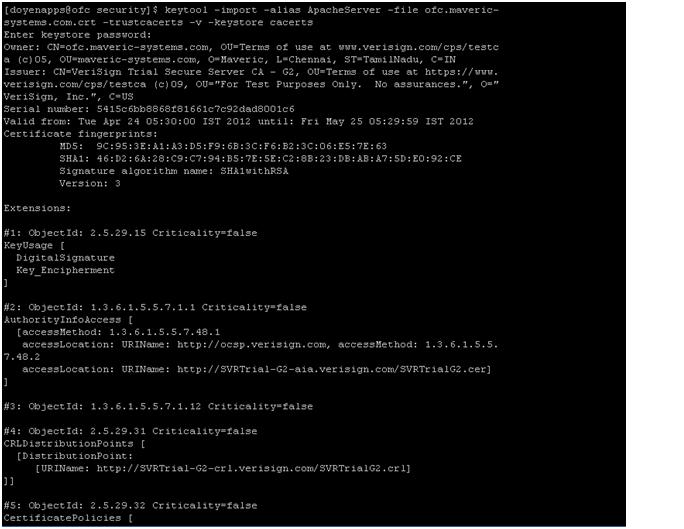
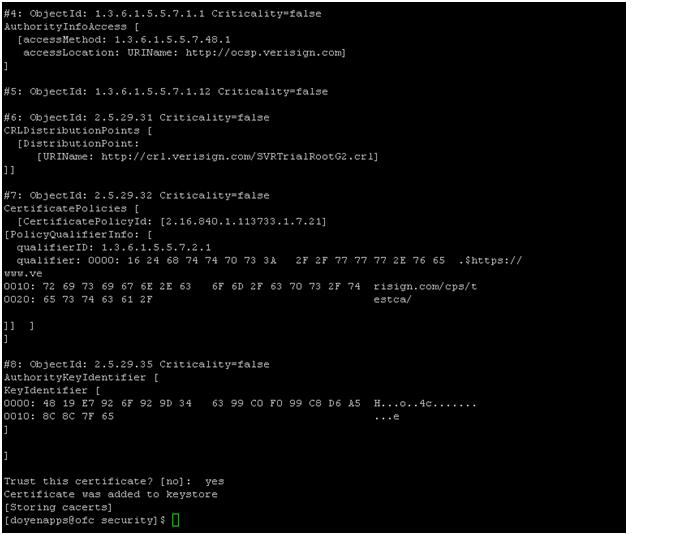
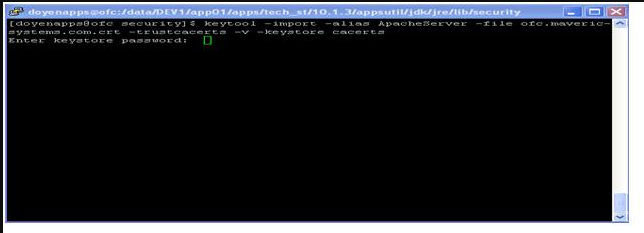
$ keytool -import -alias ApacheServer -file ofc.maveric-systems.com.crt -trustcacerts -v -keystorecacerts
(It will ask the password, enter the password (Abc123.) this passwd will given while creating the certificate ).

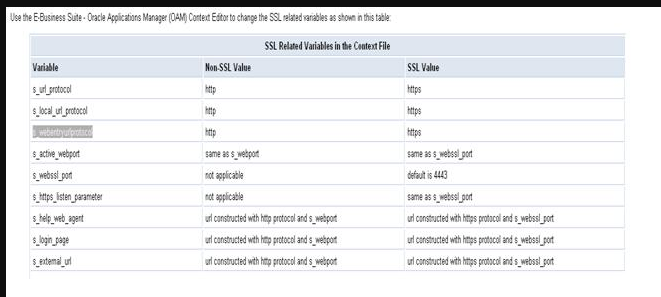
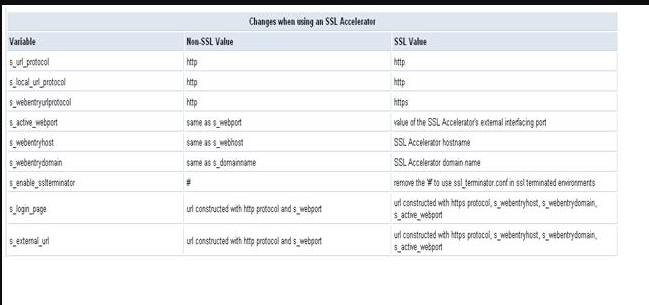
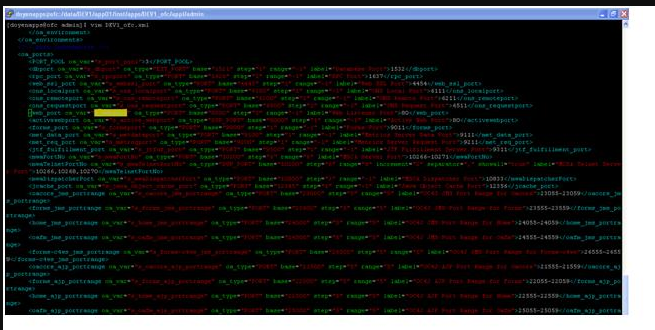
6. CONTEXT_FILE
Then we have to do the following changes in the “CONTEXT_FILE”.
Run Autoconfig
7. CLEAR the Persistenance
rm -fr $INST_TOP/ora/10.1.3/j2ee/oacore/persistence/*
rm -fr $INST_TOP/ora/10.1.3/j2ee/oafm/persistence/*
rm -fr $INST_TOP/ora/10.1.3/j2ee/forms/persistence/*
Run the following commands on the middle (web) tier Oracle Config home:
- $ cd $ORA_CONFIG_HOME/10.1.3/Apache/Apache/bin
- $ ls -la
- $ chown root .apachectl
- $ chmod 6750 .apachectl

Before Starting the Instance we have to do the following changes.
$ cd $ORA_CONFIG_HOME/10.1.3/Apache/Apache/bin
$ ls -la
$ chowndoyenapps .apachectl
$ chmod 6750 .apachectl
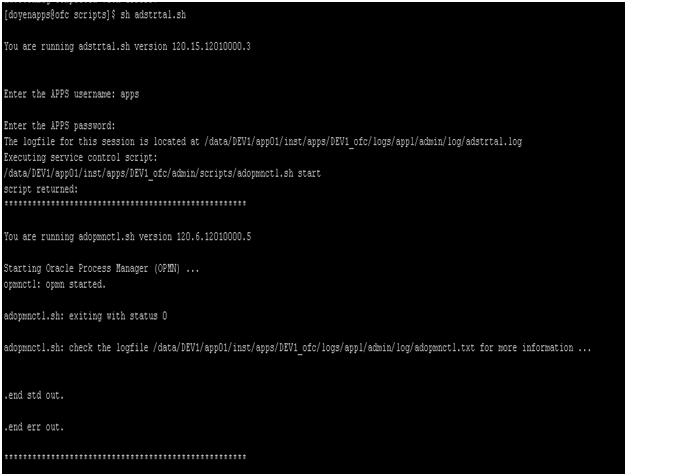
8. Start Services
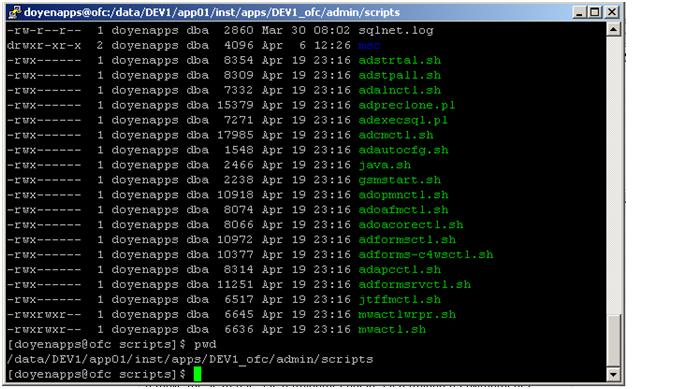
$ sh adstrtal.sh