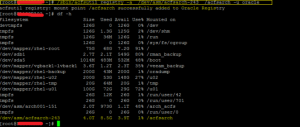
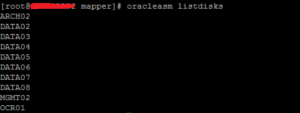
Step 1: List the disks using the below command.
#oracleasm listdisks
Step 2: Create the oracleasm disk using the below command.
#oracleasm createdisk ARCH03 /dev/mapper/DISK014_ARCH_4T1
![]()
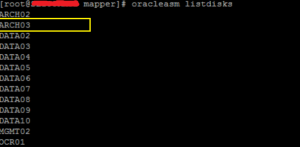
Step 3: Scan the disks using the below command on the other node.
#oracleasm scandisks

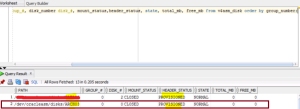
Step 4: Verify the header status of the path is provisioned using the below query.
select path, group_number group_#, disk_number disk_#, mount_status,header_status, state, total_mb, free_mb from v$asm_disk order by group_number;
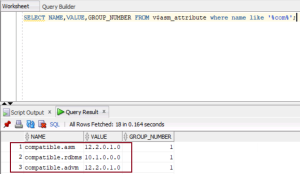
Step 5: Find the compatible values for the asm attributes using the below query.
SELECT NAME,VALUE,GROUP_NUMBER FROM v$asm_attribute where name like ‘%com%’;
compatible.asm 12.2.0.1.0 1
compatible.rdbms 10.1.0.0.0 1
compatible.advm 12.2.0.1.0 1
Step 6: Create the diskgroup for the acfs filesystem using the below command.
CREATE DISKGROUP FRA EXTERNAL REDUNDANCY DISK ‘/dev/oracleasm/disks/ARCH03’ NAME FRA_01 ATTRIBUTE ‘compatible.asm’ = ‘12.2.0.1.0’,
‘compatible.rdbms’=’12.2.0.1.0’ ,
‘compatible.advm’ = ‘12.2.0.1.0’;
![]()
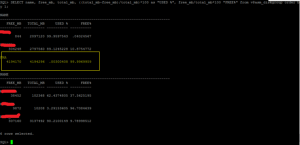
Step 7: Verify the diskgroup has been created using the below query.
SELECT name, free_mb, total_mb, ((total_mb-free_mb)/total_mb)*100 as “USED %”, free_mb/total_mb*100 “FREE%” from v$asm_diskgroup order by 1;
Step 8: Mount the diskgroup using the below command.
ALTER DISKGROUP FRA MOUNT;


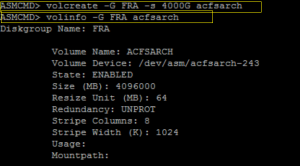
Step 9: Create the volume using the below command and verify the created volume information using the below command.
volcreate -G FRA -s 4000G acfsarch
volinfo -G FRA acfsarch
Step 10: Create the acfs file system
mkfs -t acfs -f /dev/asm/acfsarch-243

Step 11: Create a directory from the root user and provide the required privilege (in both nodes)
mkdir -p /acfsarch
chown oracle:oinstall /acfsarch
![]()

Step 12: Register the file system using the below command from the root user and verify the file system on both the nodes.
/sbin/acfsutil registry -a /dev/asm/acfsarch-243 /acfsarch -u oracle
df -h /acfsarch
