BACKUP AND RESTORE BOOT VOLUME IN OCI
Introduction
In Oracle Cloud Infrastructure (OCI), it’s crucial to have a backup of the boot volume of your instances to ensure data and system availability in case of any unexpected events. The boot volume contains the operating system and other critical files that are necessary for the instance to function properly. This blog post will cover the steps for backing up and restoring a boot volume in OCI.
Backing up a Boot Volume:
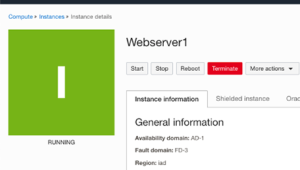
- Open the OCI Console and navigate to the “Compute” section.
- Select the instance for which you want to back up the boot volume. You should be able to see the instance provisioned in Availability Domain 1 of the Source Region.
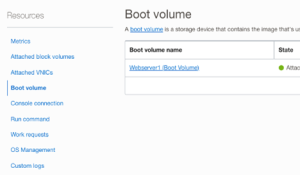
- Scroll down to Resources. Click Boot Volume to check the Boot Volume attached to the instance.
- When you click the attached Boot Volume, you will see the Boot Volume information. The Boot volume resides in the same Availability domain as your Compute instance.
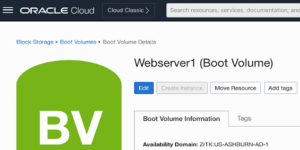
- Click on the “Boot Volume” option and then Click Create Boot Volume Backup to initiate the backup.

- Provide the Backup Name and Backup Type (as Full) to create a Boot Volume Backup.
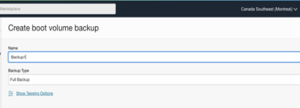
- Click the “Create Backup” button to initiate the backup process.
NOTE: It’s important to note that backups are stored in the Object Storage service and are automatically encrypted using the default encryption key. You can also choose to encrypt the backup using a customer-defined encryption key.
Restoring a Boot Volume:
- Go to Storage->Boot Volume Backup.
- Click the Actions buttons on the selected Boot Volume Backup to restore.
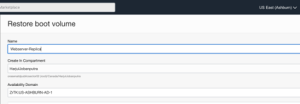
- Click Restore Boot Volume
- Provide the Name for the restored boot volume and select Availability Domain 1 as we need to restore the backup on the availability domain within the target region.
- Submit the request to restore the boot volume backup in Availability Domain 1 in the target region.
- Once the backup is restored, you will be able to see the Restored Boot Volume information below.

Create an Instance from the Backup
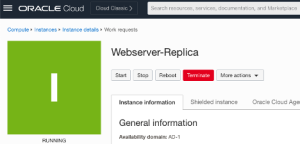
- Click Create Instance to create an instance in the Availability Domain 1 of the Target Region with the restored boot volume. The placement will be selected by default to AD 1 as the boot volume was restored in that Availability Domain. Provide the Name of the instance.

- Once the instance provisioning status change to Running (Available), you can validate the content on the instance.
Note: It’s important to note that you can only restore a boot volume to an instance that has the same operating system and architecture as the instance where the backup was taken.
Conclusion
In this blog post, we covered the steps for backing up and restoring a boot volume to an Instance in OCI. By creating a backup of your boot volume, you can ensure the availability of your instance and its data in case of any unexpected events. The process of backing up and restoring a boot volume is straightforward and can be completed quickly and easily using the OCI Console.