
Inplace Upgradation
Introduction:
- Upgradation involves overwriting existing SQL Server instance and upgrading from one version to another version.
- Applying a patch, Upgrading to New Version and Upgrading to new Edition. We can call it In-place Upgradation.
Steps:
- Pre-Upgrade Steps,
- Upgrade Steps,
- Post Upgrade Steps.
Pre-Upgrade Steps:
- Study the SQL Server minimum Hardware and Software Requirements.
- Run the Migration Assistance Tool to examine the report, fix or work around the backward Compatibility issues.
- Take the database backup including System and User databases completely.
- Use Sp_Configure to verify the same configuration after upgrading Screen.
Upgrade Steps:
First SQL Server needs to be upgraded to a higher version, then depending on your desire Service Pack or Cumulative Update needs to be installed. And after that, it is time for upgrading the compatibility level of each database to the higher versions.
- Locate the setup directory and double-click exe. This will open the SQL Server Installation Center.
- Go to Installation from the left panel.
- Press Upgrade from a previous version of SQL Server.
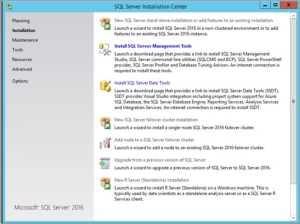
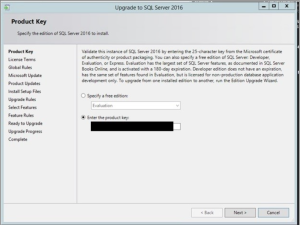
This will open the Upgrade to SQL Server 2016 Select the preferred options and provide product key. Also note that the product key will be there by default if you are using installation media provided by SAP as part of a run time license.
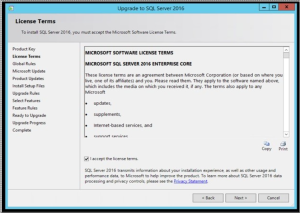
Select I accept the license terms and press Next.
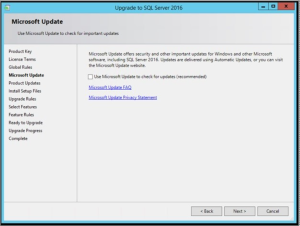
On the next screen you can select to check If there are available updates for SQL Server 2016. If there are then they’ll be displayed in the Product Updates dialog box. You can optionally include these updates as a part of the migration process, ensuring that you complete your upgrade with the most current software updates. Selecting the Include SQL Server product updates check box will install this update as a part of the upgrade process.
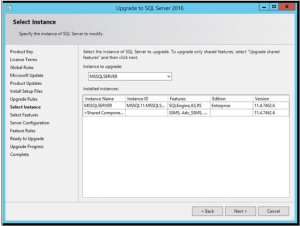
In the Select Instance screen, make sure the correct instance to be upgraded is selected and proceed further.
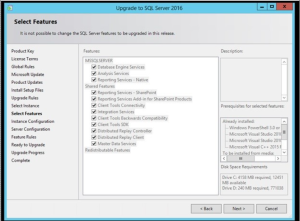
On the following screen the choices will be made by default, based on the installed features.
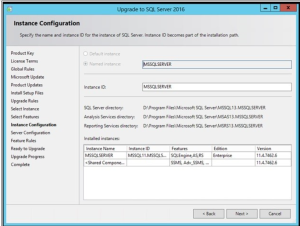
Here on the next screen, you can specify/validate the instance ID for the instance of SQL Server.
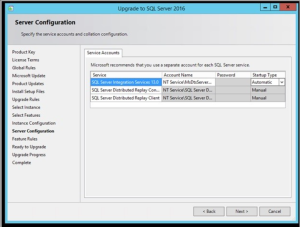
And on the following screen you can specify/validate the service accounts and collation configuration.
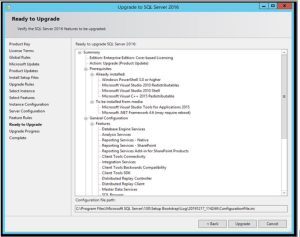
And we come to the Ready to Upgrade screen that displays a list of our configuration choices.
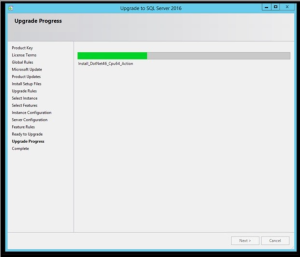
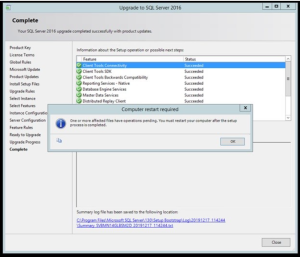
You should see Succeeded on all the individual upgrade steps. If not, look at the setup log for the upgrade process to begin troubleshooting.
After the upgrade process has completed, you are going to be notified that you need to reboot the server to finish out the process.
Now after the process is completed, and the system restarted, you can proceed with the second phase of the installation: SQL Server Service Pack (SP) and / or Cumulative Update (CU) Builds.
Post-Upgrade Steps:
- Check all the components are upgraded to higher version.
- Check the Services are running or not.
- Check the DB, Logins, Jobs, and Maintenance plans remain the same in the SQL Server.
Note: If the instance is configured with High Availability, then break the HA and install higher Version and then try to reconfigure HA one more time.