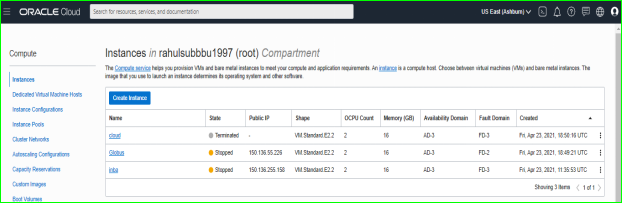
Now we are going to create an instance in cloud.
Create a VM instance. Click compute —>instance—>create instance.
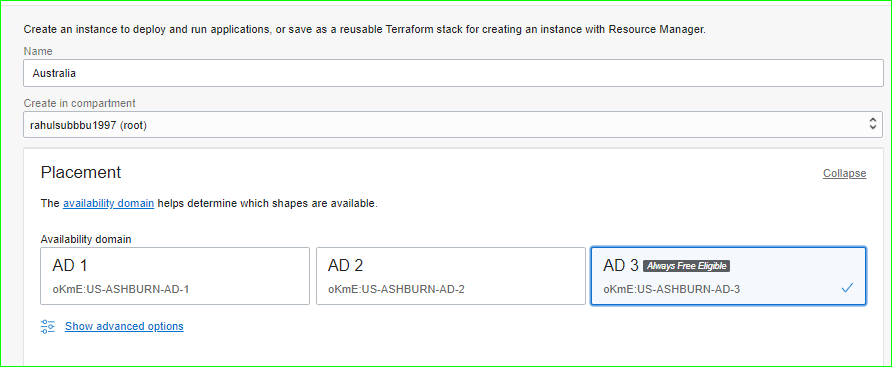
Give name to your instance and choose in which compartment you want to create.
Choose the OS version for our instance.(by using change image option)
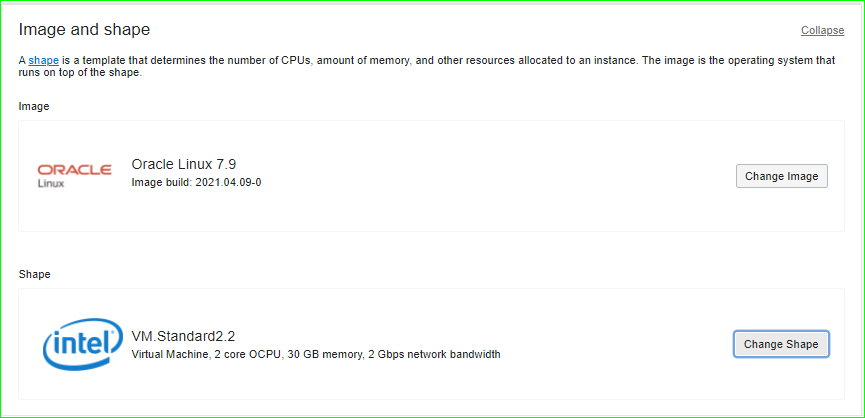
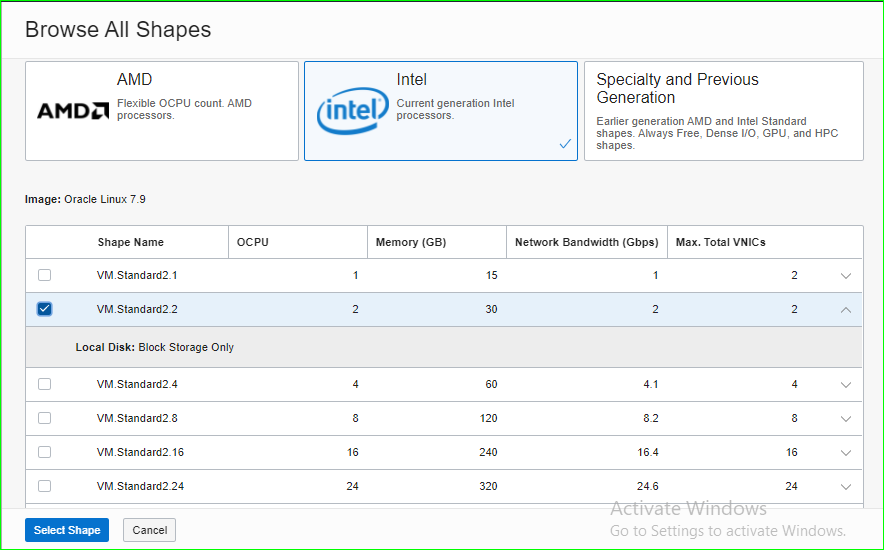
Choose the required shape,OCPU ,memory and network bandwidth for our instance.
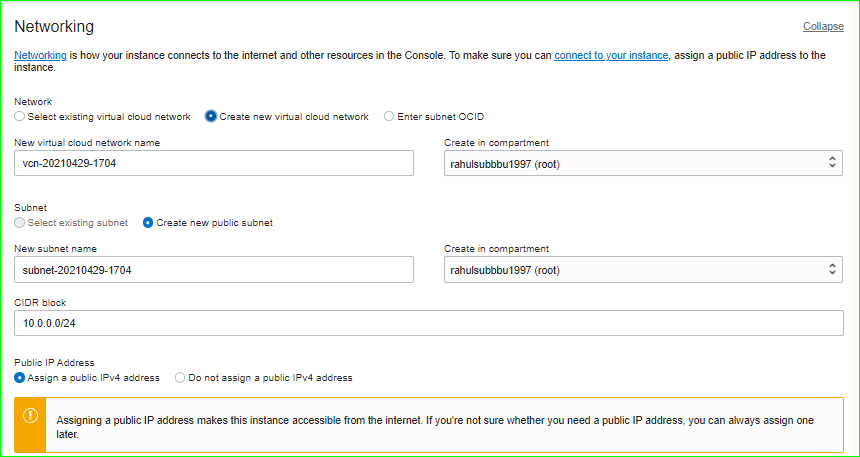
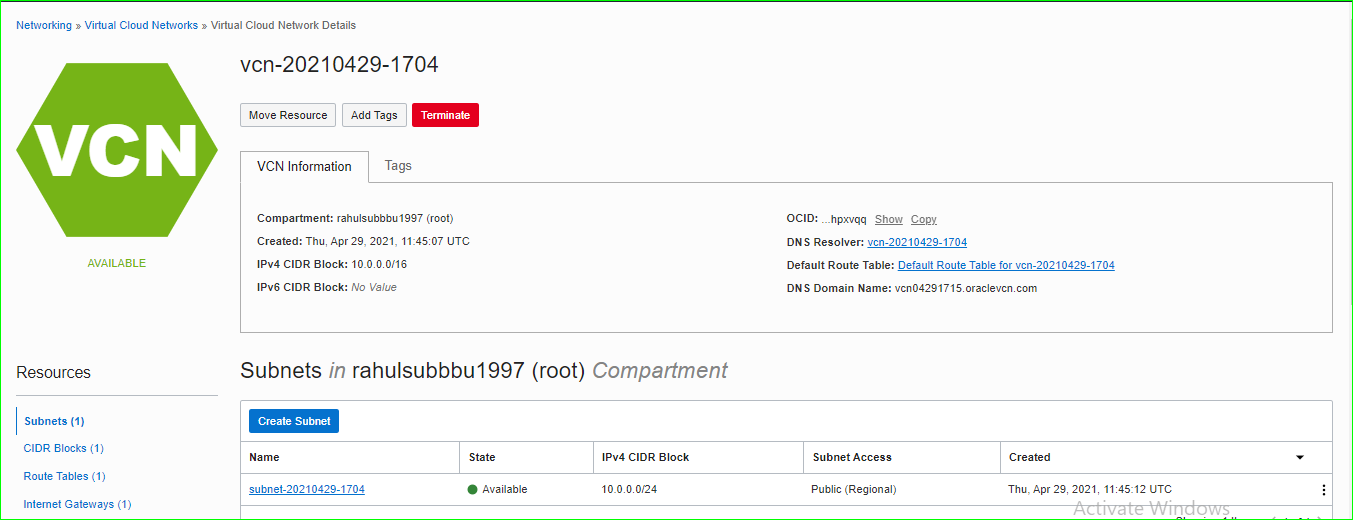
Create and configure a VCN for the instance.
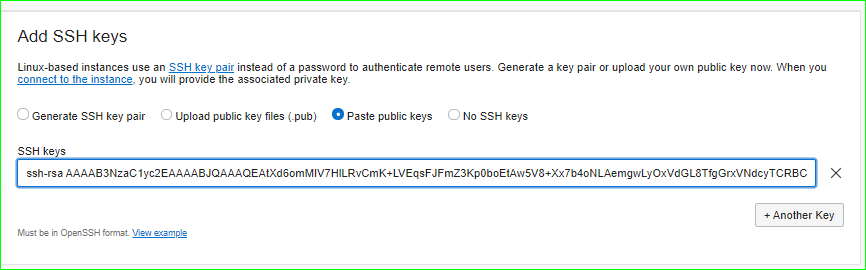
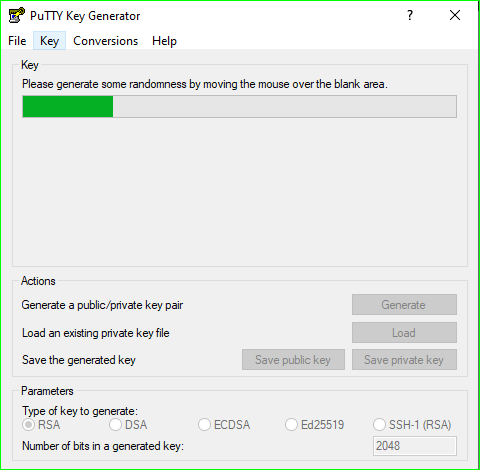
Add SSH key,open puttygen and generate the private and public key.
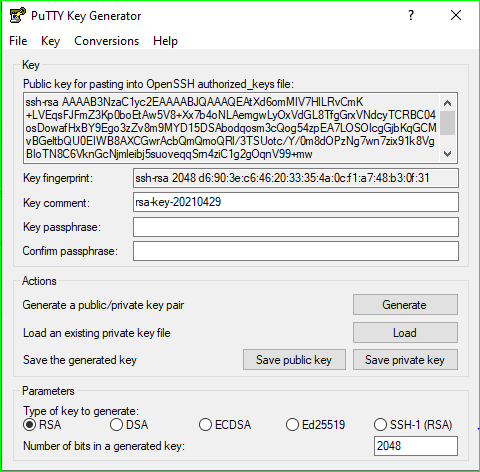
Paste the public key in SSH keys box and save the private key.
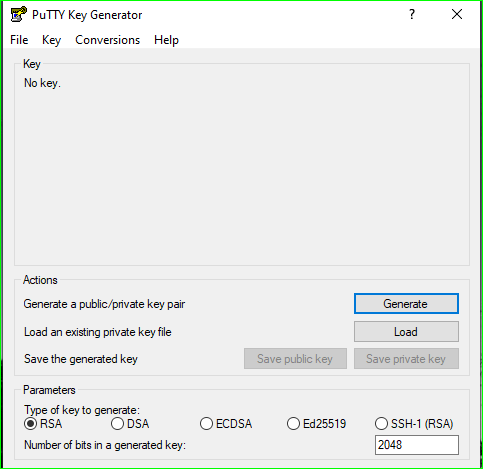
Now we are going to generate public and private key.
Open puttygen—> click generate, key will be generated.paste the public key in the OCI SSH key location and save the private key it will be used to connect the OCI instance using putty.
Configure the boot volume for our instance, default value is 46.6 GB,but I give a customized value (100).
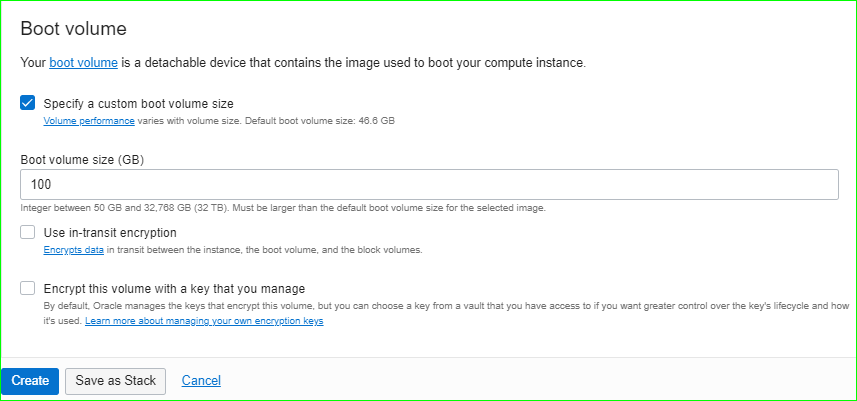
Yes, we have configured our instance specifications and click create to create our instance.
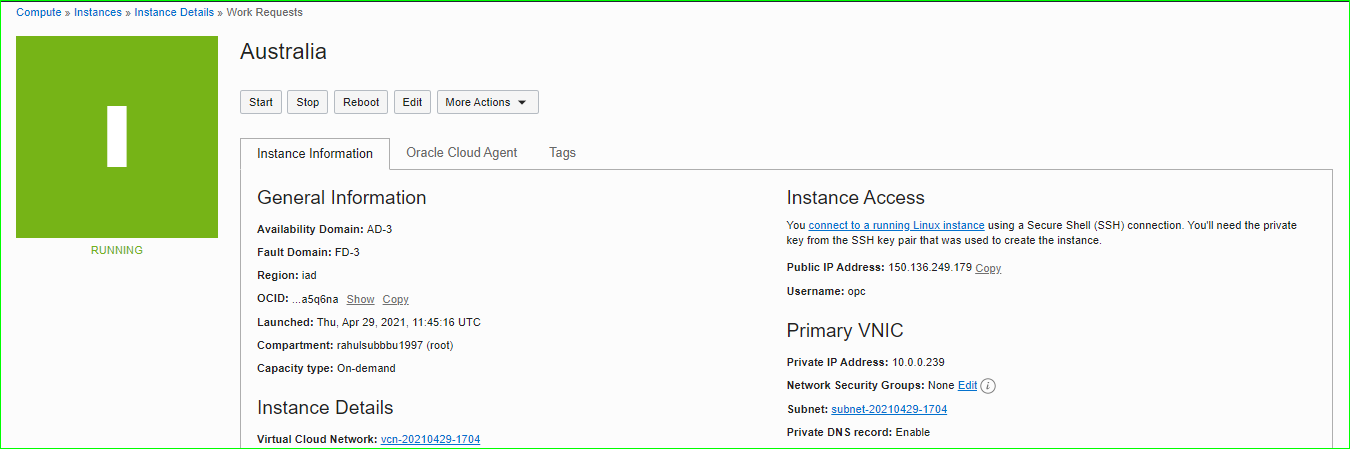

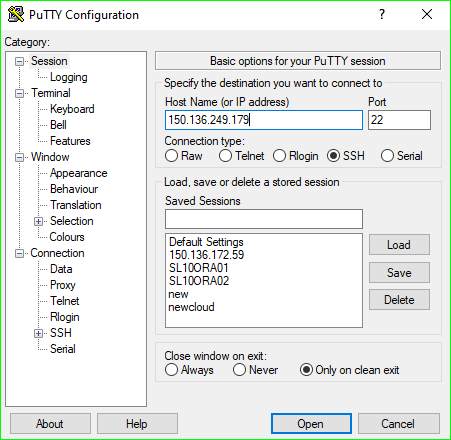
Login to the putty using the public IP address.

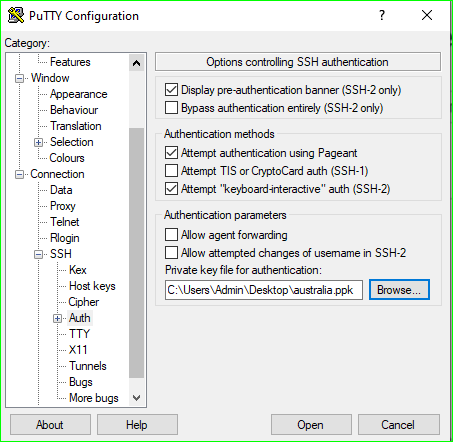
Then browse the location of the private key.(SSH—>Auth—>browse the location of the private key (.ppk file)
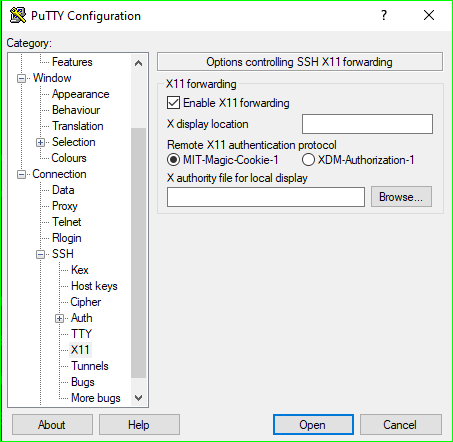
Enable X11 forwarding option.(SSH—> X11)
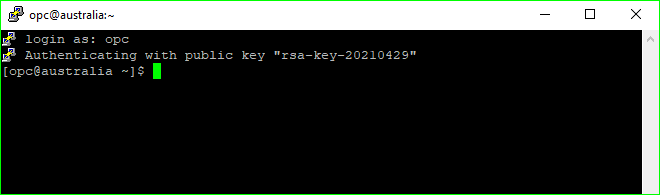
After changing these things open the putty.
To allow all other netwoks connect to OCI
Click Networking—-.> Virtual Cloud Networks,it displays the list of VCN ,select the VCN from the lists which is configured to our instance.

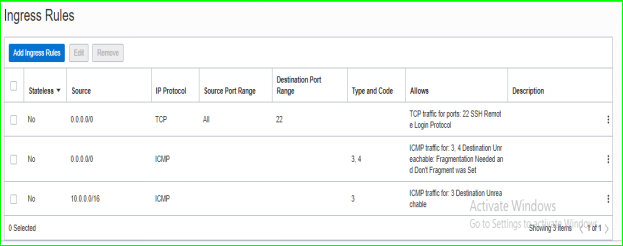
Click security list in the resources (Resources—->security list) and select the default security in the available name.

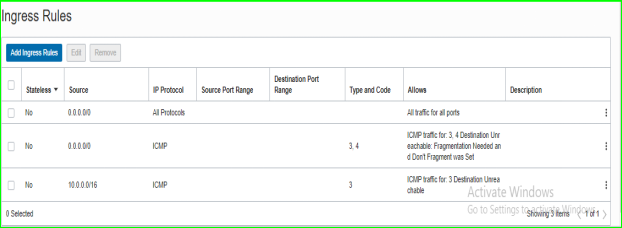
By default it will allow only the port 22 , we have to change the setting to allow all ports.
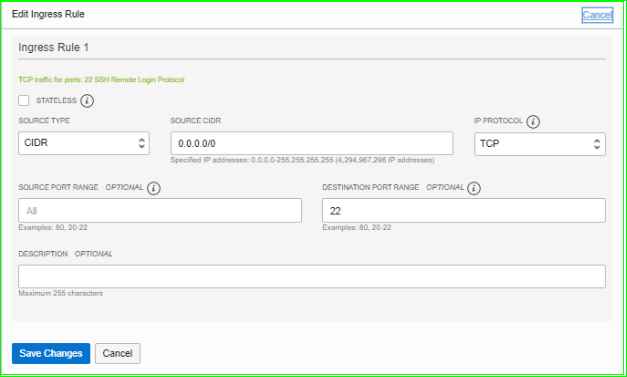
To do that,click the three dots in the right hand side of the VCN window.
By default the IP protocols will be TCP,change it to all protocols to allow all the ports to connect over the internet.
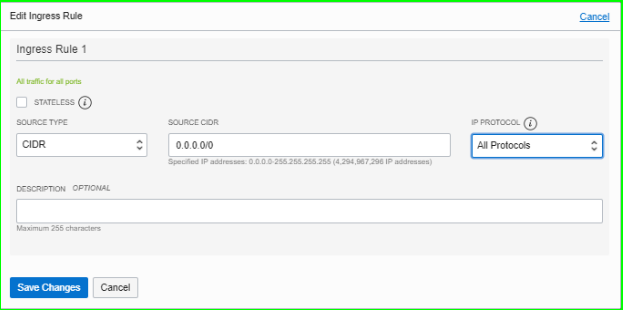
After changing the protocols it looks like the below.
Now I am going to add the block volume to my OCI instance.
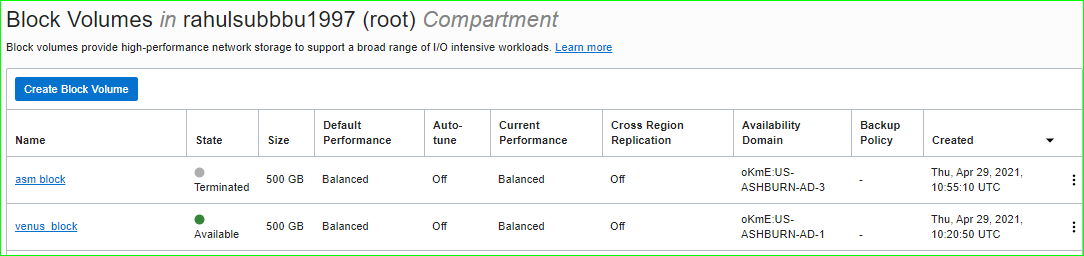
Click Block storage—>Block volumes
Click create block volume to create the block volume.
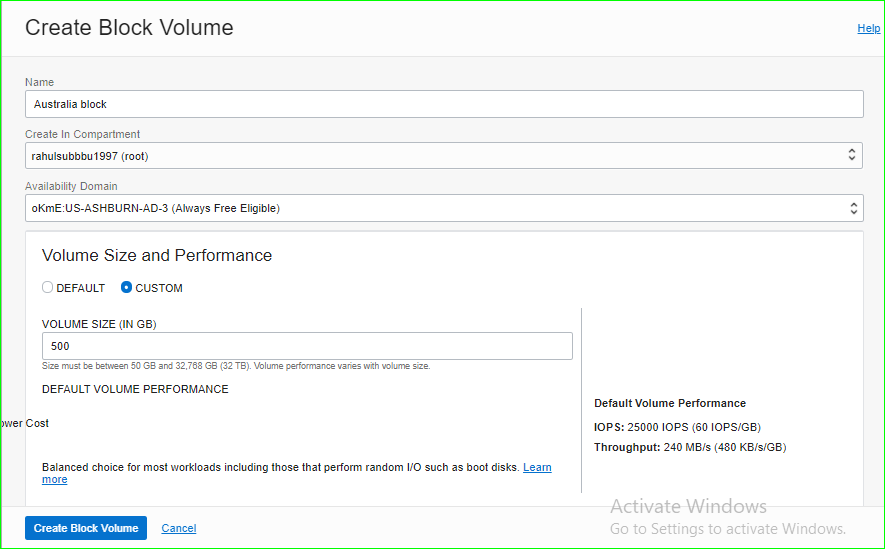
Give a name to your block storage and specify in which domain you want to create the block volume.
Note: Both the instance and block storage we are creating must be in the same availability domain,then only we can add the block storage to our instance.
Choose custom volume option and enter volume size as 500GB,then click create to create the block volume.
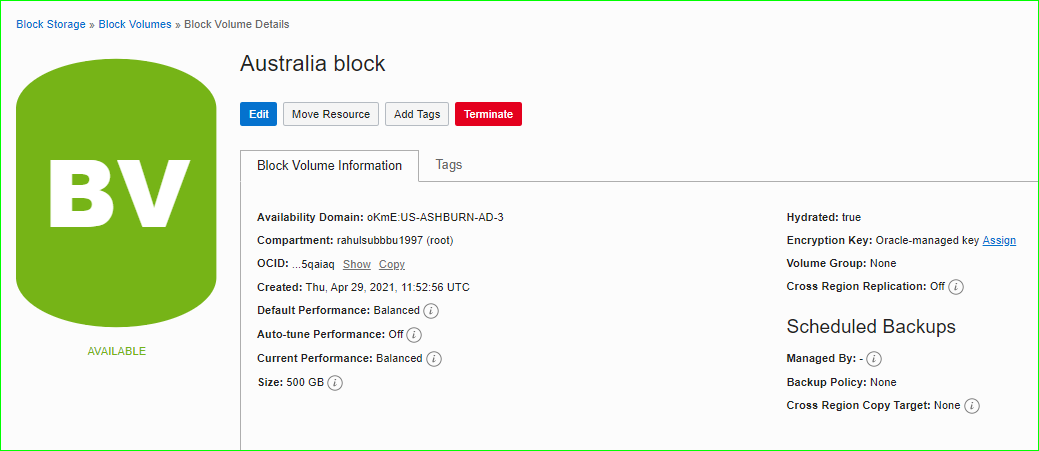
Now the block volume is created and is ready to attach with our instance.
Then to attach the block volume to our instance ,
Click compute—-.>instances—->choose the instance name
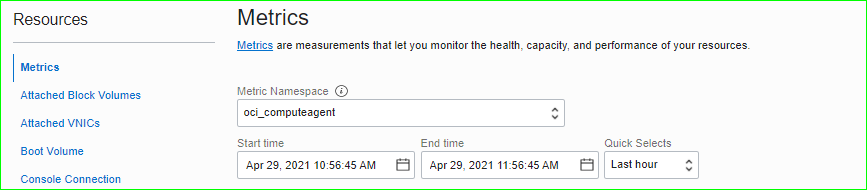
In that page scroll down,you will see the attached the block volume option.
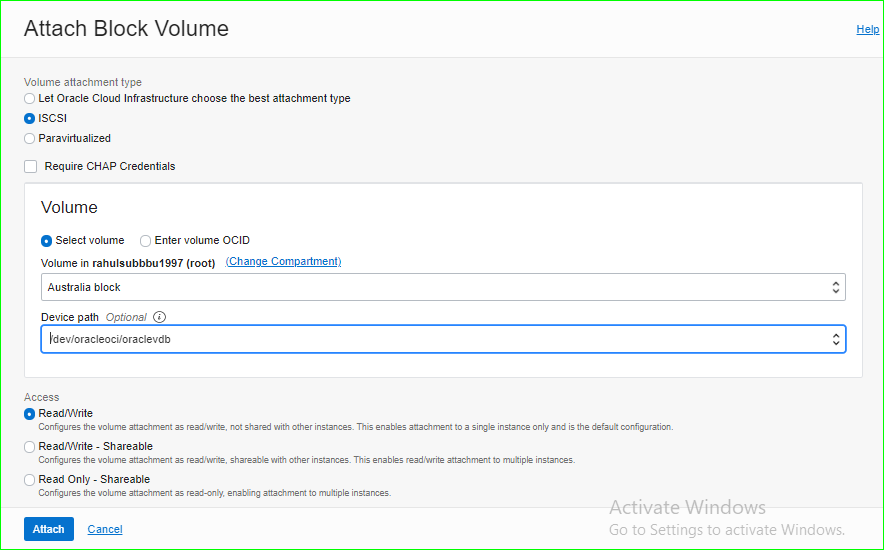
Click attach block volume.

Select the attachment type as ISCSI and choose the device path from the available device path list.Then click attach to attach the block volume to our instance.
After attaching the block volume ,it looks like below.

In the above image choose the three dots which is placed in the right hand bottom side of the attached block volume section.
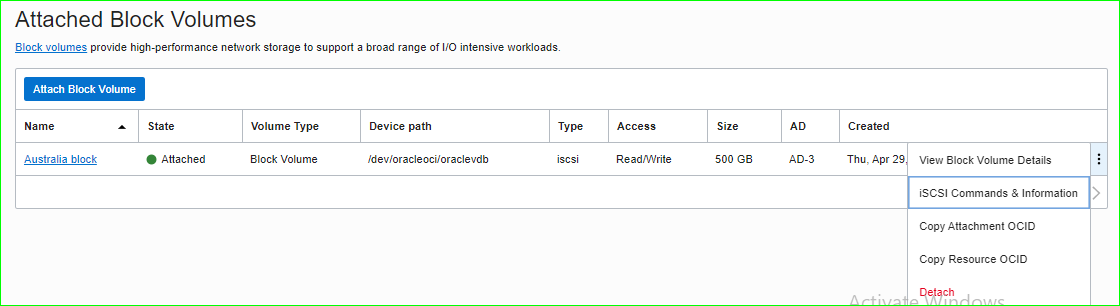
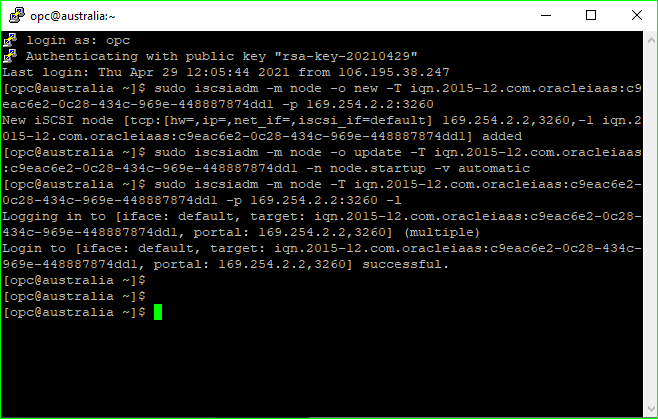
Choose the ISCSI commands and information to get the commands for connecting and disconnecting.
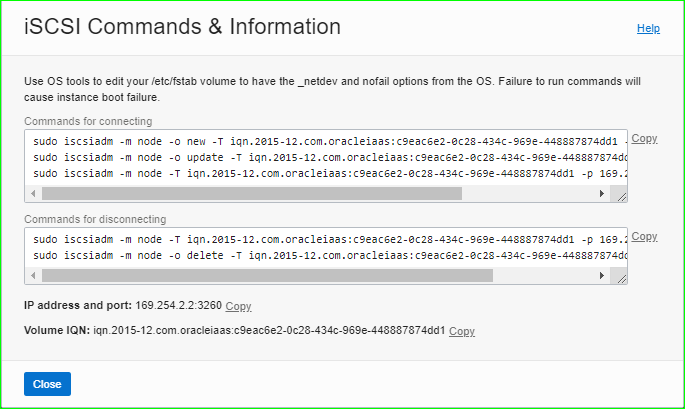
Run the ISCSIADM commands in the putty either as a opc or root user.
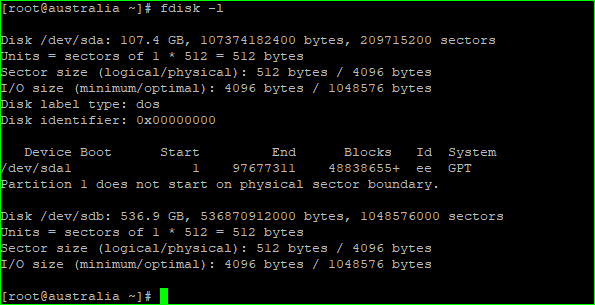
Use the fdisk –l command to list the disk that we have attached.
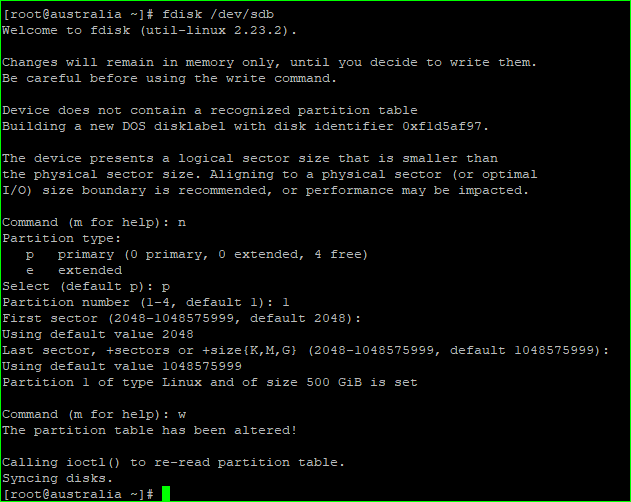
Then we have to partition the attached disk using fdisk option.
fdisk /dev/sdb
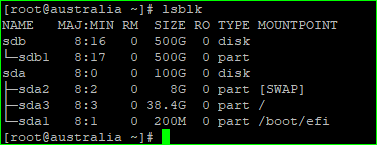
Check whether the storage has been added to the instance.
lsblk
Check the host name for your instance.
hostname

Stop the firewall using service iptables stop command.
![]()
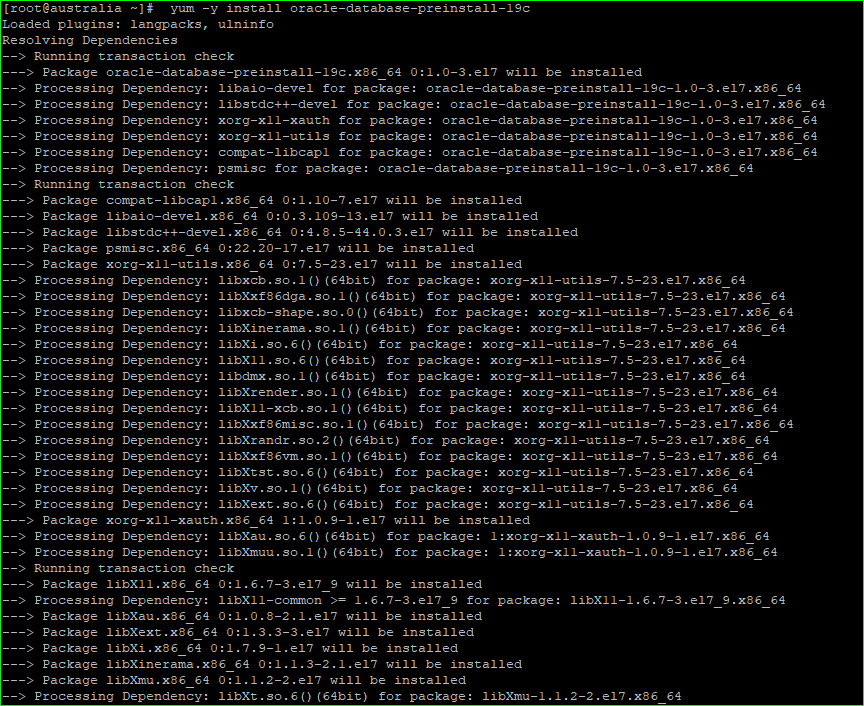
Now it is time to run the oracle database server 19c preinstall
Yum –y install oracle -database -preinstall -19c


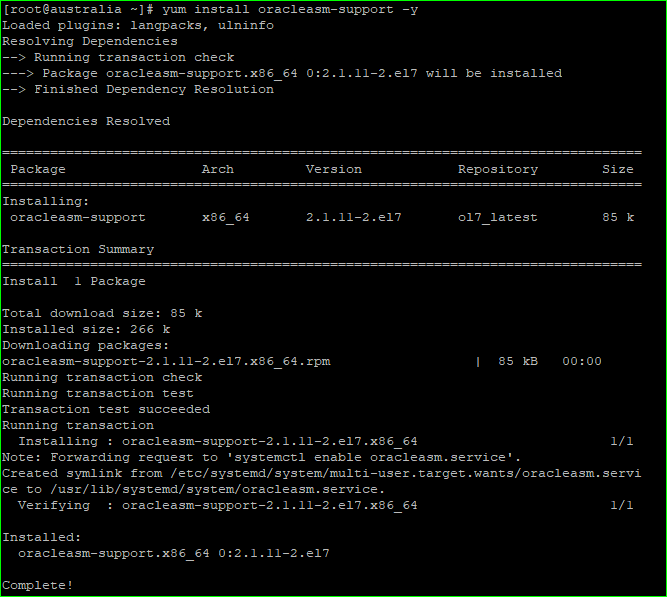
Then Install the RPM Packages for ASM.
Install the ASMLib utility packages, you should run this utilities as a root user(super user)
yum install oracleasm-support –y
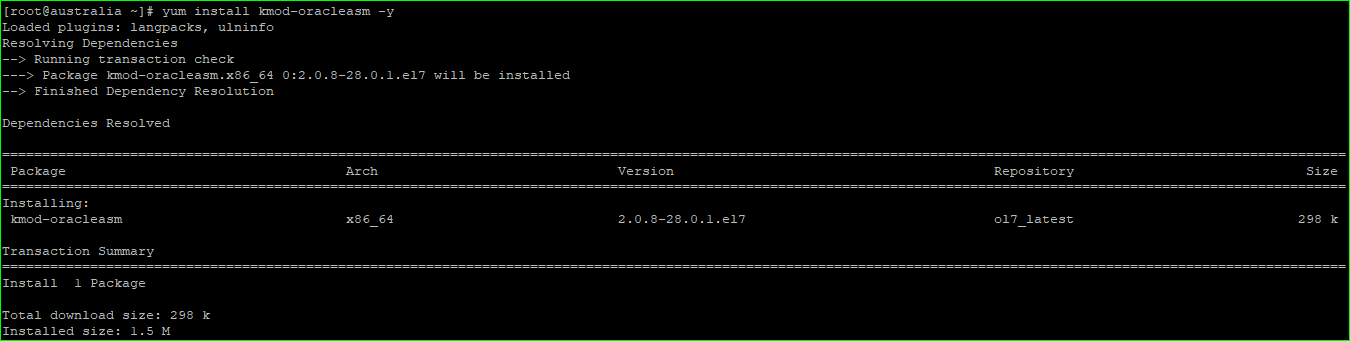
Install the ASMLib kernel module Package.
yum install kmod-oracleasm –y
Install the ASMLib library package.
wget http://download.oracle.com/otn_software/asmlib/oracleasmlib-2.0.4-1.el6.x86_64.rpm

Install the rpm which is required for asm.
rpm -ihv oracleasmlib-2.0.4-1.el6.x86_64.rpm

check whether the rpm is installed properly by using the command.
rpm -qa | grep oracleasm

Add the users and groups for asm.
groupadd -g 54327 asmdba
groupadd -g 54328 asmoper
groupadd -g 54329 asmadmin

Now we are going to modify the oracle groups and changing the password for the oracle user.
Oracle user has been already created while we run the Oracle database server 12c preinstall.
usermod -u 54321 -g oinstall -G dba,oper,asmdba,asmoper,asmadmin oracle

Create directory for the database home and grid home.
mkdir -p /u01/app/oracle/product/19.3.0.0/dbhome_1
mkdir -p /u01/app/oracle/product/19.3.0.0/grid
chown -R oracle:oinstall /u01
chmod -R 775 /u01

Here I have downloaded the software in my local machine and transferred it to the cloud instance using Winscp instead of downloading through oracle e-delivery website by using wget option.
And moved the zip files to the respective home locations (i.e) grid and dbhome.
Oracle 19c (19.3.0.0.0) database software.(2.8 GB)
Oracle 19c (19.3.0.0.0) grid software.(2.7 GB)
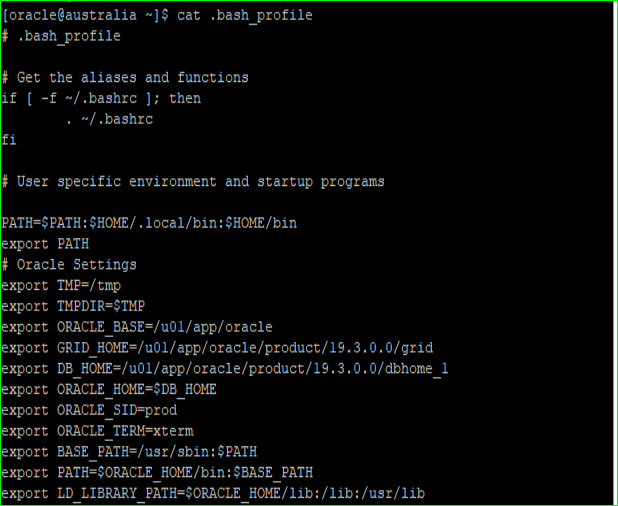
Edit the .bash_profile to source the grid and database environment easily.


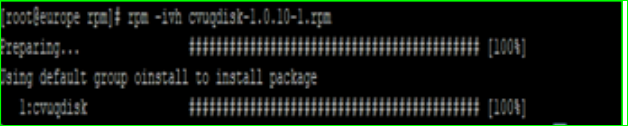
After the grid software is unzipped install the rpm placed inside the grid home.
(/u01/app/oracle/product/19.3.0.0/grid/cv/rpm)
rpm -ivh /u01/app/oracle/product/19.3.0.0/grid/cv/rpm/cuvqdisk-1.0.10-1.rpm
ORACLE ASM CONFIGURATION:
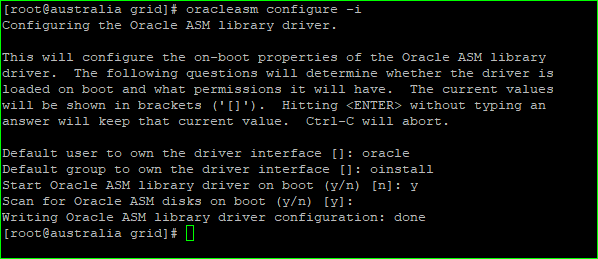
After ASMLib software is installed, we have to take following steps to make the ASM driver available. The ASM driver needs to be loaded, and the driver filesystem needs to be mounted. This is taken care of by the initialization script.
It will ask for the user and group that default to owning the ASM driver access
point.
oracleasm configure –i
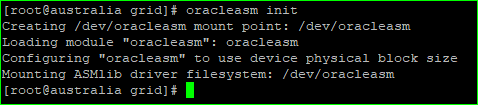
Initialize the ASMLib driver in Linux
oracleasm init
Check whether the ASM driver is properly loaded and mounted successfully.
Oracleasm status

Create an asm disk group

List the asm disks that you have created.
Oracleasm listdisks
![]()
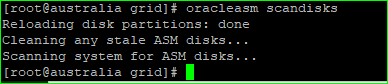
Scan the created asm disks using the command.
Oracleasm scandisks
GRID INSTALLATION: (SILENT MODE)
We are going to install the grid,database softwares in silent mode and also create the database in silent mode.
There will be a response file in the grid home location.
(/u01/app/oracle/product/19.3.0.0/grid/install/response/gridsetup.rsp).edit the response file as per your configuration you need.
/u01/app/oracle/product/19.3.0.0/grid/gridSetup.sh -executeConfigTools -responseFile /u01/app/oracle/product/19.3.0.0/grid/install/response/gridsetup.rsp -silent
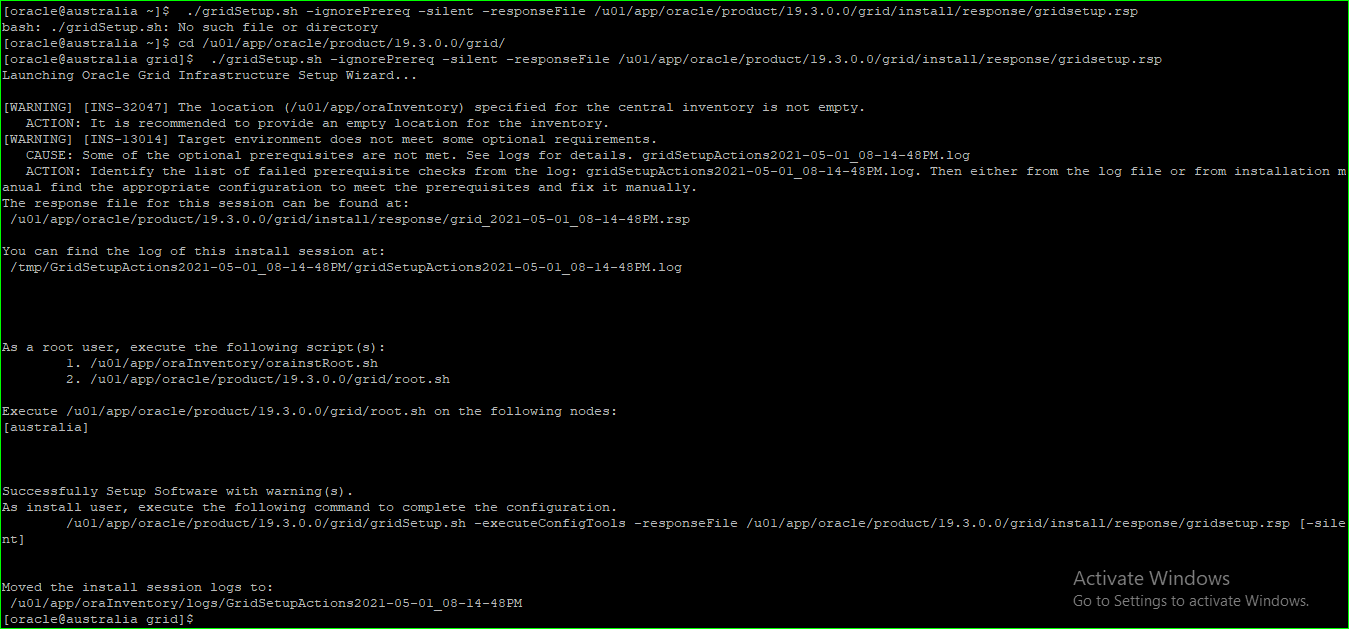
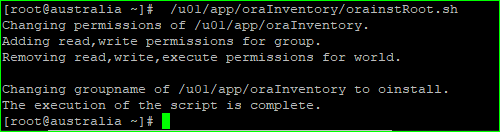
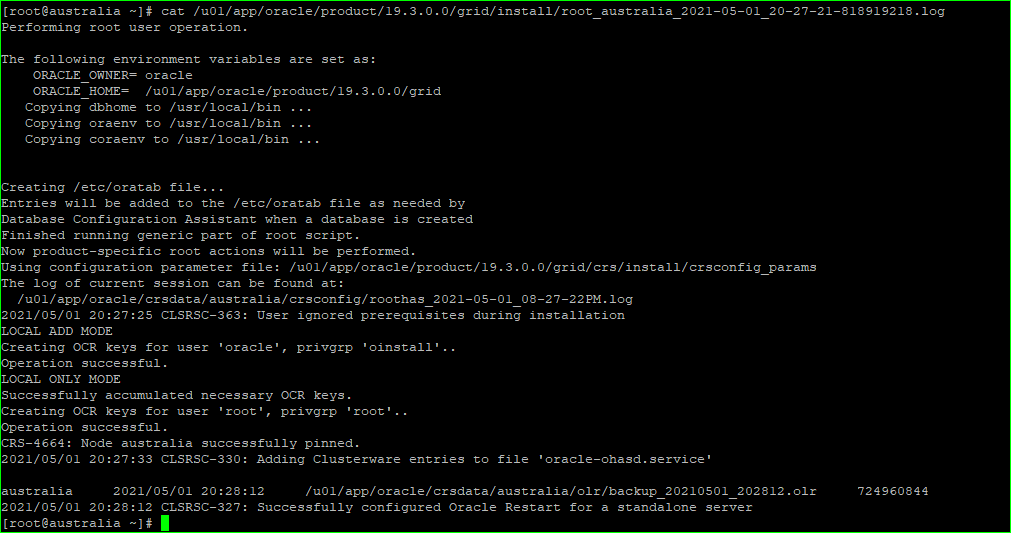
While installing the software it asks us to run the following scripts as root user.

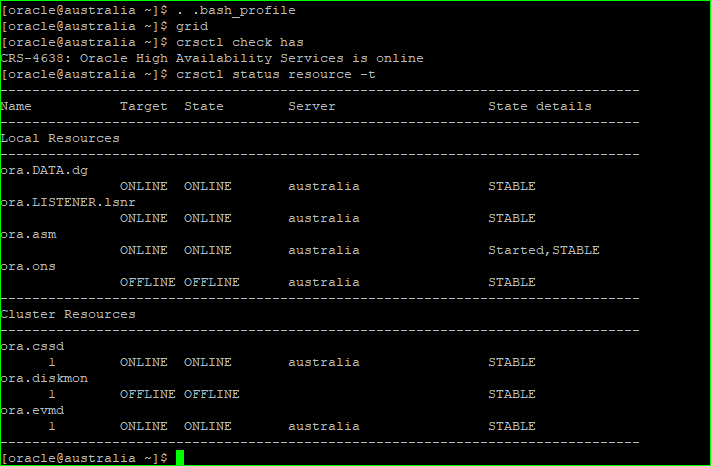
Check the cluster resource status.
Crsctl status resource –t
Database software installation:
There will be a response file for database installation similar to the grid response file in the following location.edit the rsp file as per your configuration that you need.
(/u01/app/oracle/product/19.3.0.0/dbhome_1/install/response/db_install.rsp)
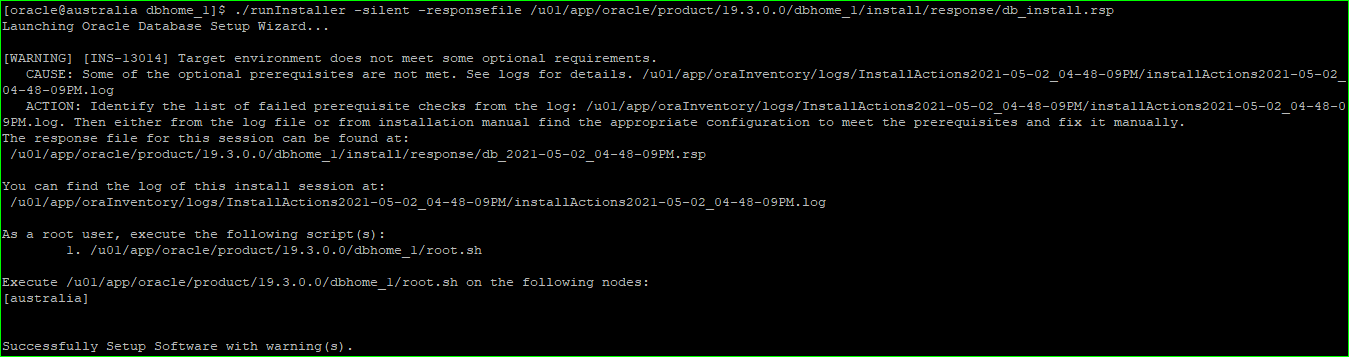
While installing the database software it asks us to execute the following scripts as root user.
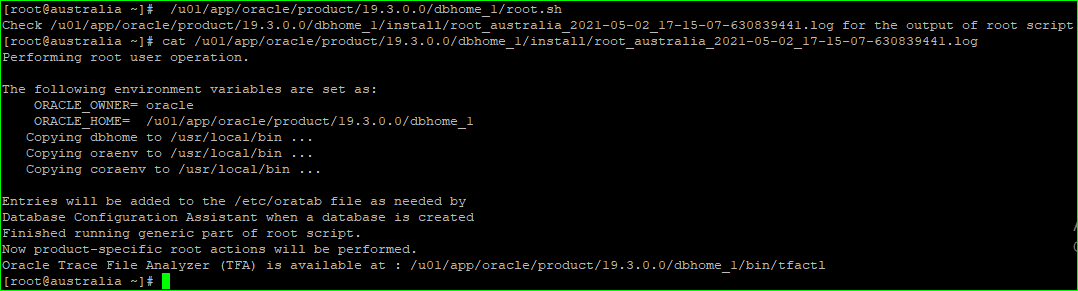
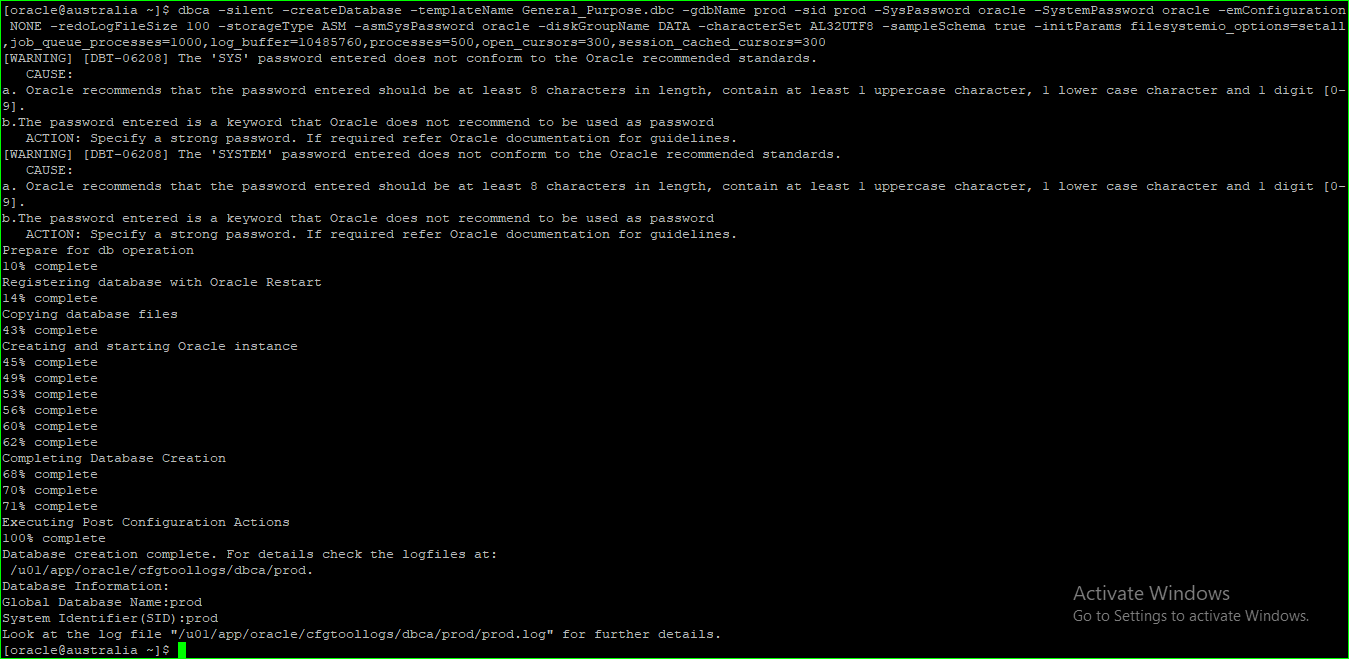
DATABASE CREATION:
We have installed the grid and database software successfully through silent mode.yet we have to create a database through silent mode type.
Here we need to give our configuration parameters to create a database in command line.
dbca -silent -createDatabase -templateName General_Purpose.dbc -gdbName prod -sid prod –
SysPassword oracle -SystemPassword oracle -emConfiguration NONE -redoLogFileSize 100 –
storageType ASM -asmSysPassword oracle -diskGroupName DATA -characterSet AL32UTF8
-sampleSchema true -initParams filesystemio_options=setall,job_queue_processes=1000,log_buffer=10485760,processes=500,op
en_cursors=300,session_cached_cursors=300