- Make sure the new item/customer/customer site is collected and exists in Oracle cloud.
- Prepare the ShipmentHistory_SI_RD.csv file to load Shipments History data for the new item/new item-customer.
- File name should not be changed.
- Date format must be “YYYY/MM/DD”.
- If part number has leading zeros, then change the cell to Text.
- Enter the below details.
- Measure Name: Shipments History: Shipped Item by Requested Date
- PRD_LVL_MEMBER_NAME: <Item Number>
- ORG_LVL_MEMBER_NAME: <Organization code>
- CUS_LVL_MEMBER_NAME: <Customer Registry ID>
- CUS_SITE_LVL_MEMBER_NAME: <Customer Ship-to Site>
- DCS_LEVEL_NAME: Demand Class
- TIM_LVL_NAME: Day
- TIM_LVL_MEMBER_VALUE: <Date for which history data is being loaded>
- VALUE_NUMBER: 1
- ORDER_TYPE_FLAG: External
- Customer Name(CUST_LVL_MEMBER_NAME), Customer Site(CUS_SITE_LVL_MEMBER_NAME) and Item Number (PROD_LVL_MEMBER_NAME) must be present in EBS and must be spelled the same.

- Create ZIP file for ShipmentHistory_SI_RD.csv file
- Zip file name could be any name
- Save the file on personal computer
- Enter below parameters.
- Login to cloud and go to File import/export
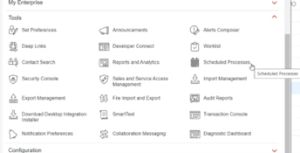
- Navigate to Tools -> File import and export
- Click on + icon below
- Add the zip file that was saved on personal computer
- Select Account: scm/planningDataLoader/import
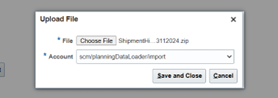
- Save and Close
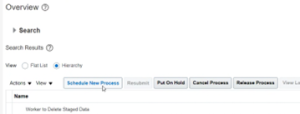
5. Navigate to Tools -> Scheduled Processes
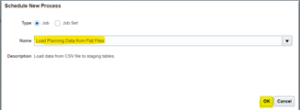
a. Select and click on Schedule New Process
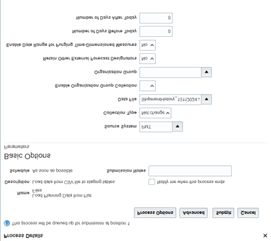
b. Search and Select “Load Planning Data from Flat File” and click on “OK”.
c. Enter below parameters.
- Source System = “PMT”
- Collection Type = “Net Change”
- Data File = Select the zip file uploaded in previous step.
- Leave other parameters blank/as is.
6. Submit and it will trigger multiple processes in Cloud. Monitor the processes and none should complete in warning. If it is in warning, then view the log file to detect issues.
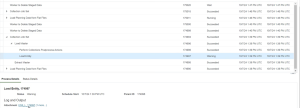
7.Log file shows limited number of error records in case of warning. Log file name will be “ESS_L_<process id>”
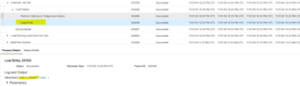
8.To see all the error records,
Navigate to Supply Chain Planning > Plan Inputs
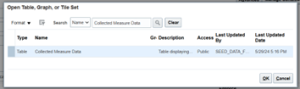
On the top right corner- Click “Open”.
![]()
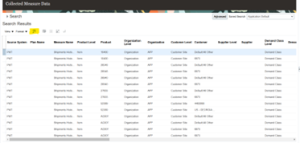
c. Search for “Collected Measure Data” and click on “OK”.
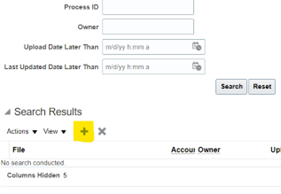
d. Under “Search”, click on “Advanced”.
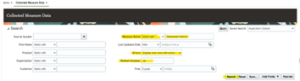
e.Enter below Search criteria.
- Measure Name Start With “Shipments History”
- Errors = Display only rows with errors
- Refresh Number = <Refresh Number from log file>
- Click on “Search”
![]()

f.Search Results provides all the error records which can be exported to excel if needed.
9. On successful load, new item/item-customer combination will be available in demand tables to add forecast.