STEPS TO CREATE 19C DATABASE IN MICROSOFT WINDOWS
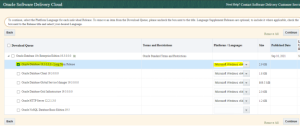
STEP 1: Download the 19c software from the e-delivery site.
STEP 2: Create a directory for the software files to be extracted.

STEP 3: Extract the software file and select the SETUP to start the installation.
![]()
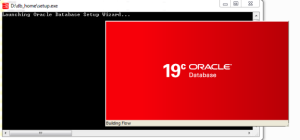
STEP 4: Once the setup file has been selected, The database setup wizard will launch.
STEP 5: Select the CREATE AND CONFIGURE SINGLE INSTANCE DATABASE as installation options.
STEP 6: Select CREATE NEW WINDOWS USER option. Provide the username and password for the user.

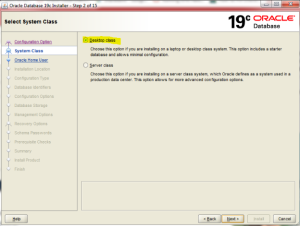
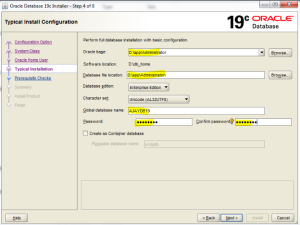
STEP 7: Select the basic configuration for the full database installation. Once completed select next.
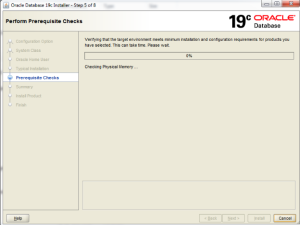
STEP 8: Next the prerequisites will be performed.
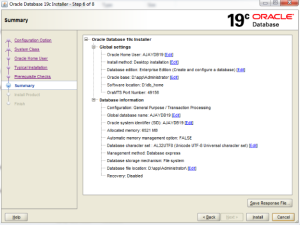
STEP 9: Verify the informations provided before progressing forward.
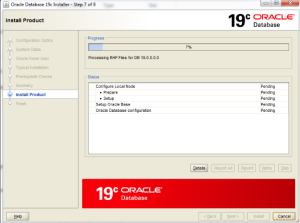
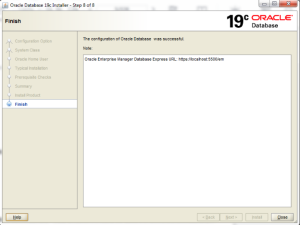
STEP 10: Once the summarize gets completed, The installation of the database begins.
STEP 11: The database was successfully installed.
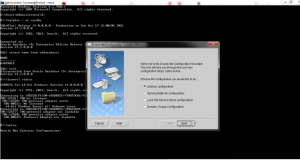
STEP 12: From the command prompt, connect to the database.

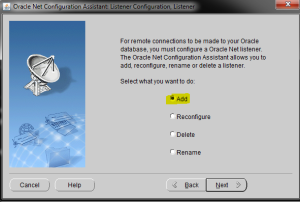
STEP 13: Configure the listener by NETCA method.
STEP 14: Select ADD to add a new connection.
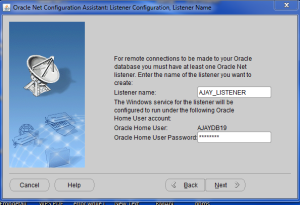
STEP 15: Provide the listener name and submit the oracle password.
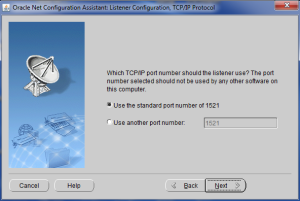
Step 16: Mention the standard port number.
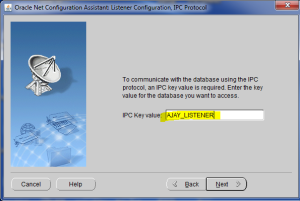
STEP 17: Provide the IPC key value.
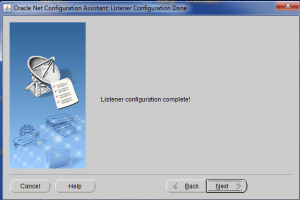
STEP 18: The configuration of listener gets completed successfully using NETCA method.