Step-by-Step guide to installing MySQL Server
Step 1: Download MySQL Installer
- Open your web browser and go to the official MySQL downloads page.
- Choose the MySQL Installer for Windows appropriate for your system.
- Click Download and wait for the file to finish downloading.
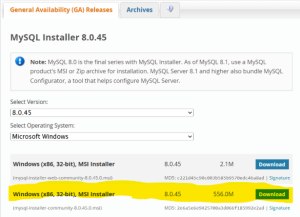
- Go to the official MySQL website: https://dev.mysql.com/downloads/installer/
- Choose MySQL Installer for Windows:
- Web Installer (~2 MB) – downloads components as needed.
- Full Installer (~400 MB) – includes all components.
![]()
Step 2: Launch the Installer
- Navigate to your Downloads folder.
- Right-click the downloaded installer file and select Run as administrator (or double-click to run it).
- If prompted by Windows security, click Yes to allow the installer to run
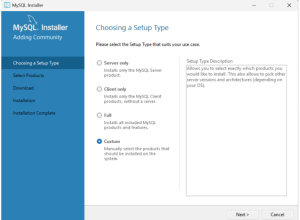
Step 3: Choose Installation Type
- When the installer opens, you will see several setup types.
- Select Custom setup type to manually select what you want installed.
- Click Next to continue.
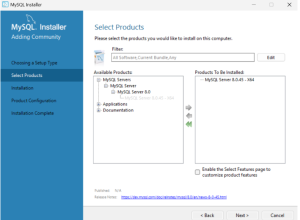
Step 4: Select Products and Features
- In the customization screen, confirm that MySQL Server is selected.
- Once selections are complete, click Next.
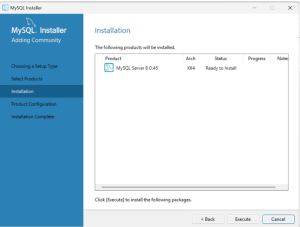
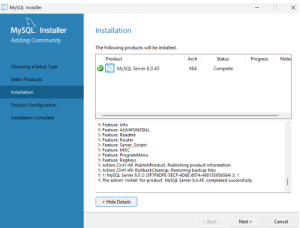
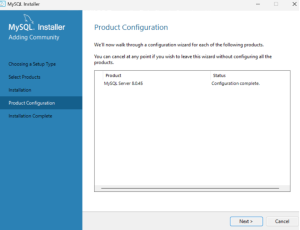
Step 5: Install Components
- The installer will begin downloading the selected components.
- After download, the installation process will start automatically.
- Wait until all components are installed successfully.
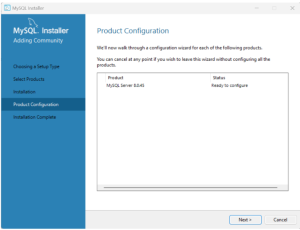
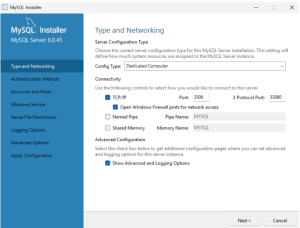
Step 6: Configure MySQL Server
- Choose Standalone MySQL Server as the configuration type.
- For system type, select Dedicated Computer if you want MySQL to use more system resources (useful for development).
- Set Port Number to the default 3306 unless you have a specific need to change it.
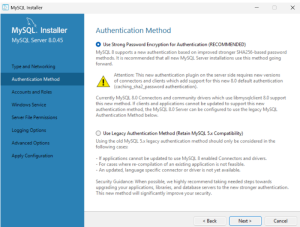
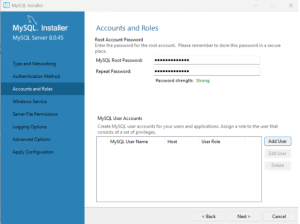
Step 7: Security Settings
- Choose the recommended authentication method.
- Create a strong root password and confirm it.
- Optionally, add additional MySQL users if needed.
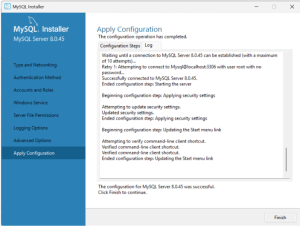
8: Apply Configuration
- Review your configuration summary.
- Click Execute to apply all settings.
- Wait for the process to complete — you should see green checkmarks for each step.


Step 9: Set Environment Variables (Optional)
- To run MySQL from anywhere in the Command Prompt, add the MySQL bin directory to your system PATH.
- Open System Properties > Advanced > Environment Variables.
- Edit the Path variable and add:
C:\Program Files\MySQL\MySQL Server 8.0\bin
“` :contentReference[oaicite:10]{index=10}
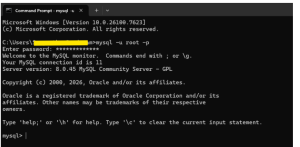
Step 10: Test the Installation
- Open Command Prompt and enter: mysql -u root -p
- Enter your root password when prompted.
- If you see the MySQL prompt (mysql>), the installation was successful
Recent Posts