Introduction to Login Page – Auto Background Changer
When the user creating a application, the login page is automatically created. The Login page is created based on the Oracle apex login API credentials verification and session registration. We can also able to create a own Login page based on our business requirements.
Learning Objective
Login Page – Auto Background Changer
Use case
Requirement:
Login Page – Auto Background Changer, You could achieve this using simple CSS Classes . Let us see the step by step process to achieve this.
Solution:
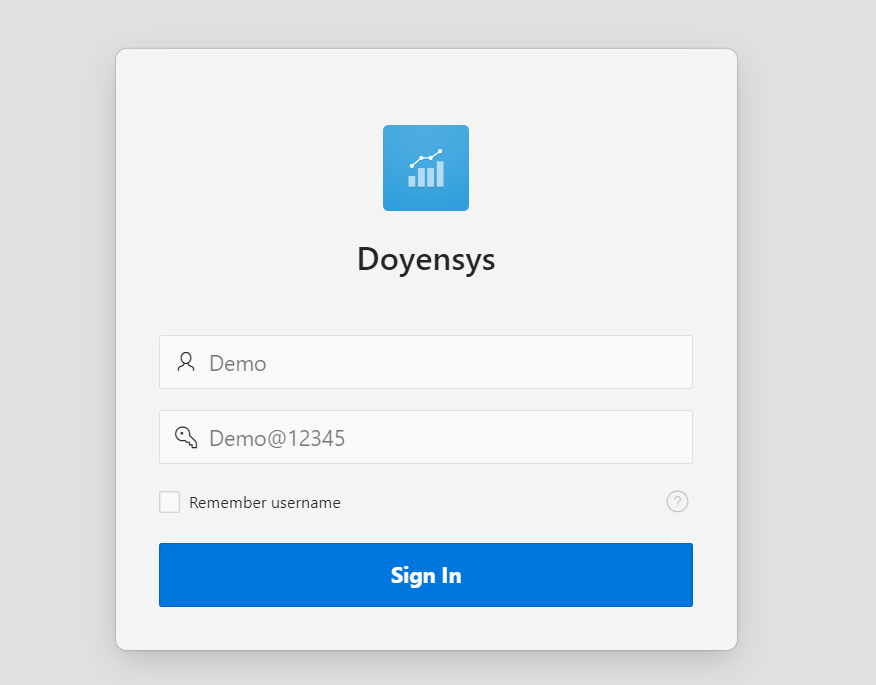
Step 1: Create a application and it will automatically create a Login Page.
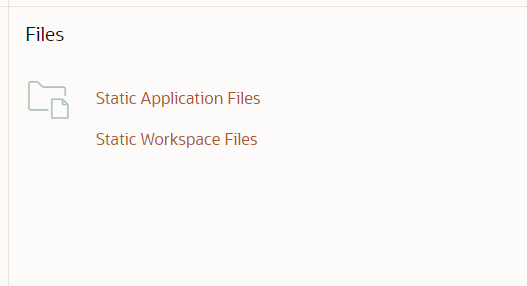
Import the Images into the Shared Components “Static Files” Section and also refer those images in to the CSS Section
Sample Code:
#APP_IMAGES#Image1.jpg
Step2 : Place the below sample code into the Page CSS “Inline” Section
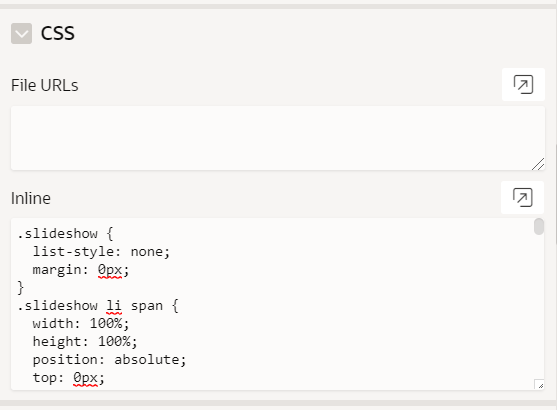
Sample Code:
.slideshow {

  list-style: none;

  margin: 0px;

}

.slideshow li span {

  width: 100%;

  height: 100%;

  position: absolute;

  top: 0px;

  left: 0px;

  color: transparent;

  background-size: cover;

  background-position: 50% 50%;

  background-repeat: none;

  opacity: 0;

  z-index: 0;

  -webkit-backface-visibility: hidden;

  backface-visibility: hidden;

  -webkit-animation: imageAnimation 40s linear infinite 0s;

  -moz-animation: imageAnimation 40s linear infinite 0s;

  animation: imageAnimation 40s linear infinite 0s;

}

.slideshow li:nth-child(1) span {

  background-image: url(#APP_IMAGES#Image1.jpg);

}

.slideshow li:nth-child(2) span {

  background-image: url(#APP_IMAGES#image2.jpg);

  -webkit-animation-delay: 10s;

  -moz-animation-delay: 10s;

  animation-delay: 10s;

}

.slideshow li:nth-child(3) span {

  background-image: url(#APP_IMAGES#image3.jpg);

  -webkit-animation-delay: 20s;

  -moz-animation-delay: 20s;

  animation-delay: 20s;

}

.slideshow li:nth-child(4) span {

  background-image: url(#APP_IMAGES#image4.jpg);

  -webkit-animation-delay: 30s;

  -moz-animation-delay: 30s;

  animation-delay: 30s;

}

@-webkit-keyframes imageAnimation {

  0% {

    opacity: 0;

    -webkit-animation-timing-function: ease-in;

  }

  12.5% {

    opacity: 1;

    -webkit-animation-timing-function: ease-out;

  }

  25% {

    opacity: 1;

  }

  37.5% {

    opacity: 0;

  }

  100% {

    opacity: 0;

  }

}

@-moz-keyframes imageAnimation {

  0% {

    opacity: 0;

    -moz-animation-timing-function: ease-in;

  }

  12.5% {

    opacity: 1;

    -moz-animation-timing-function: ease-out;

  }

  25% {

    opacity: 1;

  }

  37.5% {

    opacity: 0;

  }

  100% {

    opacity: 0;

  }

}

@keyframes imageAnimation {

  0% {

    opacity: 0;

    -webkit-animation-timing-function: ease-in;

    -moz-animation-timing-function: ease-in;

    animation-timing-function: ease-in;

  }

  12.5% {

    opacity: 1;

    -webkit-animation-timing-function: ease-out;

    -moz-animation-timing-function: ease-out;

    animation-timing-function: ease-out;

  }

  25% {

    opacity: 1;

  }

  37.5% {

    opacity: 0;

  }

  100% {

    opacity: 0;

  }

}

.no-cssanimations .slideshow li span {

  opacity: 1;

}
Step3: Copy & Paste the below code in to Page “Header and Footer” Section
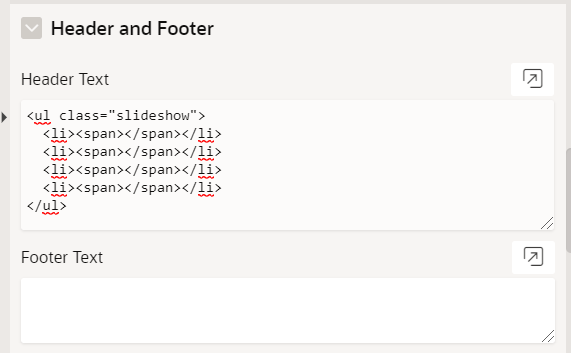
Sample Code:
<ul class="slideshow">

  <li><span></span></li>

  <li><span></span></li>

  <li><span></span></li>

  <li><span></span></li>

</ul>
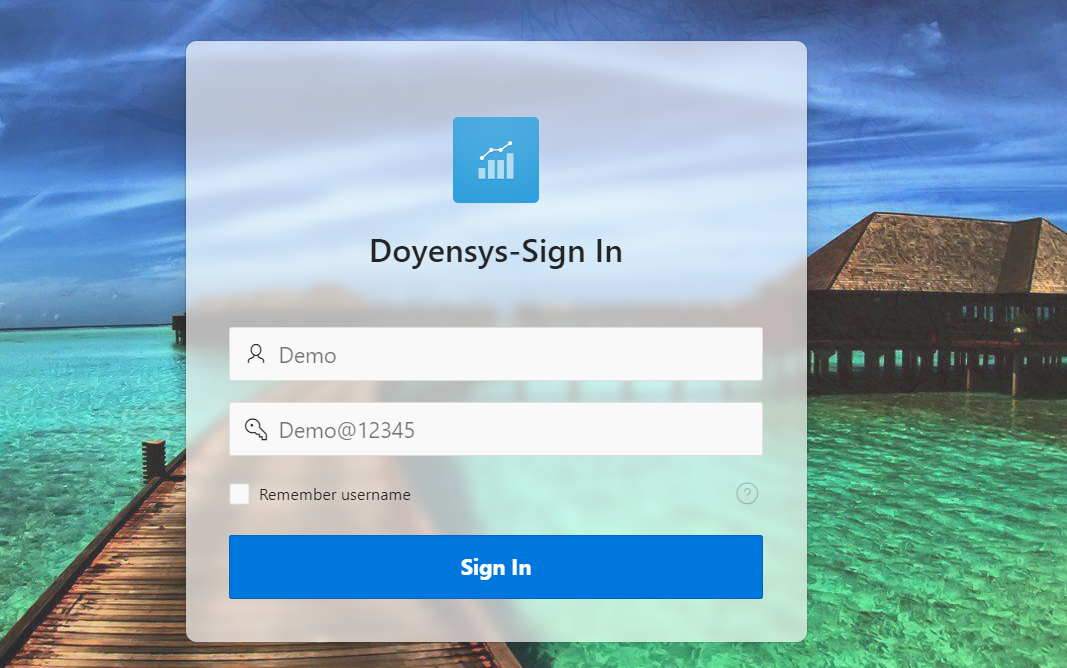
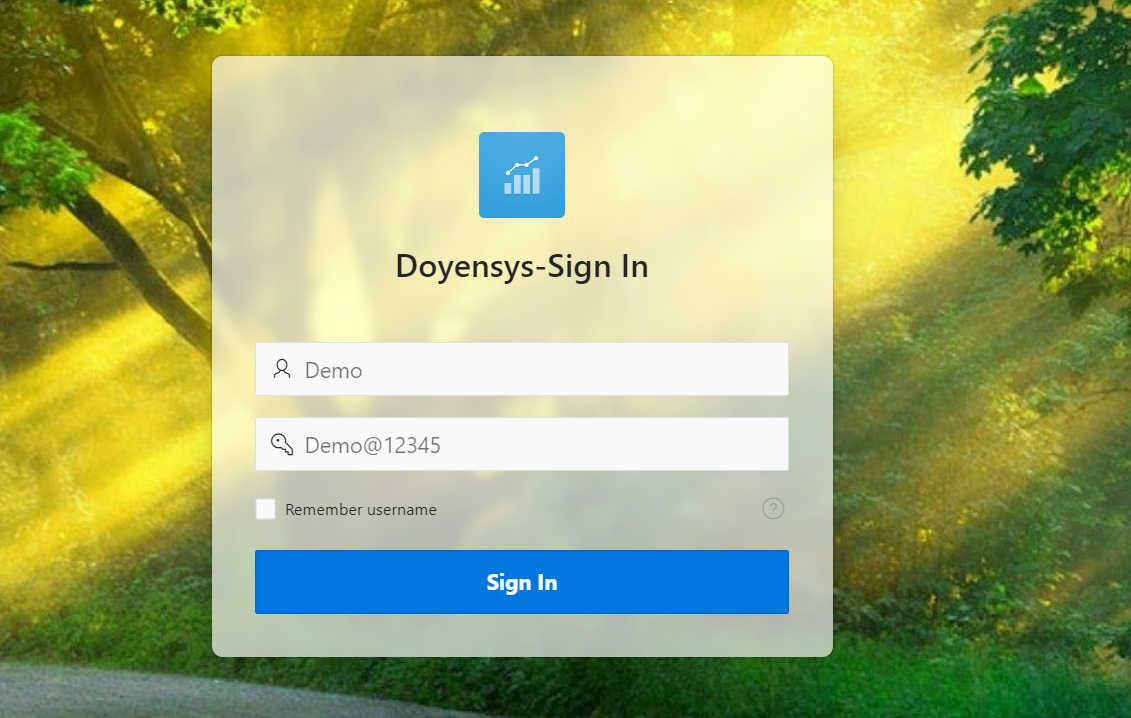
Output:
Now the UI of Login Page is