Step 1: Create a region in the name Check Box and select region type as Static Content.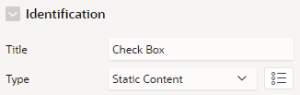
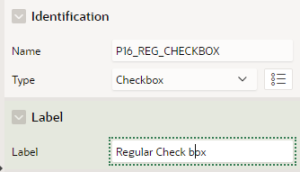
Step 2: Then, create a Check Box and name it as Regular Check Box,
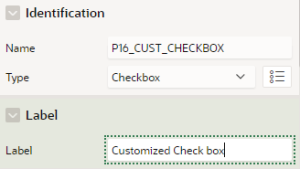
Step 3: Then, create a another Check Box and name it as Customized Check Box,
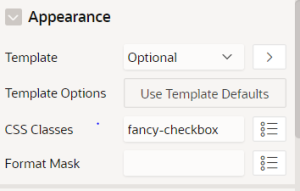
Step 4: Go to Appearance section of Customized Check box(P16_CUST_CHECKBOX) and add a text fancy-checkbox to CSS classes attribute as shown in the below screen shot,
Step 5: In the Page header ==> CSS, type in the below code in the Inline section as displayed in the screen shot,

.fancy-checkbox input+label:after {
content: ‘\e048’;
}
.fancy-checkbox1 input+label:after {
content: ‘\e060’;
}
.fancy-checkbox2 input+label:after {
content: ‘\e026’;
}
Step 6: Finally, Save and Run the page.
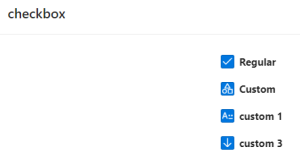
Output:
Below screen shot shows the difference in the style of the Regular Check box and Customized Check box.